News from the Farm: the tsunami is coming
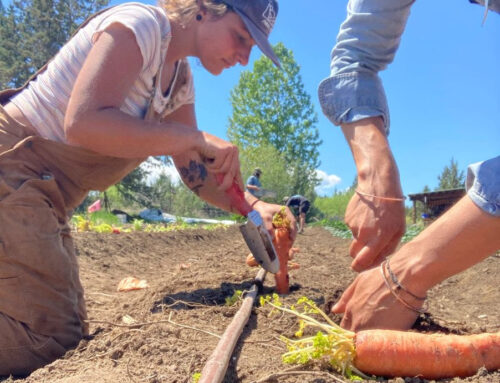
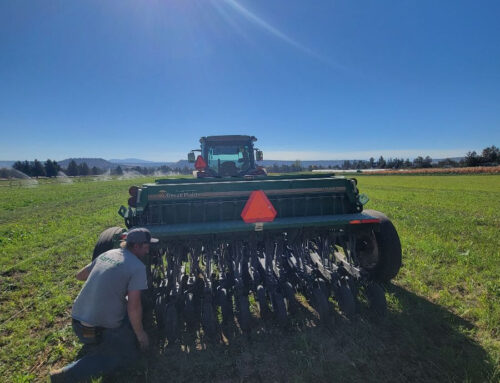
A tsunami?!? Aren’t we well enough away from the coast? Yes, if the tsunami we were talking about was made of water. But, instead we are referring to the vegetable tsunami that comes in mid-to-late July. And just like people describe the coast zone in those moments before the wave comes rushing back, things quieted down for but a moment here on the farm.That meant that last week we got some serious weeding done in the 25-acre, transplanted the last of our starts, and had a moment for a farm tour for the whole farm: farmers, Event, Kitchen, and Store staff.
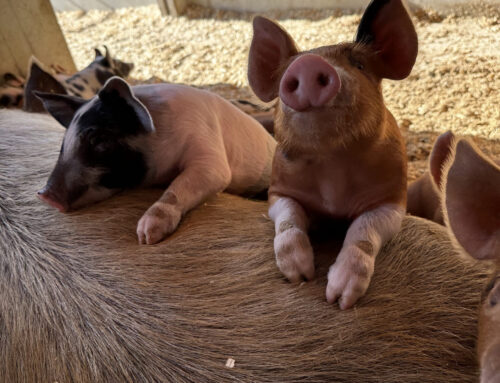
Getting the weeds this time of year usually means truck weeding. The weeds are so far along, that they are about to explode their seeds so we pull them and put them onto the back of the farm truck and when the time runs out, or the pile is so tall it is about to topple over, we drive the weeds to the pigs and it is a feast. It’s great to get the weeds before they are this size, but that usually isn’t possible, so you just make sure to get the weeds before they explode seeds everywhere and really screw up your next season.
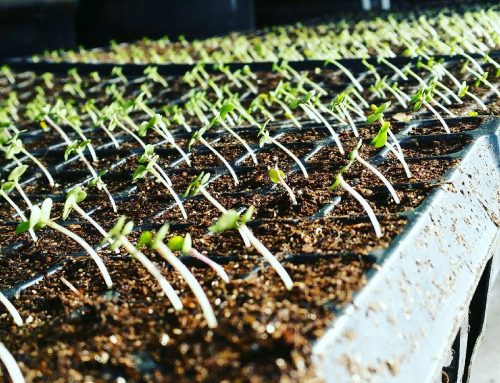
This past week was a major moment on the farm. For the first time since mid-January we didn’t have any plants making their way through the germination chamber, 4-season greenhouse, half-way house, and into the ground. For just about 48 hours everything was tucked into the ground. And then, on Saturday, we fired up the germination chamber again and started our late summer 2-acre successions. The beat goes on.
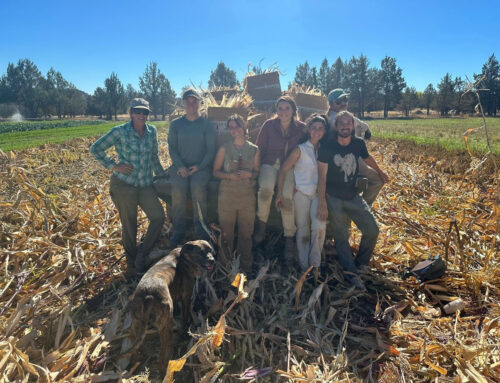
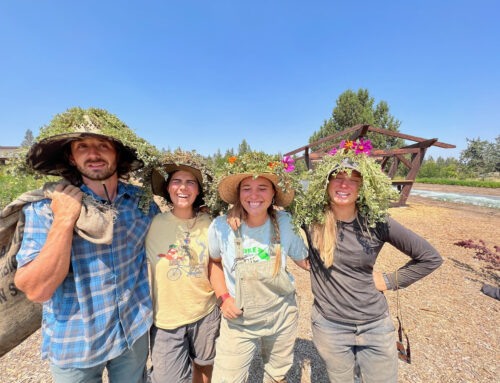
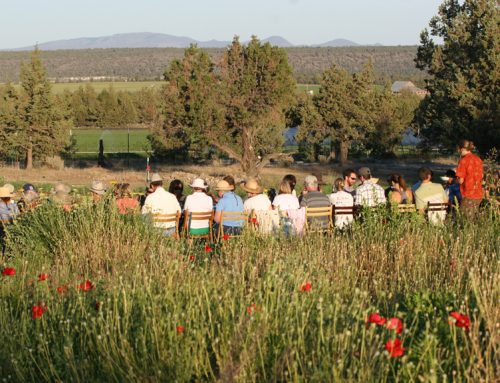
It is always a treat when the whole farm can meet up to take a wander, or as Sarahlee says, a putz through the farm. We started in the 2-acre, cruised down the hoops, walked up the 25-acre, and then returned to the kitchen, stopping and tasting, observing, chatting, and learning about weeds, bugs, flavors, timing, successions, and goals. These tours give the context for the CSA, the ingredients and story behind the meals created in our Farm to Table Kitchen, and they underline a lot of the whys and hows that the Apprentice farmers are learning about during their farming season.
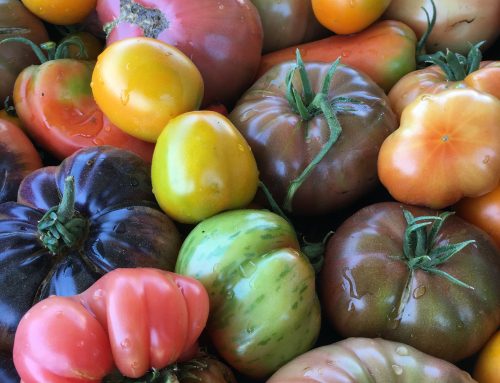
So, how do we really know that the tsunami is approaching? The fact that we will be seeing our first beans, broccoli, and tomatoes this week, that the eggplants are just about ready to harvest, and that cucumbers started slowly two weeks ago, tomatillos are trickling in, and the peppers, melons, and corn are coming along just fine.
What does the tsunami mean for you? Variety will be increasing over the next couple three weeks. Those hot weather crops are going to start appearing on the stands. The choices for what to grab just might become more difficult. We hope you are as excited about this as we are!
What does the arrival of the tsunami mean for us? Harvest moves from a three days a week to a four days a week task and all those efficiencies we have been learning and practicing so far this summer really comes into play. We roll into harvesting in the morning and tending in the afternoons. Weeding happens when one is harvesting kale and then in epic pushes one section at a time on an as needed basis. This time of year requires a farmer to really maximize the tasks that can be squished into a day: harvest, weed, irrigate, clean, count, stretch, eat, drink, rest. And then try to remember to pause and take note of monumental moments (like all the plants being in the ground for 48-hours) to celebrate in the accomplishment.


|
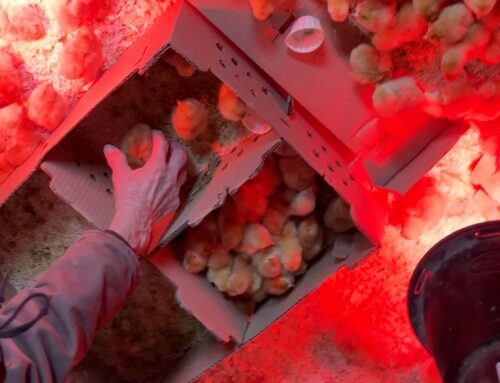
photo credit: Natalie Leder, Alison Holland
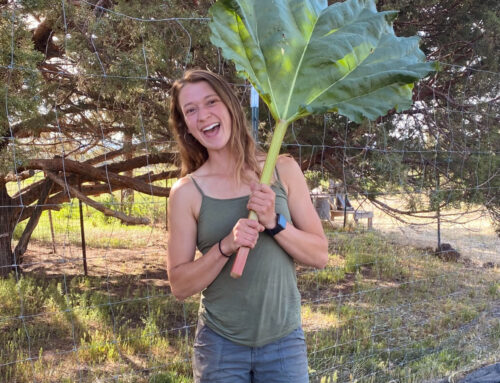
We spent about two hours walking around the farm as a group on Thursday getting a real time look at the farm in this moment. ☙ The pigs enjoy their weedy feast after a truck weeding session. ☙ The eggplants are in their very cute, very young stage where they are a small fruit still draped in the blossom. We will start seeing more and more of these gems in the next weeks. ☙ Last week we also replaced the plastic on the tomato houses. This is an every 3-5 year chore. The plastic begins to degrade over time which reduces the amount of UV rays that can make it through to the plants inside. We are hopping the fresh plastic will let all the light in and increase our tomato production. |


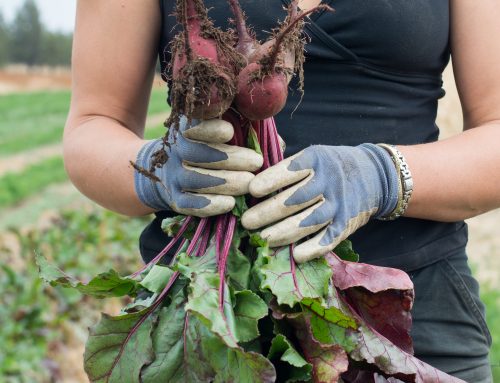
Veggie ID: Beets

Beets come in many colors — red, gold, candy striped – and we usually have them all. You can eat the green tops too! In fact, let’s focus on that. We almost always send along the beet greens still attached to the beets. And that is because THEY ARE AMAZING! Beet greens can be used anywhere you see kale, chard, collards, etc. They are interchangeable!
But why eat beet greens? Beet greens are full of vitamins A, B6, C, and D as well as iron, fibre and calcium. Why would you want to toss that into the compost bin or not take advantage of these benefits?
To store: As soon as you get home, cut your beet greens off keeping about an inch of stem attached to the beet root. Separating the two will keep each as fresh as possible. Store the beet roots, with the rootlets (or “tails”) attached, unwashed, in a plastic bag in the crisper bin of your refrigerator. They will keep for several weeks. You’ll want to keep the unwashed greens dry, unwashed greens in a sealed plastic bag in the refrigerator up to 1 week.
To prep: For the beets themselves, scrub well and remove any scraggly leaves and rootlets. If your recipe calls for raw beets, peel them with a knife or a veggie peeler (or don’t, we don’t), then grate or cut them according to the recipe. To remove the skins, you can roast them in foil, steam, or boil them, and the peels will slip right off. When you are ready to eat the beet greens, wash leaves in basin of lukewarm water to remove grit. Remove the thicker stems. Cut into appropriately sized pieces, depending on use.
To freeze: Boil or bake beets until done. Cool them in ice water or let them come to room temperature. Remove peels. Trim the beets into 1/4 inch slices or keep them whole (if they are small). Place in Ziplock freezer bag and remove as much air as possible. Seal and freeze. Blanch washed beet greens for 2-3 minutes in hot boiling water. Immediately dunk in cold ice water to stop the cooking process. Then drain and pack into airtight containers. Freeze them in “balls” on a cookie sheet; then pop them into a Ziplock for the perfect portion.
|

|
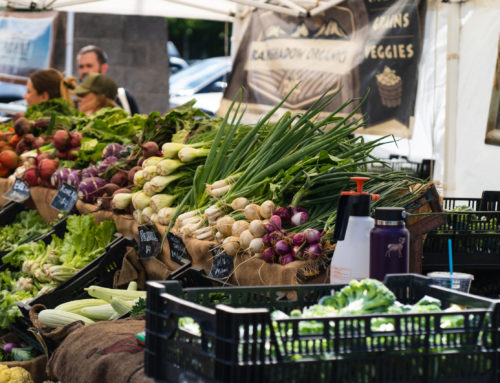
Other Vegetable Options will probably include: |
potatoes
salad mix
herbs
beans
napa cabbage
zucchini
beets
chard
basil
broccoli
cucumber
arugula
carrots
kale
lettuce heads
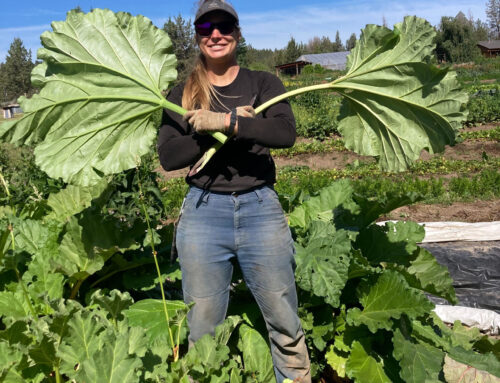
rhubarb
yod fah
fennel
green onions
rhubarb
tomatoes
lettuce
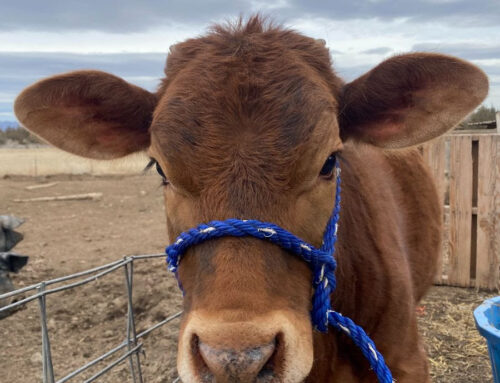
Meat CSA: a true farm sampler
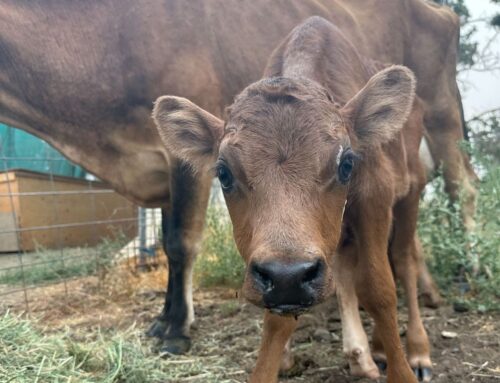
This week the CSAs are going to get something from all the animals: poultry, pork, and beef!
|
Large CSA (10lbs) Small CSA (5lbs) |
What to do with a beef roast?
The goal with beef roasts is to go low and slow and long. This will make them tender, juicy, and delicious. If you don’t give them the time they need, then they will be tough and chewy and unpleasant. The only way to speed up cooking roasts is by using a pressure cooker of some sort (like a stove top pressure cooker or an instant pot type appliance).
This time of year Sunday pot roast might not be high on your desired dinner list. Beef roasts can also easily be turned into BBQ beef for sandwiches or Beef Barbaco for tacos or burritos for a cooler/more seasonally satisfying alternative.
If you get a boneless round rump, bottom round, or sirloin tip roast, you can do any of the same thing you would use chuck roast for, but they are much leaner. Our favorite thing to do is to turn them into roast beef for sandwiches. HERE is a great recipe for roast beef sandwich meat.
|
|
|
|

We will see you Wednesday, July 12! It looks like we might get a bit of a reprieve in the temps this week, but it is still a good idea to go home and tend to your vegetables right after you pick them up!
The Farm Crew