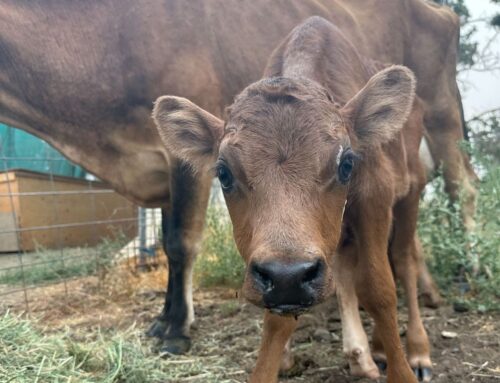
News from the Farm
This past couple weeks has been big. We finished our storage crop harvest, hosted Customer Appreciation Day, tidied everything up, and … STARTED PLANTING 2023 CROPS! Can you believe it! The cycle continues.
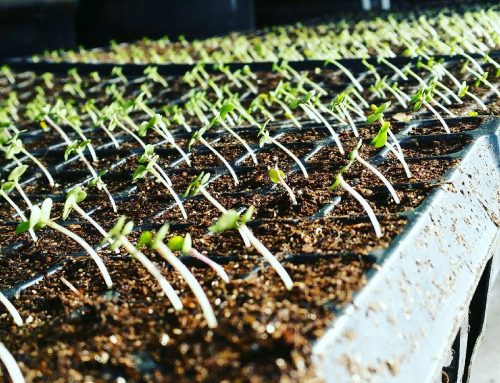
A couple weeks ago we seeded our Red Fife Hard Red Wheat which we will harvest in the late summer/early fall, 2023. We grow Red Fife because it is an heirloom grain, full of nutty flavor, and packed with protein which makes it great for bread baking.
How we plant the wheat is pretty cool. We borrowed another farmer and his no-till seed drill and planted the wheat directly into the cover crop. This allows the soil to continue benefitting from the cover crop (all those nutrients, nitrogen, and minerals) while the wheat germinates. As the wheat begins to grow taller, the cover crop will have shriveled down from the winter cold and will be a mulch that covers the bare soil protecting it from rain and wind and eventually adding organic matter to the soil.


|
The seed drill and then the wheat today. You’ll notice that the cover crop has now started to shrivel up but the wheat is growing strong up in straight green lines!
|
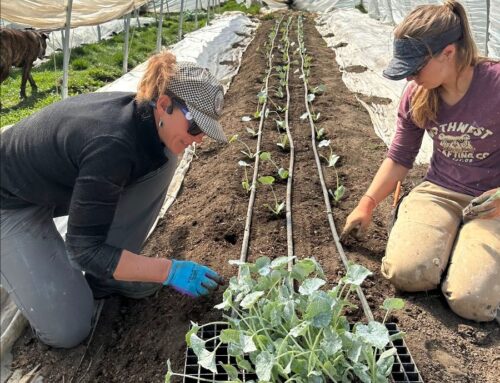
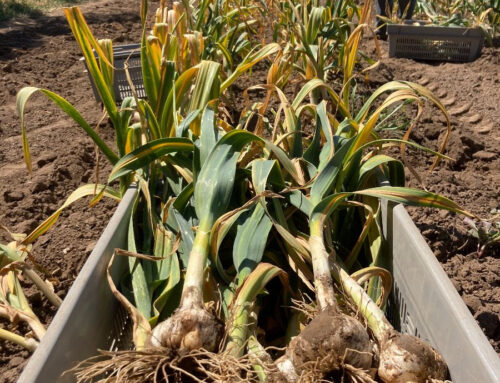
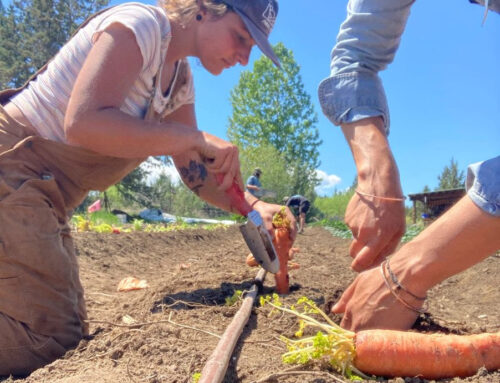
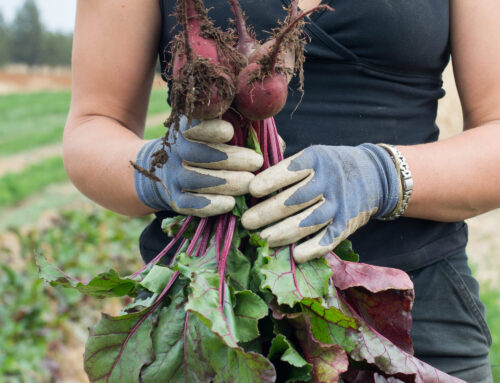
Last week we also planted the 2023 garlic crop. Like most things in the 25-acre, this was a combo tractor and human endeavor. Over the past weeks we prepped the garlic rows by discing in the cover crop and forming beds. Then Christine dibbled the beds, which means she drove a very special machine down them that made evenly spaced indentations in the soil for the garlic gloves to go in. (Machines are so key at times, aren’t they!) The farmers broke heads of garlic into cloves that are planted as seed (all saved this year!). (Each clove was inspected to make sure it would satisfy the task.) And then they crawled down the rows putting garlic in each little dibbled hole. Whew!


|
photo credit: Sarahlee Lawrence and JD Alex
|
Just writing these two things–we have already started planting 2023 crops–really puts into perspective what farming is. It is a year round commitment to community, to feeding humans, to caring for soil and animals, to tending land, and to hope. Garlic and wheat take months to come to fruition. With each wheat berry and clove of garlic, we sowed hope, love, commitment, joy, and delicious food.
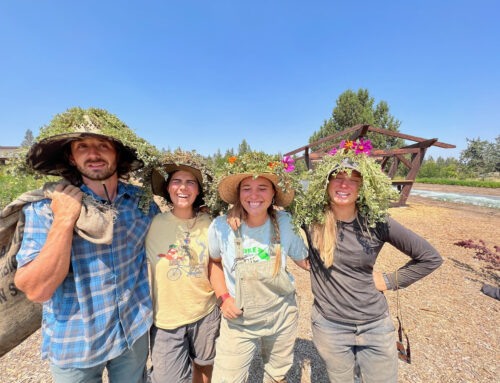
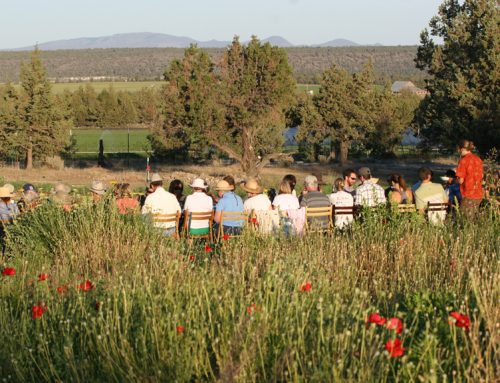
Thank you all for being a part of this journey with us. We are excited to spend the next 7 months with you as we eat our way through the bounty of 2022!
Introducing our Community Partners
We are very excited to introduce you to two new community partners: Port Orford Sustainable Seafood and Salty Debby’s.
Rainshadow Organics does vegetables, beef, pork, and grains really well, but one thing we don’t have access to is SEAFOOD. Both Port Orford Sustainable Sea Food and Salty Debbys are great options for accessing seafood in Central Oregon and both approach their craft with a similar mindset to how we farm: using sustainable fishing and harvesting practices, treating the harvest and kill process with the respect and care due the animal, and working to support their local economy!
In November, each are also offering opportunities to source seafood. We want to take a second to introduce you to each today.
Port Orford Sustainable Seafood

Located in Port Orford, Oregon they deliver wild, line-caught seafood direct from Port Orford to fish-loving communities in Oregon. They operate a year round Community Supported Fishery, a CSF, with monthly deliveries to Bend and Rainshadow Organics.
| A Community Supported Fishery is an alternative way of buying seafood which connects you with who caught your seafood as well as the where and when of the catch. When you sign up to be a member of our CSF you know that your dollars are directly benefiting the Port Orford fishermen as well as the team of locals who process and deliver your share. You are helping solidify a way of life in Port Orford and ultimately preserving our fishing heritage!
The CSF works like store credit. You pay $220 ($20 sign up fee and $200 in credit) and then have 12 months to spend down your $200. Each month you shop from their website and purchase blast frozen and individually vacuum sealed approximate 1lb packages of many varieties of seafood. If you run out of store credit before December, 2023, you can always add more. Around the first weekend of the month, they deliver to Bend and Rainshadow and you can pick up your share at either Locavore or Rainshadow Organics. Fnd out more information and answers to common questions HERE and starting November 1 (Tuesday), you can join the CSF for a first delivery in December by clicking HERE. |
Salty Debby’s Sockeye Salmon

Salty Debby’s distributes high-quality, wild-caught Alaskan sockeye salmon direct-to-consumer. Born and raised in Government Camp on Mt. Hood, Keree Smith now owns and operates her commercial gillnetter, the FV Deborah, in the wild waters of Bristol Bay, Alaska.
Keree recently founded Salty Debby’s to educate consumers on healthy commercial fishing practices, promote and protect Bristol Bay, and deliver her summer catch. “Purchasing your sockeye fillets from Salty Debby’s not only directly supports me, your fisherman, but also supports a fisheries model based on individual and family owned harvest practices,” says Keree Smith.
Managed by the Alaska Department of Fish and Game, the 2022 Bristol Bay run totaled 79 million fish, the largest run ever historically recorded. Buying sockeye salmon from Bristol Bay does more than support small businesses. The volume of all wild fisheries naturally ebbs and flows and purchasing products from Bristol Bay, a fishery currently in abundance, consciously utilizes this natural influx of resources. Purchasing from Bristol Bay promotes financial stability to a sustenance management system informed by centuries-old indigenous harvesting practices.
Learn more about Keree and fishing in Bristol Bay on her website HERE and you can pre-order a 20lb box of Sockeye Salmon Filets from Keree HERE. We will deliver your box to you at the December CSA pick up or you can pick it up at the Farm Store December 2 or 3.


Probable Box Contents
We pack the vegetable portion of your CSA share on Wednesday before pick up. Our decisions about what goes into the monthly vegetable CSA depend on the temperature and and how our storage crops and the hoops are doing.
Today, we think Thursday’s Vegetable Share will include:
Fennel
napa cabbage
leeks
celery
Siberian Kale
carrots
potatoes
onions
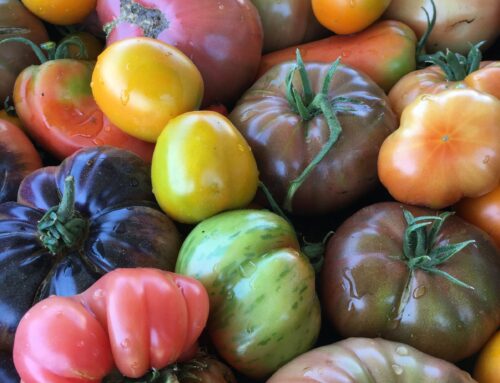
winter squash (probably spaghetti squash even if it doesn’t look like it! check out the recipe corner below for cooking suggestions)
|
|
1 squash, halved lengthwise and seeded
olive oil or lard
salt and black pepper
INSTRUCTIONS
- Heat the oven to 450F. Brush the cut side of each squash half with olive oil, then season with salt and pepper. Place squash, cut-sides down, on a parchment-lined baking sheet and roast until the squash is tender when poked with a fork, 35 to 40 minutes.
- Flip the squash and then, like a choose your own adventure either 1.) use a fork to scrape the squash into spaghetti strands OR 2.) realize it doesn’t have spaghetti like strands and season with your favorite squash toppings: maple syrup, nuts, brown sugar, honey, cayenne, etc.
If you flipped your squash and realized it is a spaghetti, try this recipe. It will be a super quick pivot with ingredients that you probably already have on hand.
olive oil
1 cup freshly grated Parmesan
½ cup panko or breadcrumbs
1 garlic clove, grated
1 teaspoon fresh thyme leaves
8 ounces mozzarella, cut into ½-inch cubes (optional)
INSTRUCTIONS
- In a small bowl, stir together the Parmesan, panko/breadcrumbs, garlic, thyme and olive oil. Season with salt and pepper.
- Flip the squash and use a fork to scrape the squash into spaghetti strands. Keep the strands in the half squash shell. Stir in half the mozzarella, if using, then sprinkle the squash with the remaining mozzarella and the panko mixture. Roast until the top is golden brown and mozzarella has melted, 20 to 25 minutes.
by Linda Larsen at The Spruce Eats
INGREDIENTS
1 egg
2 tablespoons water
1/2 cup breadcrumbs
1/4 cup minced onion
1/2 teaspoon salt
1/8 teaspoon black pepper
1 pound ground beef
INSTRUCTIONS
- Heat the oven to 350 F.
- In a large bowl, combine the egg, water, breadcrumbs, onion, salt, and pepper and combine. Break the ground beef into chunks, then add it to the bowl. Mix gently, but thoroughly, with your hands to combine. Don’t overmix.
- Form the mixture into meatballs about 1 inch in diameter and place on a broiler pan or a pan with sides topped with a wire rack.
- Bake at 350 F for 25 to 30 minutes until meatballs register 165 F on a meat thermometer.
If you want to make a batch to use later:
- Let the meatballs cool, then store in the refrigerator in an airtight container for up to 3 days.
- To freeze cooked meatballs, chill in the fridge, then place them on a cookie sheet and freeze solid. Pack meatballs into freezer containers or zipper bags, label and date, and freeze up to a year. You can use them straight out of the freezer in many recipes or thaw them in the fridge overnight first.
by Martha Stewart at Martha Stewart
INGREDIENTS
1 1/2 pounds potatoes
1 cabbage, trimmed, pale-green leaves finely shredded (4 cups)
1 leek, pale-green and white parts only, cut into 1/2-inch dice
1 cup milk
4 tablespoons unsalted butter
1/4 teaspoon freshly grated nutmeg
Coarse salt
INSTRUCTIONS
- Preheat broiler. Peel and quarter potatoes, and place in a medium saucepan; add enough cold water to cover. Bring to a boil over high heat; reduce heat to a simmer, and cook until tender when pierced with a fork, about 15 minutes. Drain potatoes and return to saucepan. Mash with a potato masher or pass through a ricer; cover pan to keep warm.
- Meanwhile, in another saucepan, combine cabbage, leek, milk, 2 tablespoons butter, and nutmeg; season with salt. Cover, and cook over medium heat, stirring occasionally, until cabbage and leek are soft but not browned, about 15 minutes. Stir into potatoes.
- Spread mixture in an 8-inch square baking dish. Make a small well in the center, and place under the broiler until lightly browned on top, about 5 minutes.
- Remove from broiler. Place remaining 2 tablespoons butter in well. Serve immediately, spooning melted butter from well onto each serving, if desired.
From The Joy of Cooking
makes 1 9-10″ double crust
INGREDIENTS
2 1/2 cups flour
1 1/4 tsp salt
3/4 cups plus 3 tablespoons lard
6 tablespoons or more ice water
INSTRUCTIONS
- Sift flour and salt together and add half the lard. Cut the lard into the flour mixture with a pastry blender or your cuisinart until it is the consistency of cornmeal. Cut the remaining half of the lard into the dough until it is pea-sized.
- Sprinkle the dough with 6 tablespoons ice water and blend gently into the dough until it just holds together. Try lifting the ingredients with a fork allowing the moisture to spread. If necessary to hold the dough together, add more water by the 1 teaspoon increment.
- Divide the dough in half and shape into individual discs and wrap in plastic wrap. Bake according to pie instructions.
INGREDIENTS
1 whole chicken
1 stick butter, softened or 1/2 cup lard, softened
salt & pepper
chopped fresh herbs or dried herbs
optional White wine or chicken stock
INSTRUCTIONS
- Take the chicken out of the fridge 1 hour before cooking to bring to room temperature.
- Preheat oven to 300F. Remove any remaining pin feathers, wipe chicken and pat dry with a towel.
- Combine herbs, salt, and pepper and softened butter or lard. Slip butter or lard mixture between skin and chicken meat over breast meat. Season inside of bird with salt and pepper. Place the chicken, breast side up, in a roasting pan with sides. Optional: Add white wine or chicken stock to the bottom of the roasting pan in a shallow layer. If you have a rack, use it. If you don’t, don’t worry about it but forgo the liquid layer.
- Cook chicken for one hour at 300F, then turn oven temperature up to 400F for an additional 5-10 minutes to brown and crisp the skin. Heritage breed chickens require a long, low temperature to help break down the intramuscular structure. The chicken will be tough if cooked a a higher temperature for a shorter amount of time. Cook to an internal temperature of 165F.
- Pull the chicken from the oven and let sit for 10 minutes at least before carving.
- Other fun things you can do is stuff the inside of the bird with halved citrus like oranges, lemons, or limes to add some moisture and flavor. You can slip halved citrus between the skin and the meat of the bird with the lard/butter for added moisture (make sure the citrus is skin to skin and flesh to flesh).

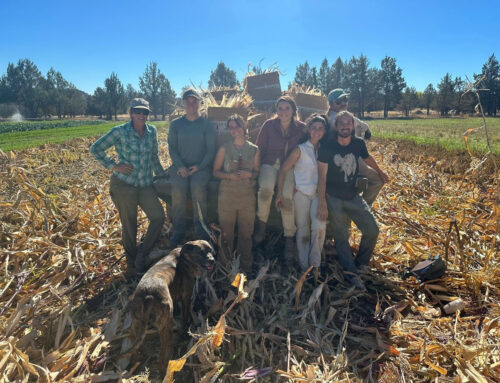
|
Photo Credit: Camilla Becerra Riroroco
|
We can’t wait to see you on Thursday, November 3 in Bend or Sisters, or at the Farm Store on Friday or Saturday, November 4 & 5. Please let us know if you have any questions.
The Farm Crew