News from the Farm
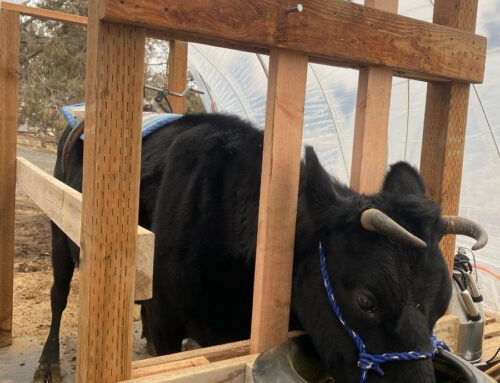
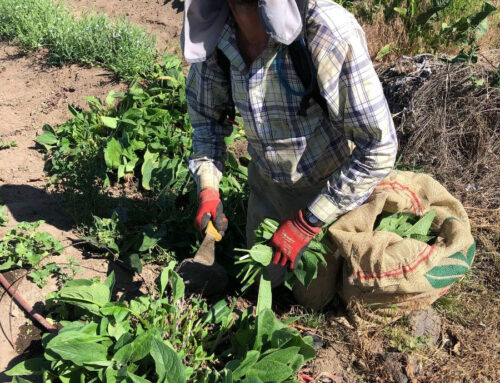
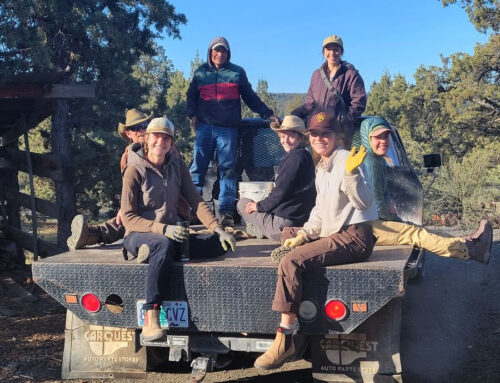
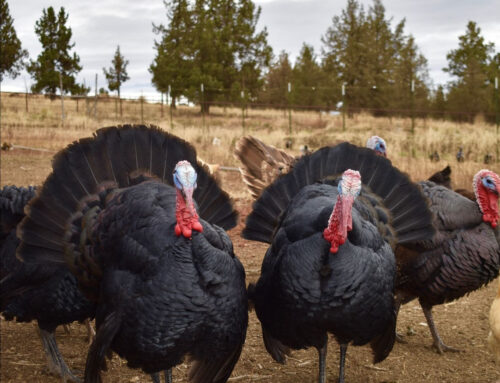
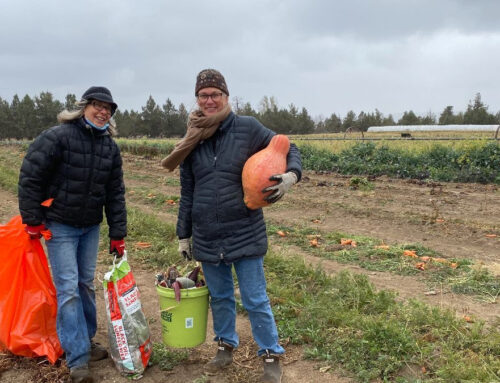
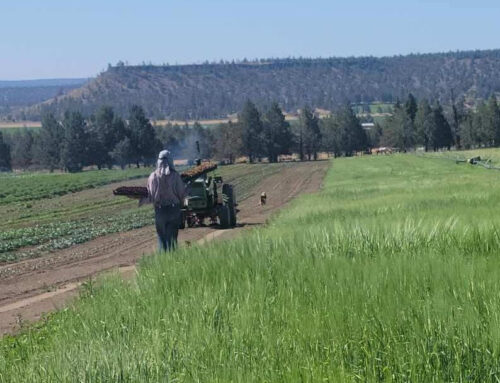
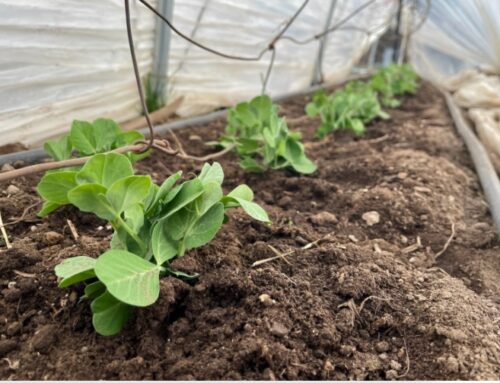
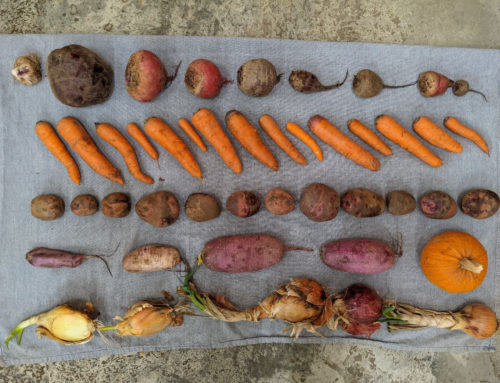
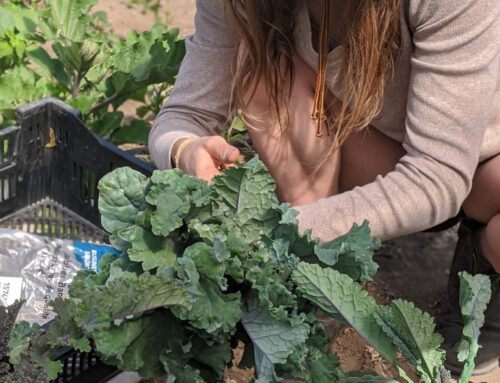
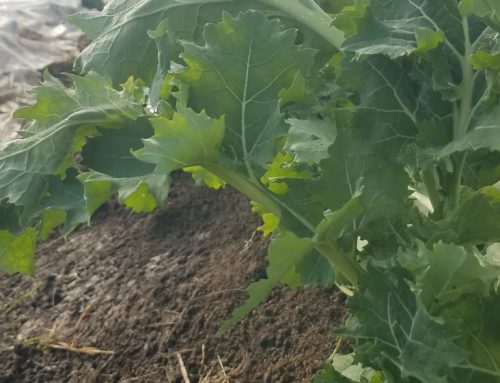
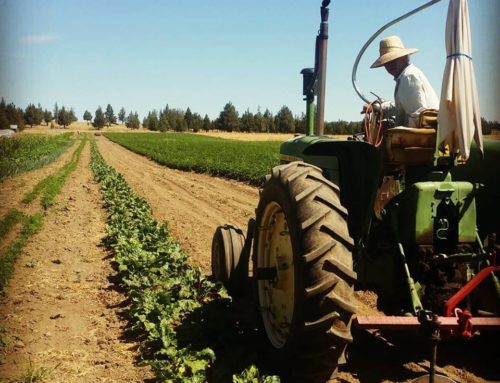
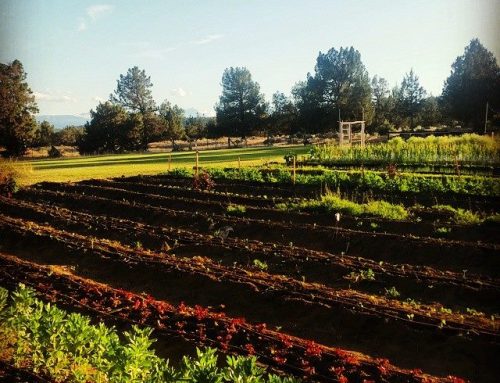
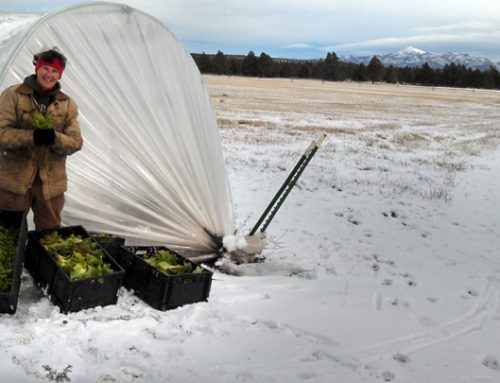
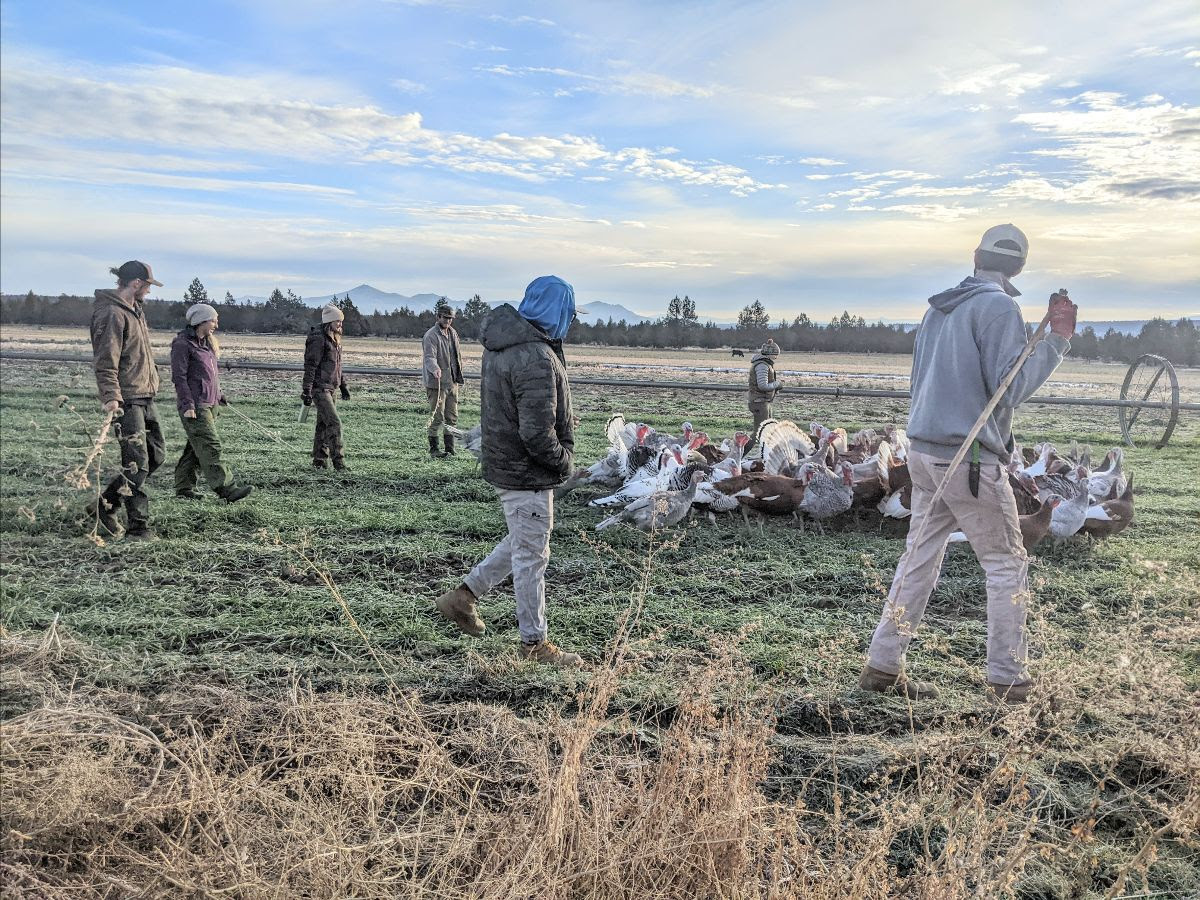
The month of November is the true end of our growing season. On the Monday before Thanksgiving we harvest our last crop of the year, our heritage turkeys. It is a sad, glorious, reverential day when, at the end of the day, we realize that, indeed, our growing and harvesting season is complete. We still have animals to feed and care for, the kale is still going strong in the hoops, and we have cabbage in the 25 holding steady, but that is it.

|
|
|
|
Probable Box Contents
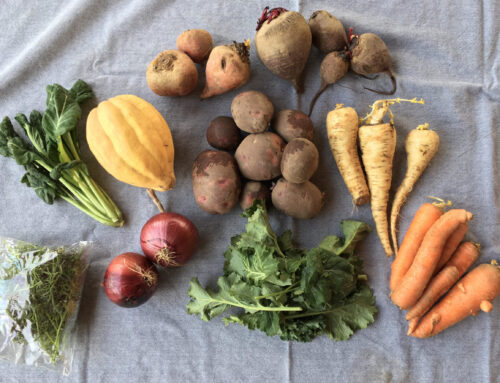
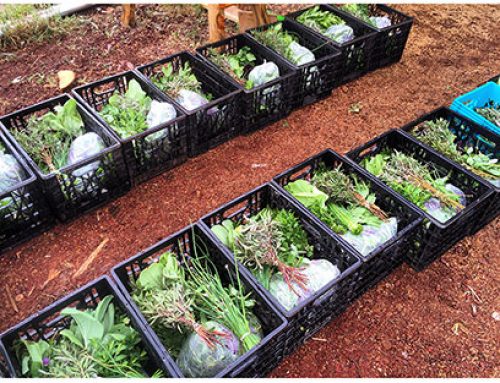
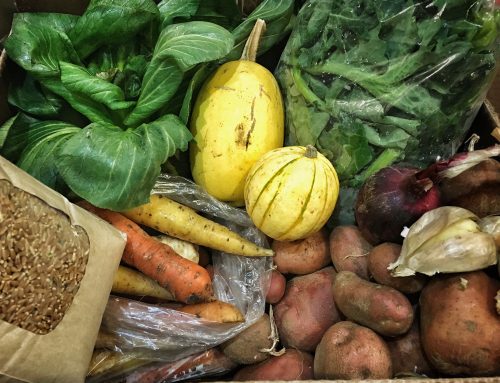
We pack the vegetable portion of your CSA share on Wednesday before pick up. Our decisions about what goes into the monthly vegetable CSA depend on the temperature and and how our storage crops and the hoops are doing.
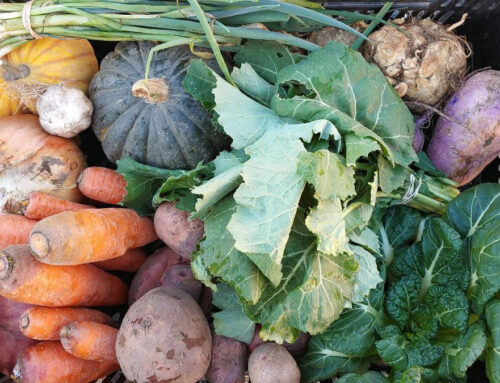
Today, we think Thursday’s Vegetable Share will include:
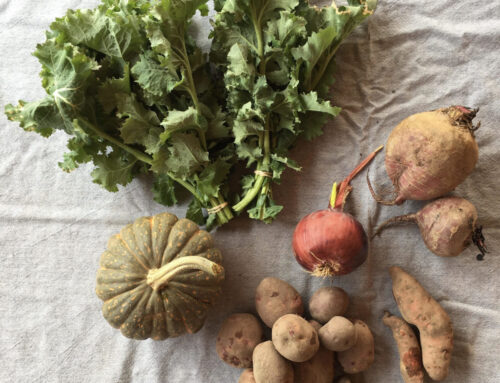
Huckleberry Gold Potatoes
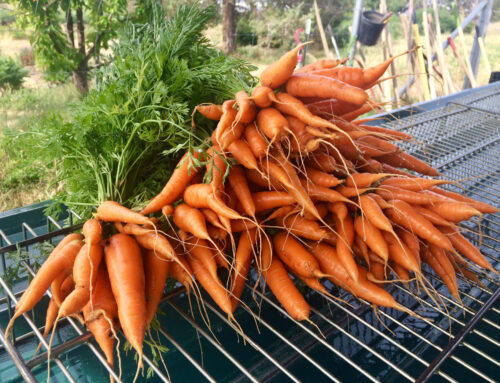
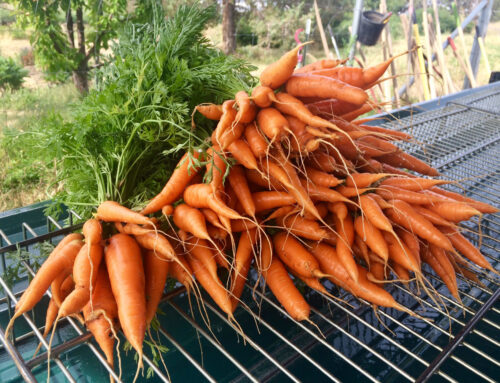
Carrots
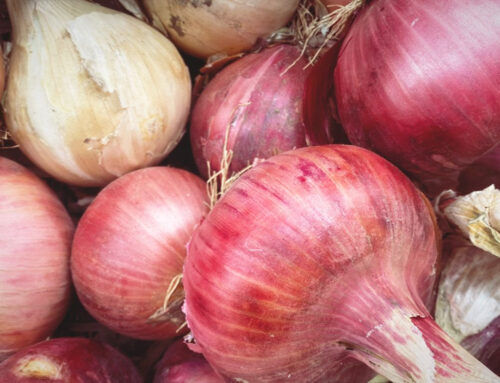
Onions
Garlic
Robins Koginut Squash
Daikon Radish
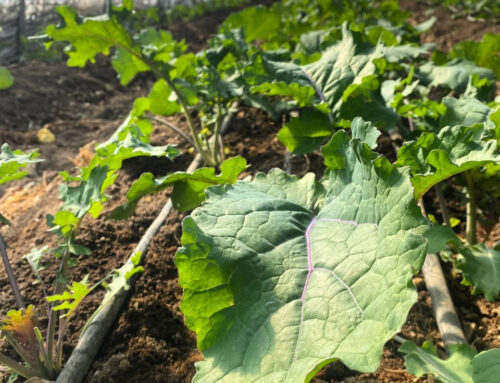
Siberian Kale
Cabbage
The Meat CSA will include:
1 bacon
a true mixed bag of pork: we have 3 animals to split up between you all so you can expect some (but not all) of the following: breakfast sausage, ground pork, or sweet italian sausage; shoulder blade steaks/shoulder steaks (we suggest a marinade and then to pan fry); country style ribs (HERE is a great recipe for oven style BBQ ribs); bone in or boneless chops
4 +/- ground beef
What is Diakon Radish?
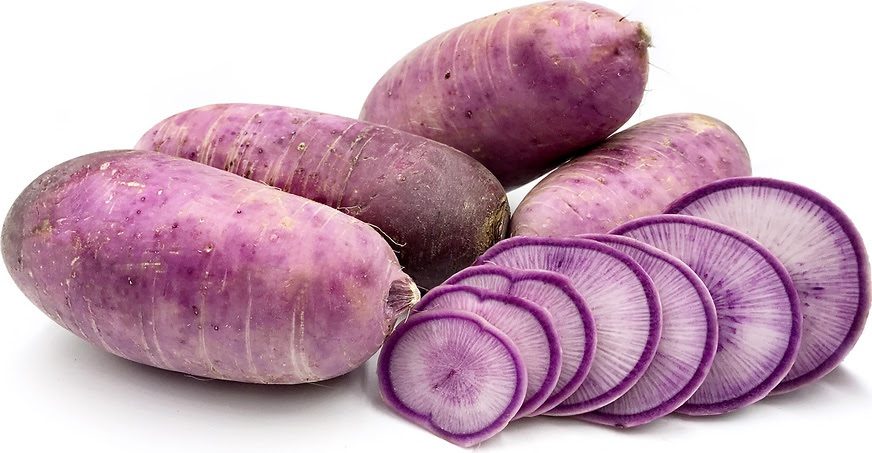
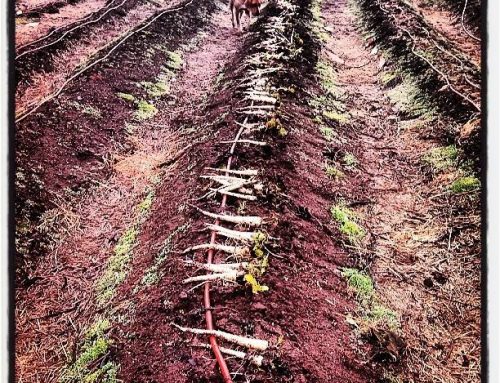
Diakon Radish is a radish popular in Asian cuisine. We grow purple daikon radish because is better suited to Central Oregon, but you can also find white and black Diakon elsewhere. Purple Diakon has purple skin and white to pale violet on the interior. The inner flesh is very crisp and offers a mild to medium heat and classic daikon radish flavor.
This radish is full of all sorts of good things! It is an excellent source of fiber and vitamin C, particularly when eaten raw; is full of flavonoids and the antioxidant sulforaphane; and contains vitamin B6, folate, and minerals such as K, Ca, Mg, and iodine.
Purple daikon radish can be used in both raw and cooked applications. It is really quite striking when sliced thin and served raw and is a great addition to salads, slaws, and crudité platters. Thin slices of Purple daikon are also popularly added to stews, curries, broth and soups such as miso. Turning purple diakon into a quick pickle is a fast, easy, beautiful way to spice up a winter meal! Purple daikon radish can also be prepared roasted which will tame the spicy bite radishes are known for and impart a caramelized flavor.
What is Robin’s Koginut Squash?
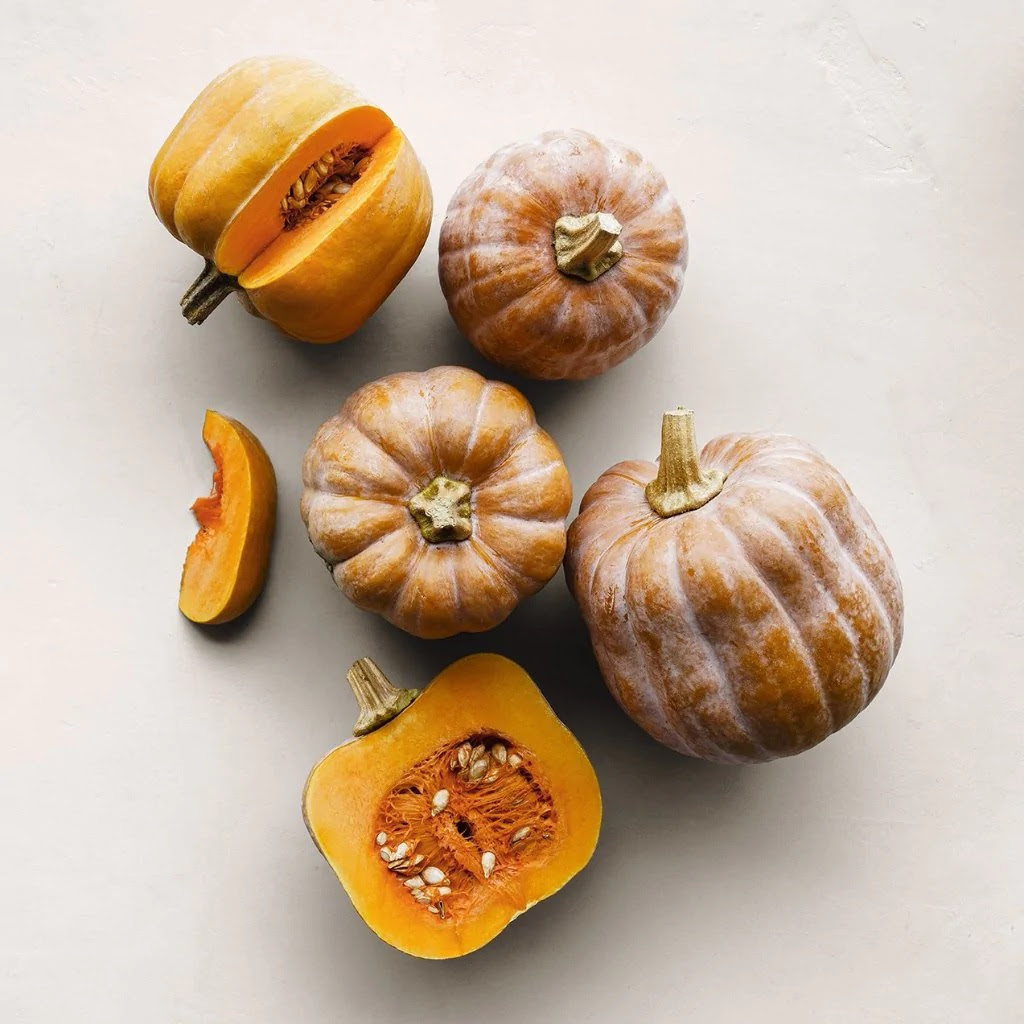
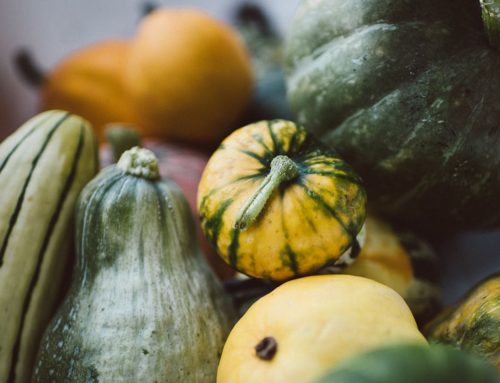
Robin’s Koginiut is a Row 7 Seeds winter squash that is a cross between a butternut and a kabocha squash. The result is a flavor that’s sweet, very squash-y and delicious, a very smooth texture, and, as an added bonus, you can eat the skin. Use this in all those recipes that call for a butternut squash. (You know, the ones you love the look of but never cook because you know we don’t grow plain old butternut squashes.)
This squash can be roasted in slices or halved, can be used in soups (either as purée or chunks), or in curries. Don’t forget to save the seeds and roast them!
If you get your squash and it still has a bit of a green tint to it, not too worry! Just leave it on your counter until it turns a more uniform chalky dark orange like the examples above.
|
|
Adapted from Bon Appétit
INGREDIENTS
½ cup finely chopped pecans
½ cup panko
2 tsp. finely grated lemon zest
1 tsp. plus 3 Tbsp. extra-virgin olive oil, divided
Kosher salt
1 Robin’s Koginut squash (about 3 lb.), peeled, halved, seeds removed, cut into 1″ cubes
2 tsp. dried oregano
Freshly ground black pepper
12 oz. spaghetti or other long pasta
6 garlic cloves, thinly sliced
1 large bunch kale, ribs and stems removed, leaves torn into 2″ pieces
½ cup (1 stick) unsalted butter, cut into pieces
1 oz. Parmesan, finely grated
¼ cup chopped parsley
¼ cup fresh lemon juice
INSTRUCTIONS
- Place racks in upper and lower thirds of oven and preheat to 350°. Spread out pecans and panko on a small rimmed baking sheet and toast on upper rack, tossing halfway through, until nuts are slightly darkened and panko is golden, 7–9 minutes. Let cool slightly, then transfer pecans and panko to a small bowl and stir in lemon zest, 1 tsp. oil, and a pinch of salt. Set pecan breadcrumbs aside.
- Increase oven temperature to 400°. Divide squash between 2 rimmed baking sheets; drizzle with 2 Tbsp. oil. Sprinkle oregano over, season with salt and pepper, and toss to coat. Roast, tossing halfway through, until tender and browned in spots, 25–30 minutes.
- Meanwhile, cook pasta in a large pot of generously salted boiling water, stirring occasionally, until very al dente, about 2 minutes less than package directions. Drain, reserving 1½ cups pasta cooking liquid.
- Heat remaining 1 Tbsp. oil in a medium Dutch oven over medium. Cook garlic, stirring, until tender but not browned, about 1 minute. Add kale and cook, stirring, until beginning to wilt, about 2 minutes. Add 1 cup reserved pasta cooking liquid, cover pot, and cook until kale is completely wilted, about 4 minutes. Uncover pot, add butter, and stir until melted. Add Parmesan and pasta and cook, tossing vigorously with tongs and adding more pasta cooking liquid if needed, until pasta is al dente and sauce coats pasta, about 2 minutes. Remove from heat and toss in squash, parsley, and lemon juice. Taste and season with more salt if needed.
- Divide pasta among shallow bowls; top with reserved pecan breadcrumbs and season generously with pepper.
Adapted from It’s A Veg World After All
INGREDIENTS
1 purple daikon radish – sliced into matchsticks
1 carrot – sliced into matchsticks
2 green onions – thinly sliced
1 tablespoon toasted sesame oil
1 tablespoon rice vinegar
1 tablespoon honey – sub with maple syrup to make vegan
1 lime – juiced
1 clove garlic – pressed or minced
Toasted sesame seeds – for garnish, to taste
INSTRUCTIONS
- Wash and trim the radish and carrot. Use a sharp knife or a julienne peeler to slice the veggies into matchsticks. Transfer to a mixing bowl and add the sliced green onions.
- In a small bowl, whisk together the sesame oil, rice vinegar, honey, lime juice, and garlic. Pour over the salad and mix until coated.
- Serve the salad right away or after chilling it for a couple of hours in the fridge. Top with toasted sesame seeds.
Adapted from Life’s Little Sweets
I haven’t every roasted Diakon, but I am looking forward to trying this simple dish out especially once I learned that roasting takes a bit/all of the spice out.
INGREDIENTS
1 1/2 pounds Purple Daikon Radishes, clean, tops and tails cut, cut into 3/4 inch pieces
1-2 tablespoons olive oil
1/2 teaspoon Kosher salt, or amount to taste
1/4 teaspoon fresh ground black pepper, or amount to taste, plus more for serving
1/4 teaspoon ground cumin
INSTRUCTIONS
- Preheat the oven to 450°F. Line a rimmed baking sheet with a silicone baking mat or parchment paper.
- Combine the Diakon with the olive oil, Kosher salt, fresh ground black pepper, and cumin to the prepared radishes. Stir to combine.
- Lay the seasoned radish pieces on the prepared baking sheet; arrange them so that they are not touching.
- Bake for 25-30 minutes or until golden or desired crispness is reached. Serve and enjoy!
Adapted from The Modern Proper
This seems like one of those meals that is a little fussy, but can be doubled and then frozen for snacks/lunches on the go.
INGREDIENTS
3 potatoes, peeled, diced into 1/4 inch cubes
2 tbsp olive oil
1 lb ground beef
1/2 medium onion, grated
1 carrot, grated
1 rib of celery, finely minced (or small celeriac peeled and diced)
2 cloves of garlic, minced
1/2 tsp chili powder
1 tsp ground cumin
1/2 tsp ground cinnamon
3/4 cup beef broth
1/2 cup peas (or not if you don’t have any on hand)
1/2 tsp salt
1/2 tsp pepper
Crust
2 1/2 cups flour (I recommend a half and half hard red and soft white)
1/2 tsp sea salt
4 oz unsalted butter, chilled and cut into 1/4 inch cubes (or lard)
1 large egg, room temperature
1/3 cup ice water
1 egg, beaten for egg wash
INSTRUCTIONS
- Make the pastry dough: Pulse the flour and salt in a food processor. Add the butter, 1 large egg and ice water, pulsing until the mixture resembles coarse crumbs. Shape the dough into a ball. Tightly cover the dough in plastic wrap and place in the refrigerator for at least 30 minutes.
- Prepare the filling: Fill a medium size pot ¾ full with water and bring to a boil. Add the cubed potato to the pot and boil until tender, about 3 minutes.
- Meanwhile, in a large skillet set over medium, heat the olive oil until shimmering. Add the ground beef along with the onions, celery and carrots. Cook until the beef is browned and vegetables are softened, about 8 minutes. Once potatoes are cooked, drain and add them to the ground beef mixture.
- Add the garlic, chili powder, cumin, cinnamon and beef broth, cook 1 minute longer until spices are fragrant. Add and peas and simmer over medium heat until everything is fully incorporated and most of the liquid has been absorbed. Season with salt and pepper.
- Preheat oven to 375°F and place rack into the center of the oven.
- Remove dough from refrigerator and divide it into 10 equal part—roughly 2.2 oz each. Roll each piece of dough very thin on a lightly floured surface until you have a circle roughly 7” wide. Working with one at a time add a heaping ⅓ cup of filling onto one side of the dough.
- In a small bowl, mix together the beaten egg with 1 tablespoon of water. Wet a pastry brush with egg wash and dampen the inside ¼ inch edge of the dough. Fold the dough in half over the filling. Using a fork, firmly press the edges together. Repeat this process with remaining dough and filling and arrange on a parchment lined baking sheet.
- Brush the tops of each empanada with the egg wash until coated. Bake for 35 min or until golden brown.

|
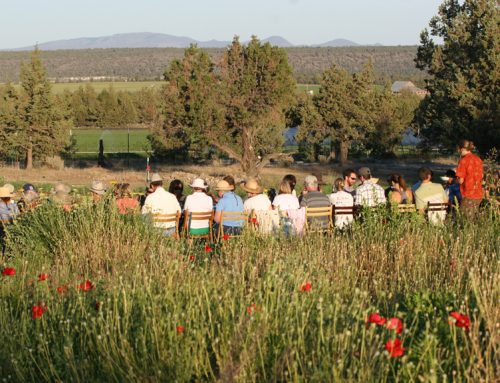
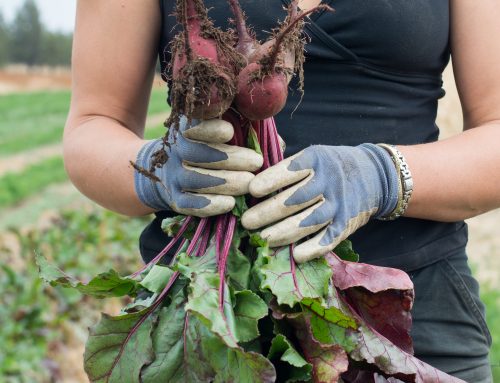
Photo Credit: Natalie Leder
|
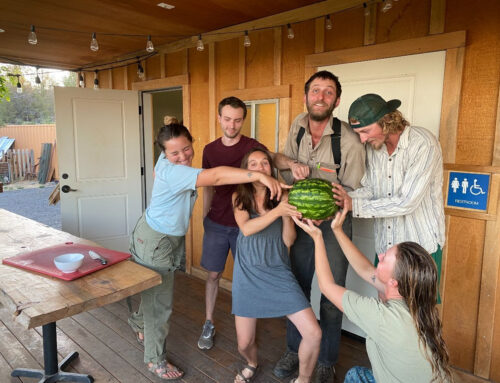
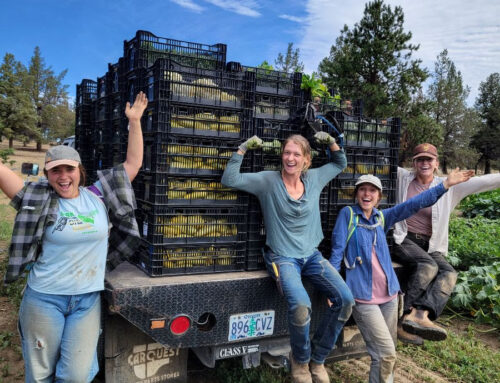
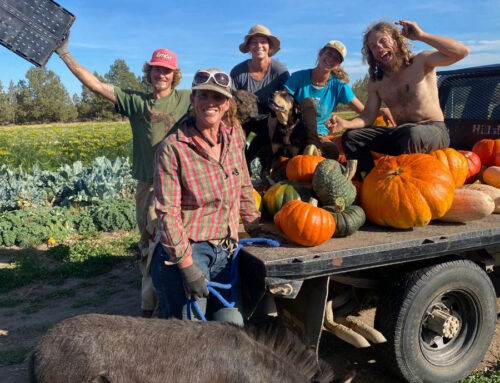
| We can’t wait to see you on Thursday, December 1 in Bend or Sisters, or at the Farm Store on Friday or Saturday, December 2 & 3. Please let us know if you have any questions.
The Farm Crew |


