")
News from the Farm
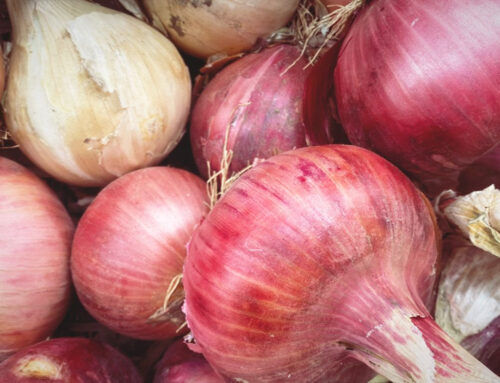
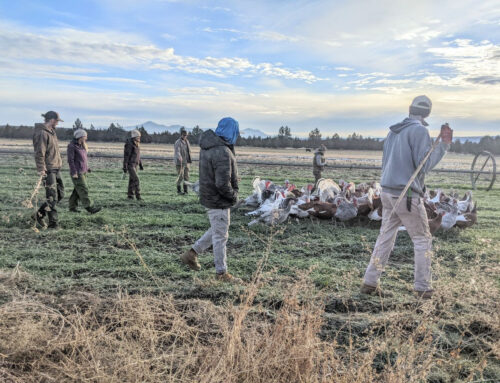
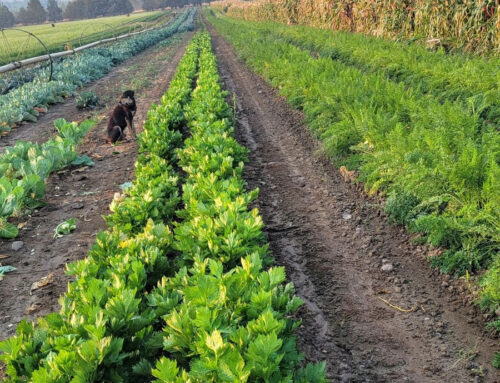
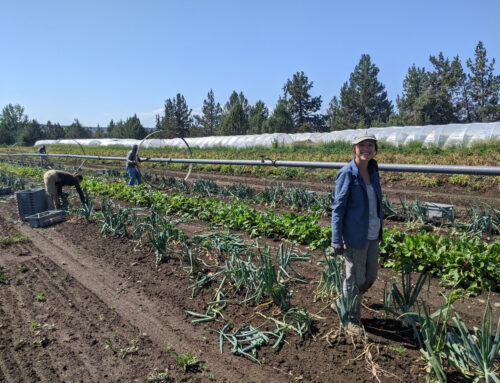
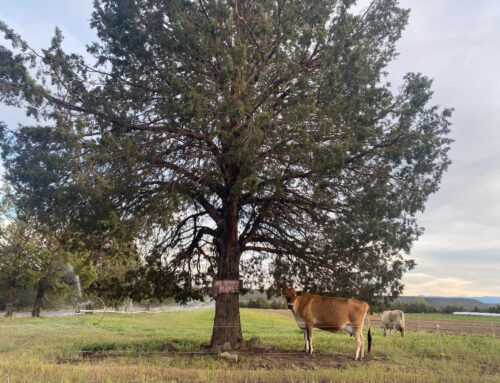
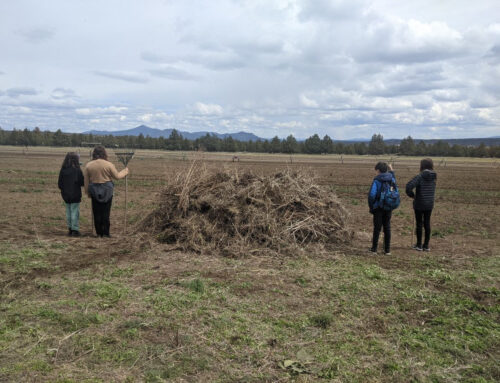
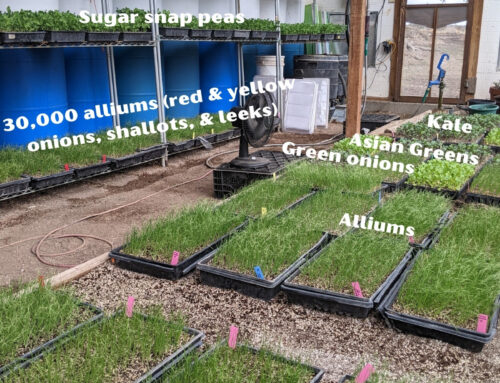
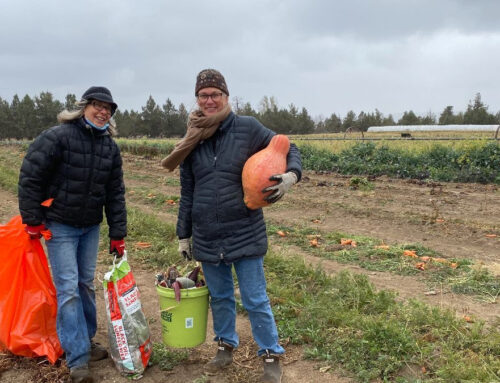
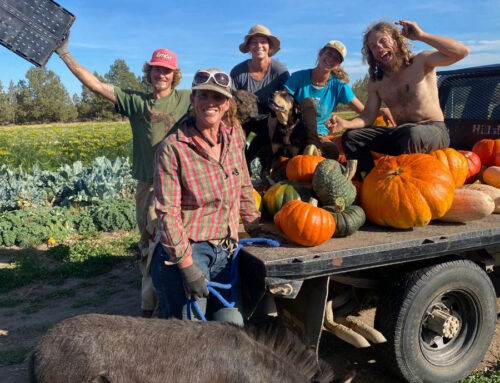
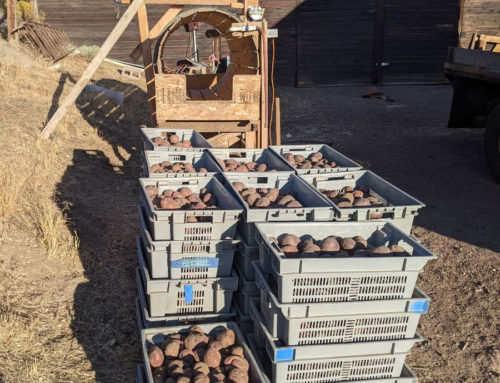
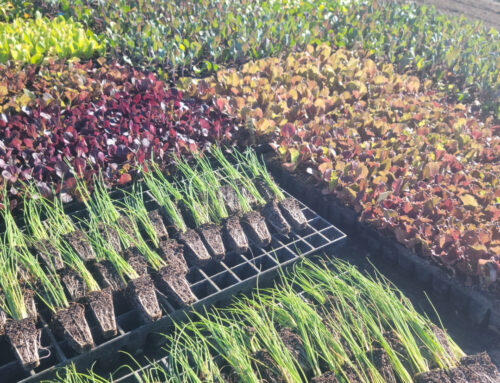
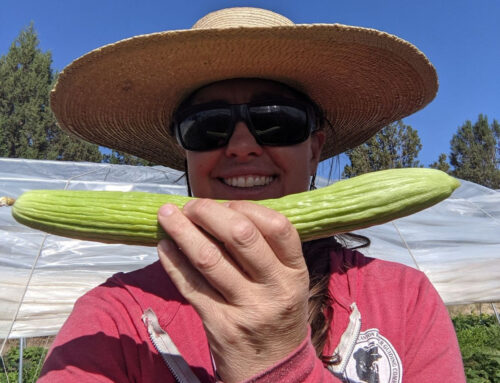
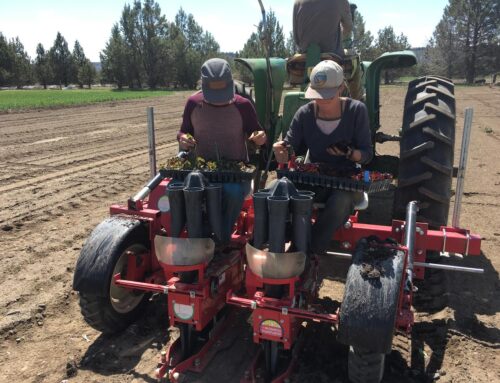
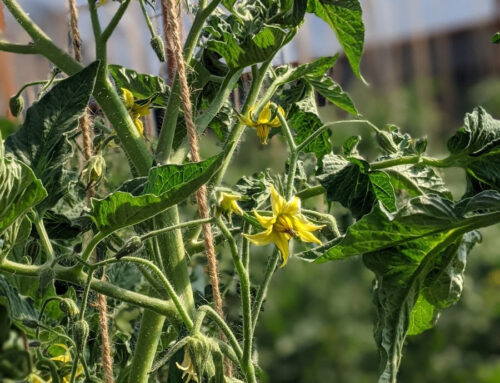
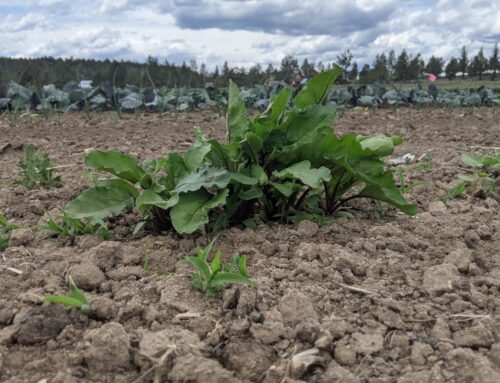
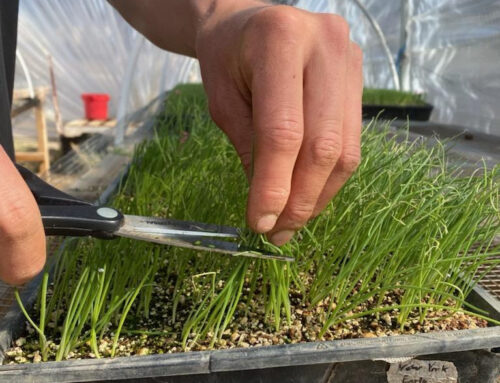
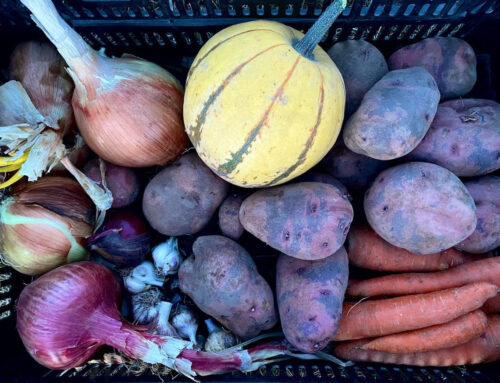
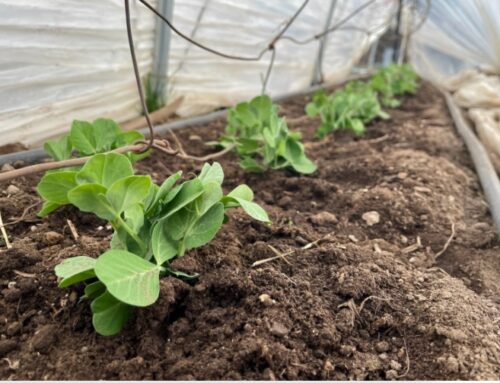
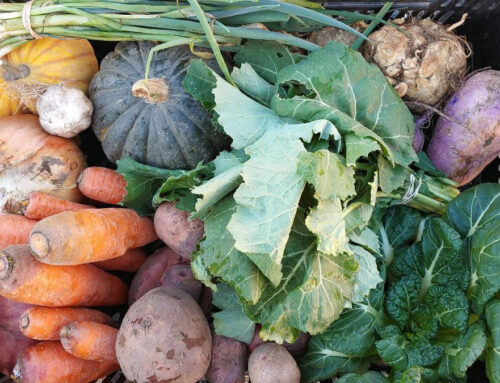
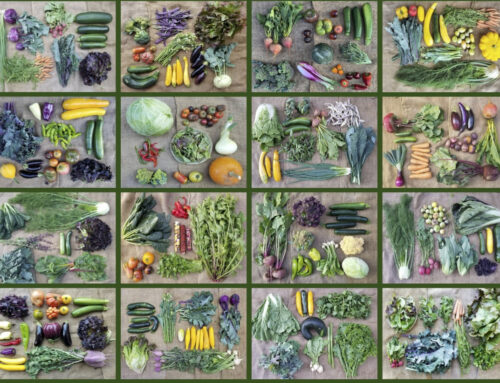
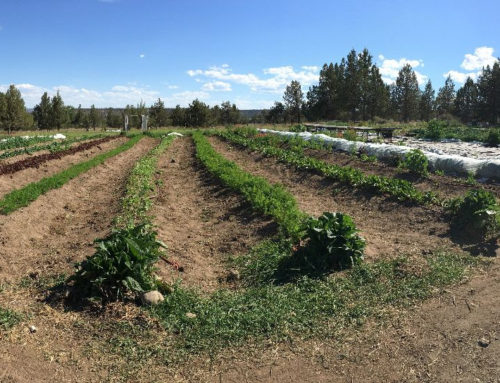
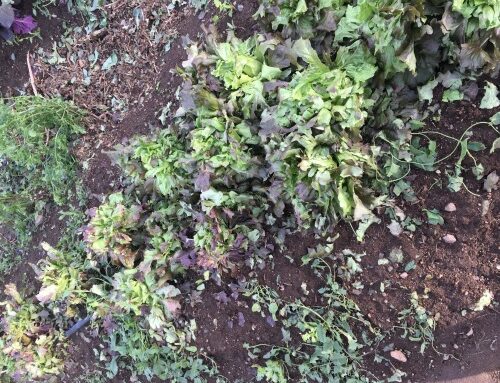
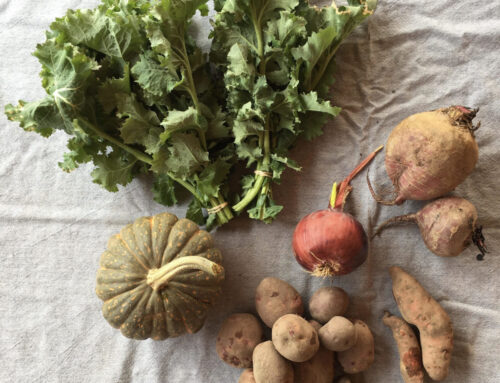
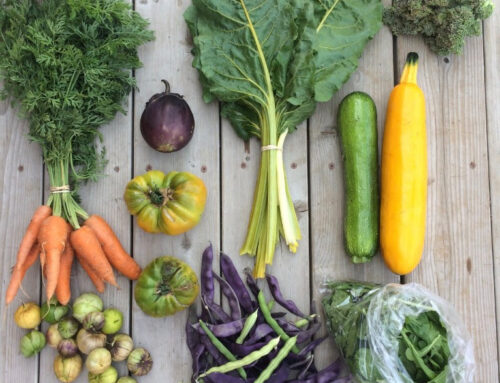
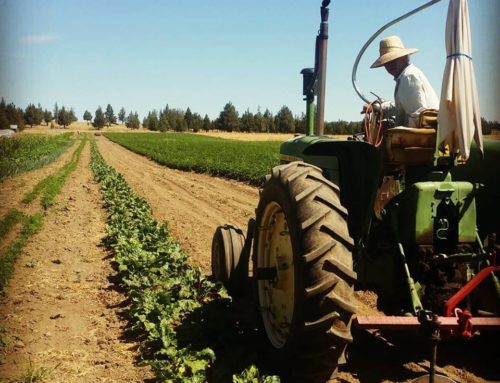
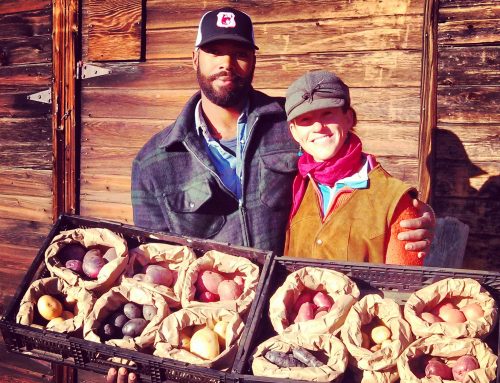
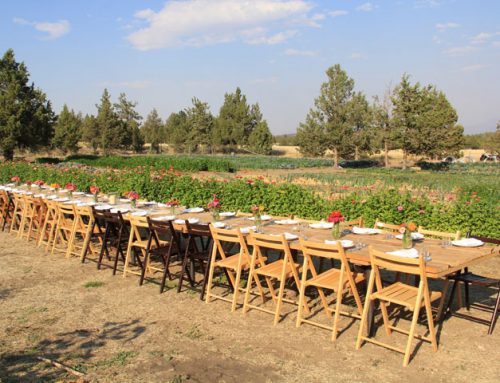
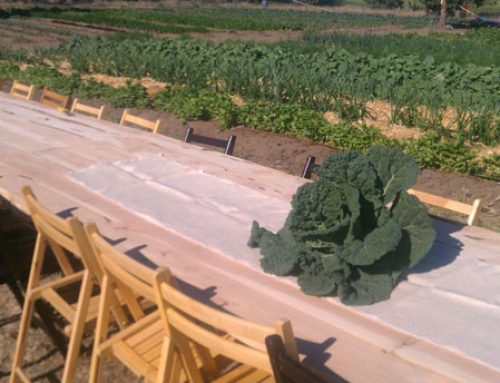
Well, spring has sprung and all the babies are in the ground. At least this first succession. This past week we came really close to finishing our first rounds of vegetables planted in our 25-acre. We started this season’s crops in October when we got our garlic in the ground. Then over the past 3 weeks we have planted our potatoes, onions, winter squash, and celeriac (the foundations of our winter CSA) and our first successions of beets, carrots, kohlrabi, kale, lettuce heads, cabbages… the list goes one.


The potatoes, onions, etc. will spend the whole season growing to harvestable size before we start eating them, but the beets, carrots, kohlrabi, etc. we grow in rounds, if you you will: plant or seed now, grow to harvestable size, and harvest the whole thing. A couple weeks after we see the first round, we start another. This way we always have the item during the season. A succession.
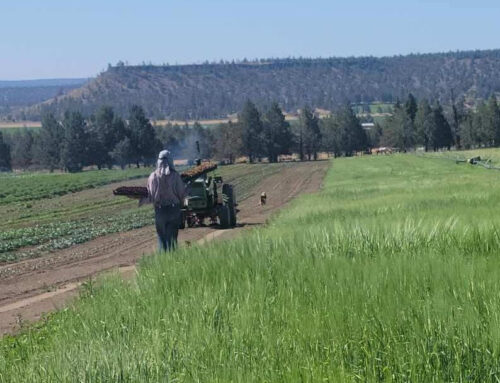
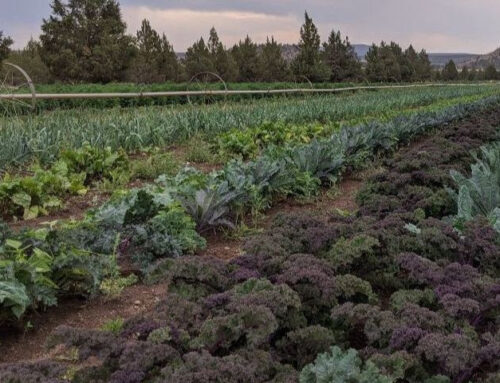
These late spring/early summer weeks set the stage for our whole summer CSA. It will be a few weeks yet before you start to get things out of the 25-acre, but in about a month, the tide will change, and the 25 will begin supplying the majority of our vegetables.
|
|
|
|
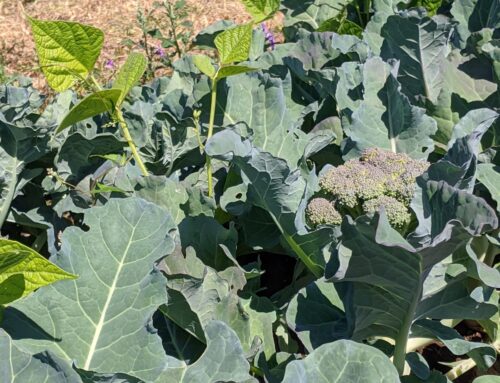
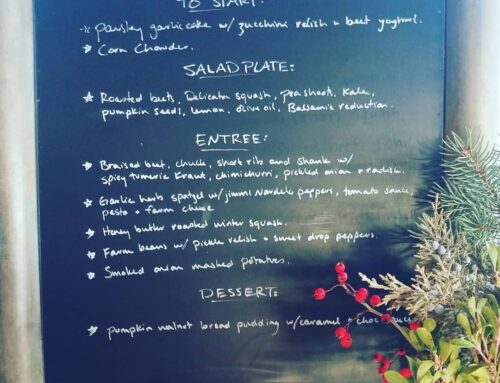
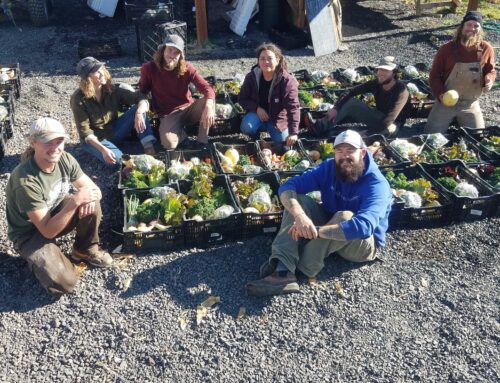
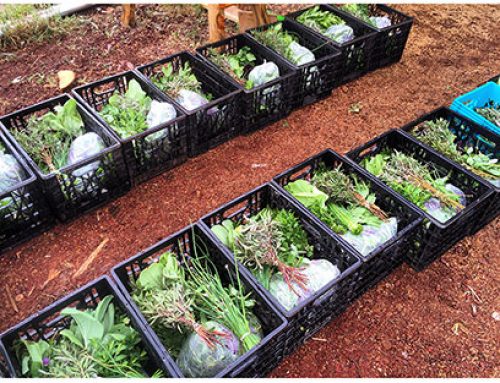
Vegetable CSA Harvest List
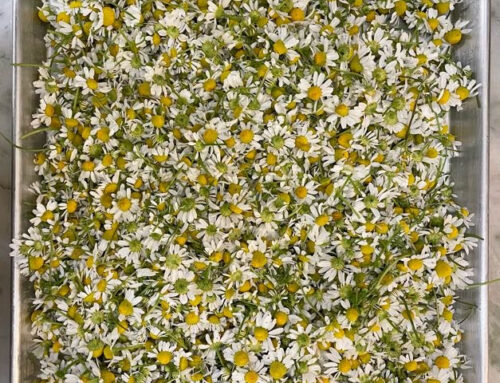
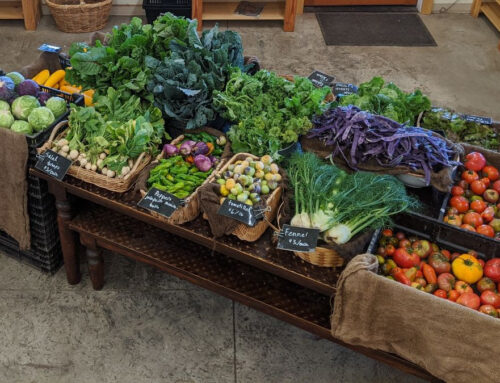
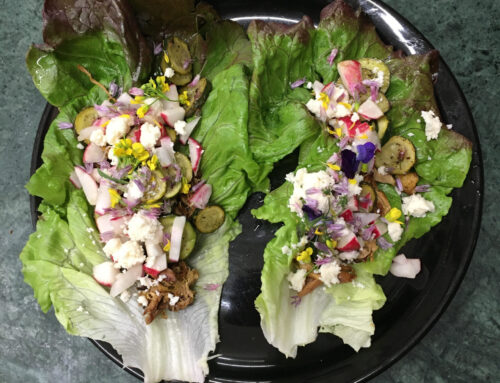
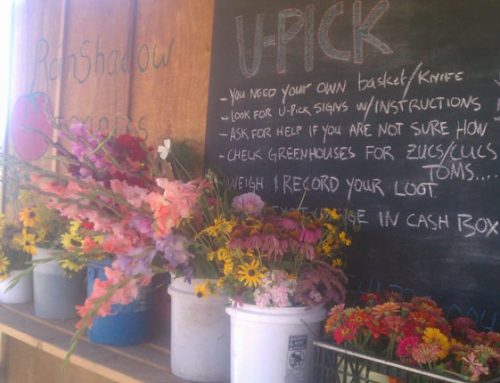
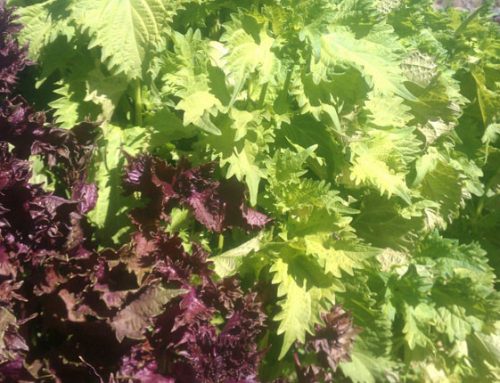
We think our foundation vegetables this week will be: Asian greens and radishes for large and small CSAs and herbs for Large CSAs. We will let you know on Wednesday how many other items you will get to select.
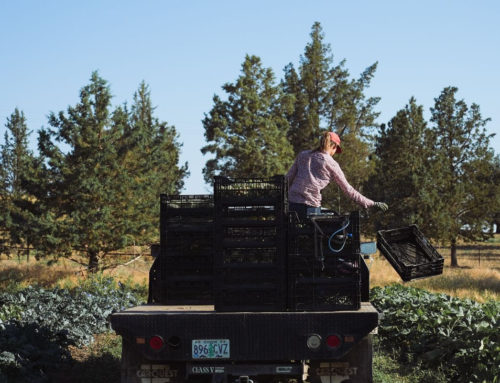
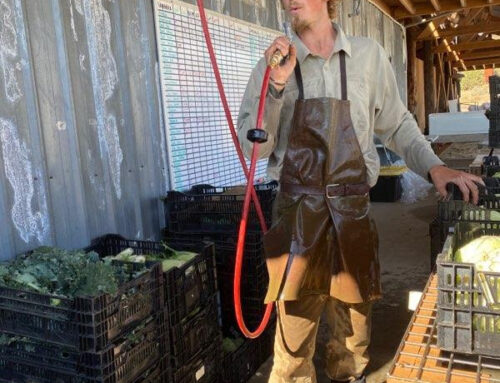
We have been keeping an eye on the hoops and 2-acre garden and have a pretty good idea of what is out there and ready to be harvested, but this is a Sunday estimation of what we will be harvesting on Tuesday. Also, because we have a market style CSA, this isn’t a guarantee of 1 of all these things for everyone. Instead, this will be the variety of what will hopefully (fingers crossed) have for you to choose from this week.)
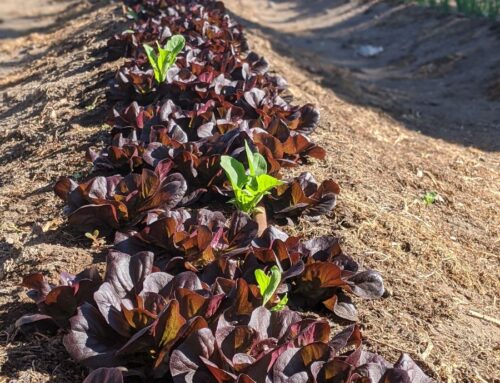
Other Vegetable Options will probably include:
peas
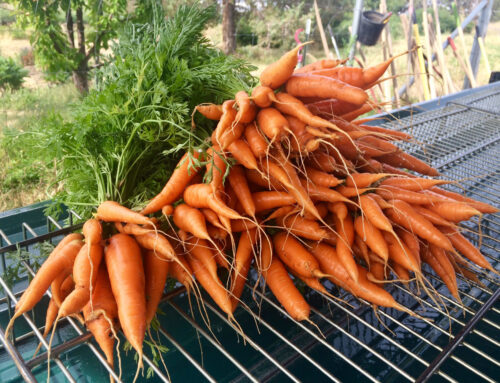
carrots
kale
rhubarb
salad turnips
green onions
lettuce heads
arugula
Napa cabbage
bagged baby beet greens
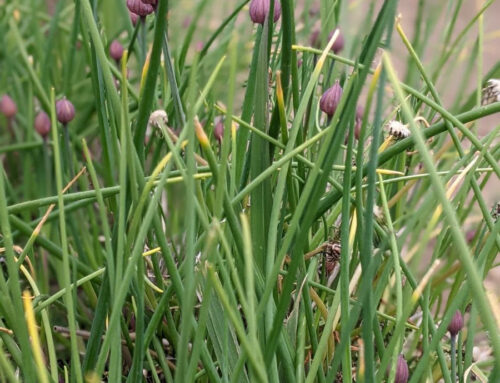
chives
oregano
spinach
sorrel
salad mix
zucchini
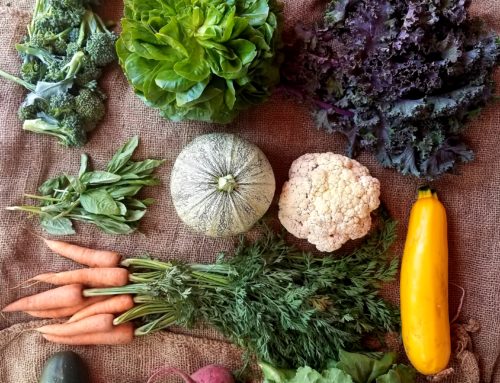
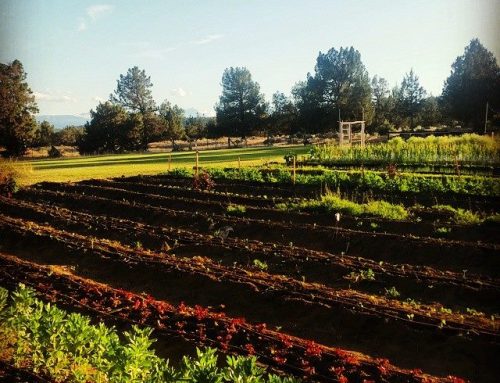
Meat CSA
This week our Meat CSA features beef and a ham steak!
Large CSA (10lbs)
1 ham steak
1 package meaty soup bones
1 chuck roast
1-3 Ground Beef (depending on weight of rest of the share)
Small CSA
1 ham steak
1 package meaty soup bones
1-2 ground beef (depending on weight of rest of the share)
Keep an eye on our Instagram stories for a tour of what the options are on Wednesday around 11 am.
|
|
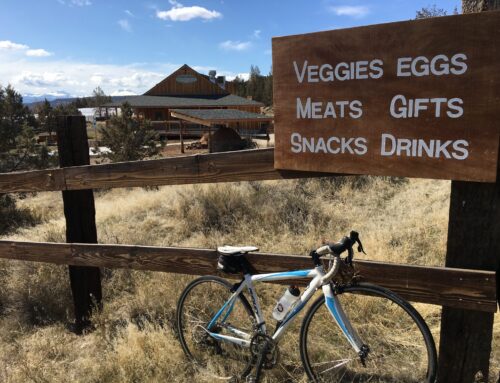
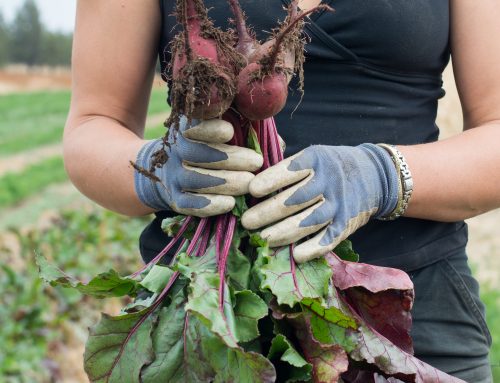
Beef broth (see recipe below) and the meat you have reserved
1 onions, sliced thin and sautéed
1 bunch Asian greens, rinsed and coarsely chopped
Ramen noodles2 carrots, shredded
2 green onions, chopped
Chinese 5-spice powder to taste
Soy Sauce to taste
Soft Boiled or fried eggs
Hoisin sauce and hot sauce to finish
*optional: any other fresh veg you have and want to add: salad turnips, sliced radishes, potatoes, etc.
INSTRUCTIONS
- Sauté onions and add to pot with beef broth and meat. If using potatoes or salad turnips, add them here.
- Taste and adjust for seasoning. When potatoes are done, add Asian greens and noodles. Turn off heat when noodles are done and add soy sauce to taste. Stir in shredded carrots and radish if you are adding.
- Ladle into bowls and top with soft boiled eggs, hoisin sauce and hot sauce, and sliced green onions.
1 pack soup bones
1 whole onion, quartered, skins and all
2 carrots, quartered, ends and all
1 celeriac bulb, quartered, skins and all or celery stalk
1 bay leaf
1 tsp peppercorn
water to cover all ingredients
INSTRUCTIONS
-
- Put everything in the soup pot you have that will fit it and has a lid.
- Bring to a boil and then drop to a low simmer with the lid on.
- Simmer all day, 6+ hours. You might have to add water every now and then if you lid doesn’t fit tight, but losing a bit of water is okay. Strain out the broth and use or freeze. (Try that ramen recipe above.) Remove all meat from the bones and save for something else (tacos, soup, pasta, fried rice, ramen, etc.).
Adapted from Martha Rose Schulman’s NYT Cooking Recipe
(This is a great way to use the WHOLE radish!)
INGREDIENTS
1 bunch radishes, with greens
1 tablespoon soy sauce
1 tablespoon rice vinegar
2 teaspoons honey
2 tablespoons chicken stock, vegetable stock or water
Salt and freshly ground pepper to taste
1 tablespoon peanut, canola, sunflower, or grape seed oil
2 teaspoons minced garlic
2 teaspoons minced ginger
1 bunch green onions, chopped, white and green parts separated
¼ cup chopped cilantro
1 teaspoon cornstarch dissolved in 2 tablespoons water
INSTRUCTIONS
- Cut away greens from radishes and trim off bottoms of the stems. Wash in 2 changes of water and spin dry. Chop coarsely. Trim away tips of radishes and quarter lengthwise if large, cut in half if small.
- In a small bowl or measuring cup combine soy sauce, vinegar, honey, and stock or water. Have all ingredients within arm’s length of your burner.
- Heat a 14-inch flat-bottomed wok over high heat until a drop of water evaporates within a second or two when added to the pan. Add oil to wok or pan and swirl to coat sides, then add garlic and ginger and stir-fry for no more than 10 seconds. Add white parts of green onions and stir-fry for 30 seconds to a minute. Add radish greens, salt and pepper and stir-fry for 1 to 2 minutes more, until they wilt, and stir in radishes. Stir-fry for ½ minute and add soy sauce mixture. Stir-fry for a minute more, then stir in cilantro and green onion greens, stir together for a few seconds, add cornstarch slurry and stir until vegetables are glazed (less than 30 seconds). Remove from heat and serve.
Adapted from Mark Bittman’s NYT Cooking Recipe
INGREDIENTS
About 12 radishes, thinly sliced
1 tablespoon salt
¼ teaspoon freshly ground black pepper
2 tablespoons fresh lime juice
1 tablespoon orange juice
Ground Urfa or other mild chilies to taste (optional)
2 tablespoons chopped mint or cilantro
INSTRUCTIONS
- Combine radishes with salt, and cover with water in a bowl. Let sit 15 minutes. Drain, and rinse. Meanwhile, stir together the pepper and fruit juices.
- Toss radishes with dressing and chilies. Taste. Add more salt, pepper or lime juice as needed. Garnish with herb, and serve.
|

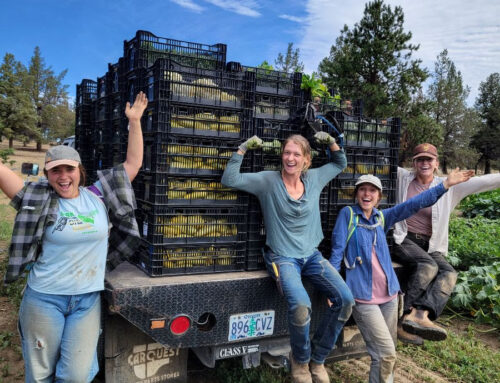
We will see you on June 1 for your first CSA pick up! Don’t forget to put that reminder in your calendar!
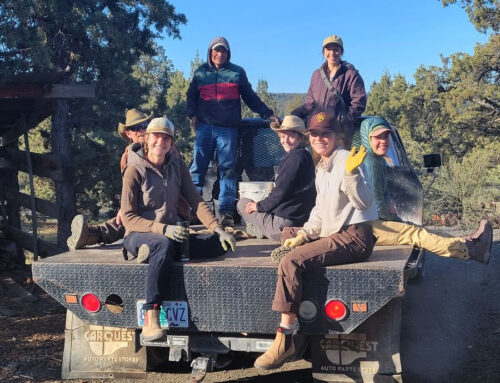
The Farm Crew