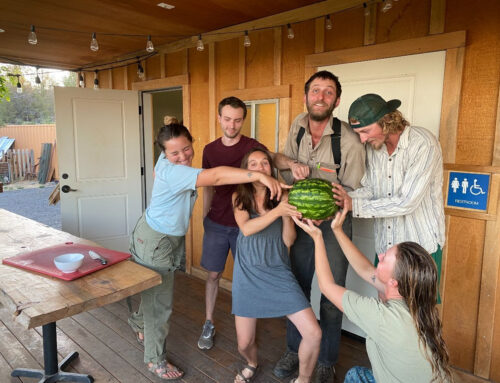
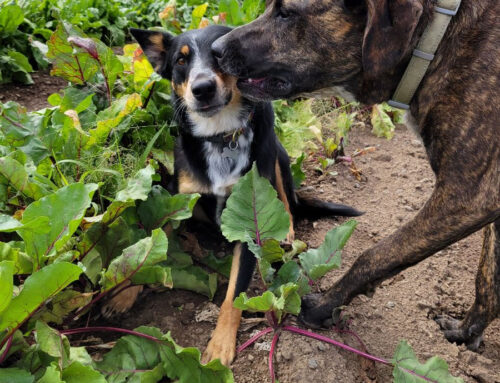
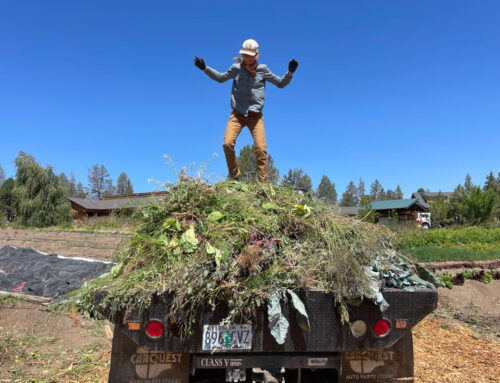
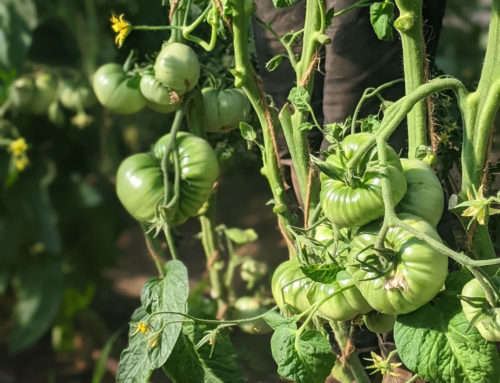
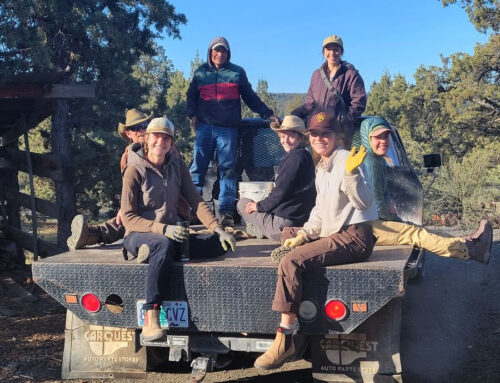
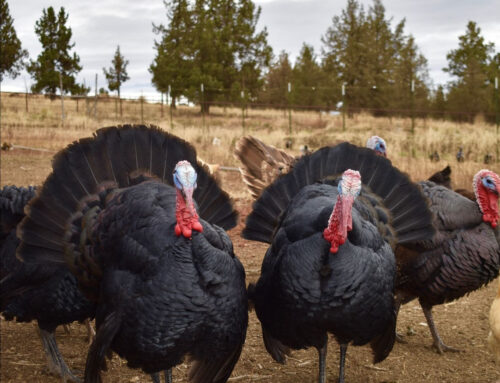
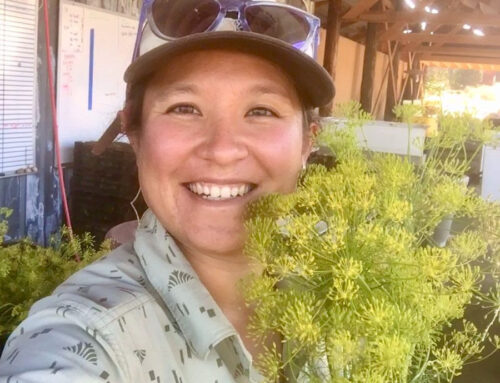
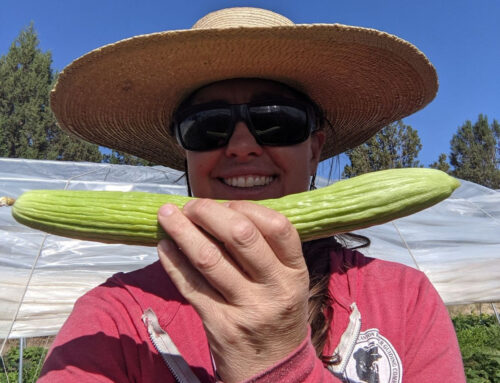
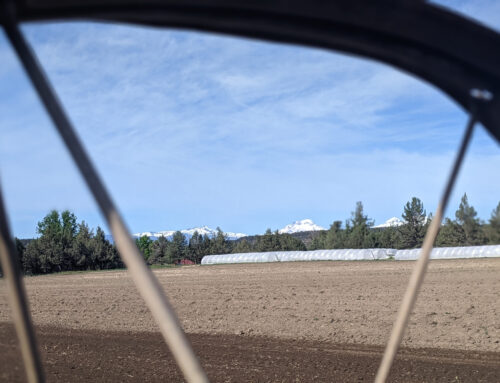
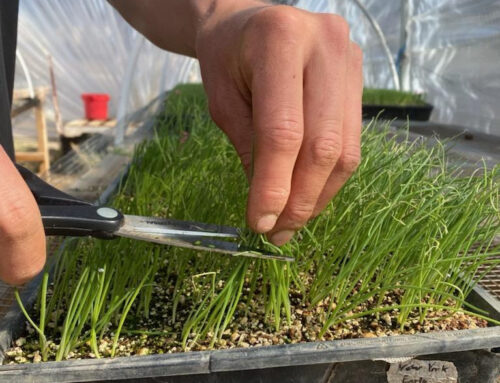
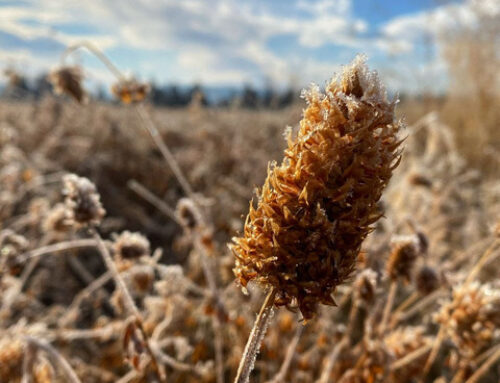
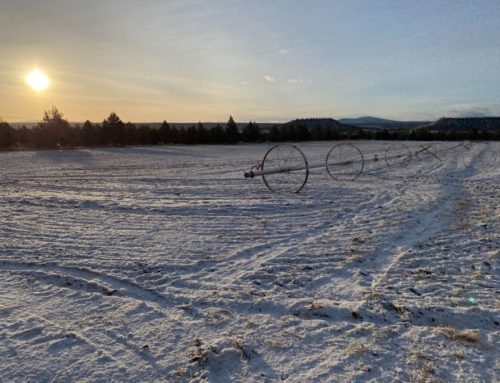
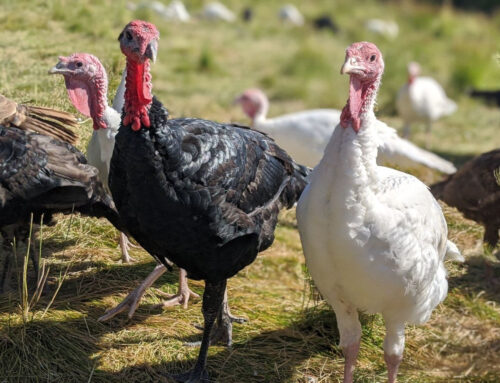
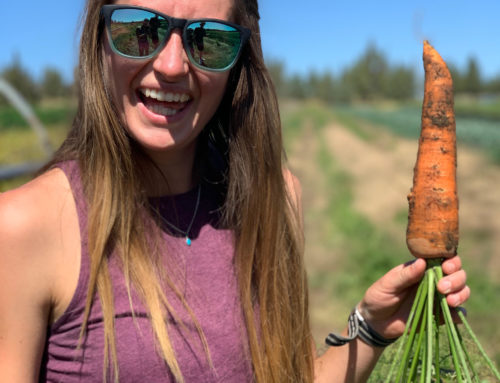
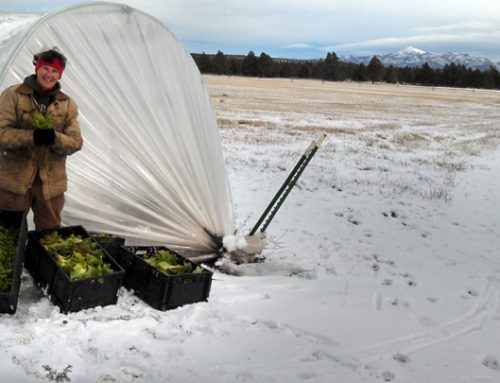
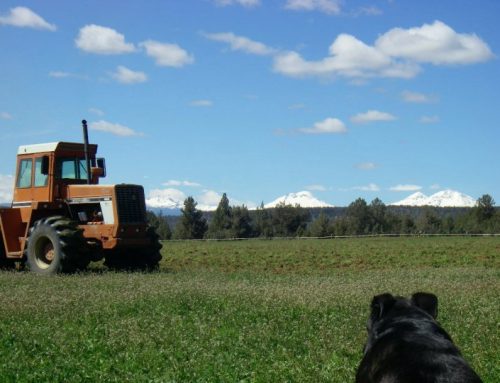
It is feeling mighty spring like around Rainshadow Organics at the moment. We got a little dusting of snow last week, but then the sun popped out and the snow melted and suddenly folks were seeding in their t-shirts in the 4-season greenhouse with the doors open. While there are 3moreCSA pickups left in the winter CSA (March, April, & May), we are planning and starting all of our summer starts right now. It is quite the mind bender to be planting tomato seeds and packing CSA boxes with winter storage potatoes and carrots at the same time.
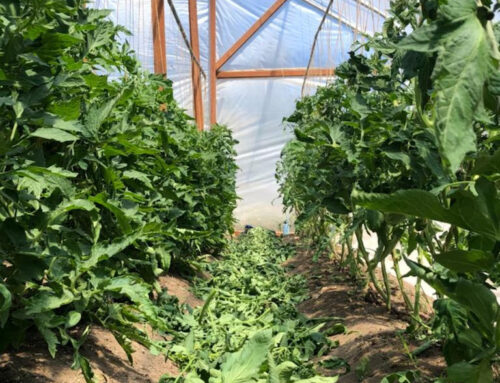
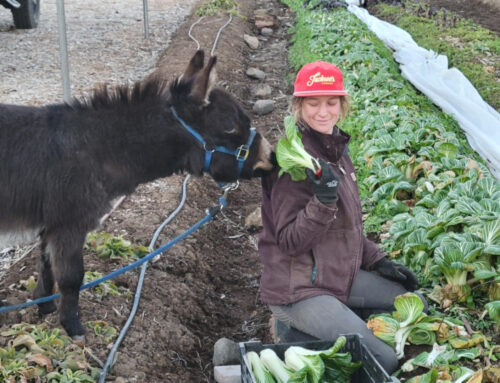
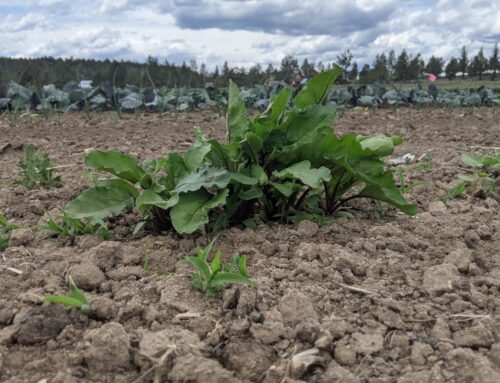
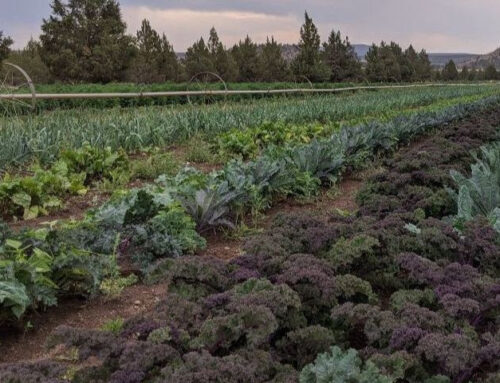
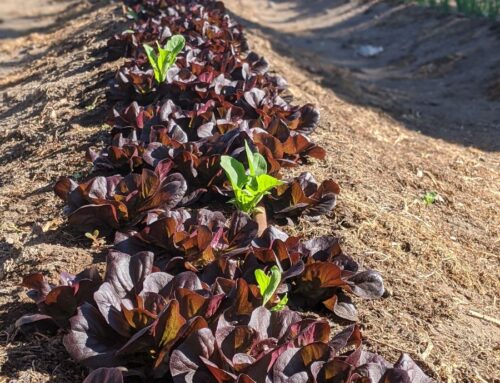
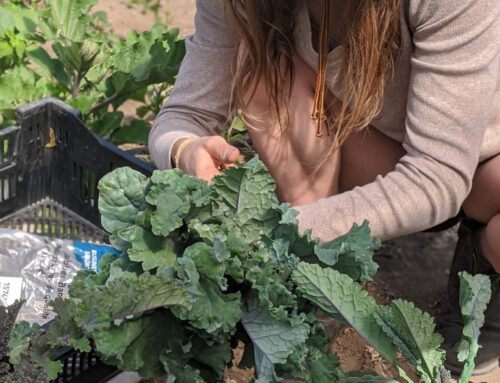
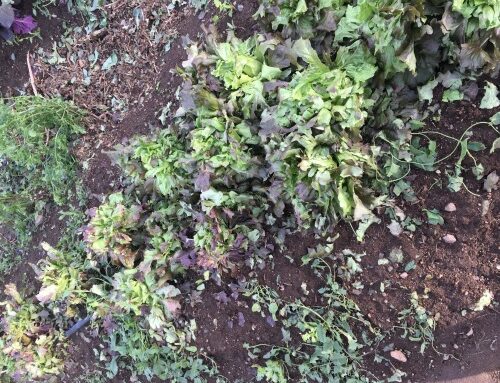
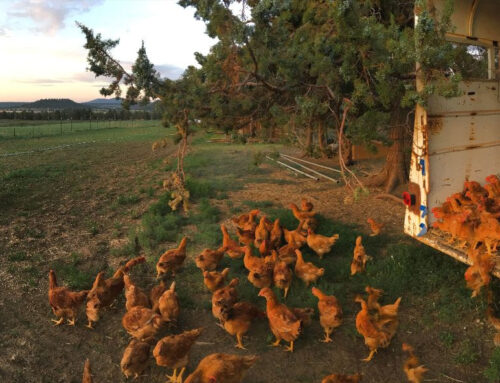
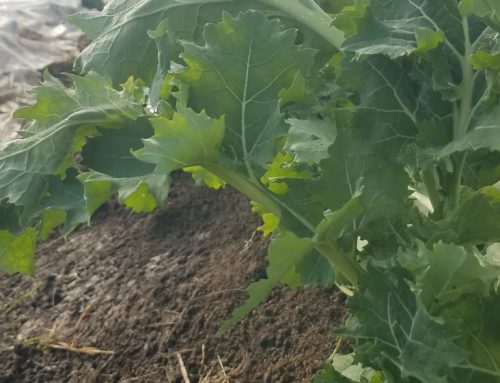
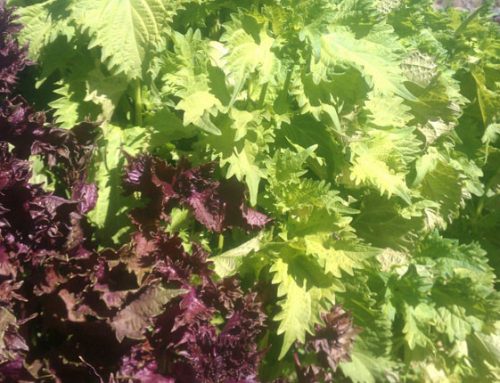
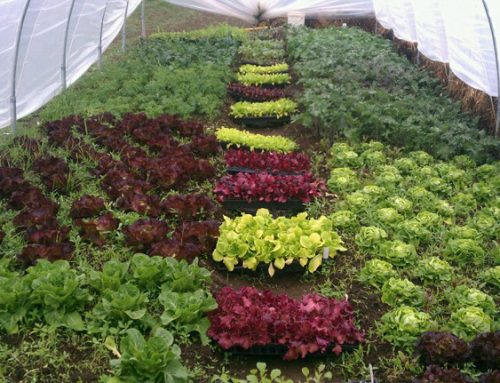
The hoop houses are also responding positively to the increase in daylight that comes with February. Add in those 50F days and, well, you can imagine how green and verdant the kale and yukina savoy is getting. As a result, this month’s CSA is showcasing our winter green selection. Break out your recipes for kale and asian greens!
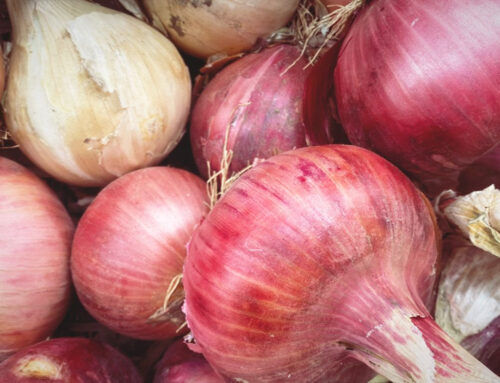
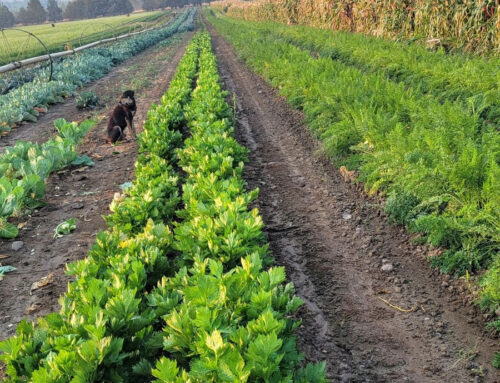
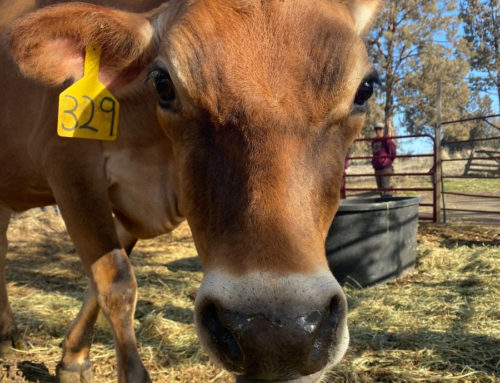
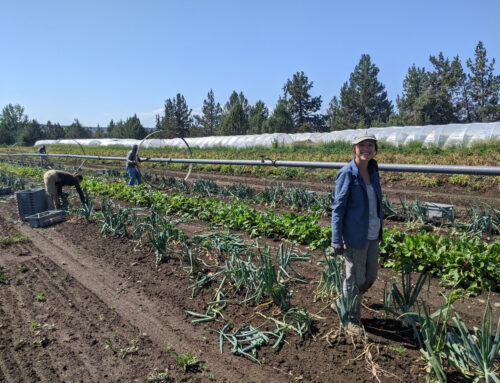
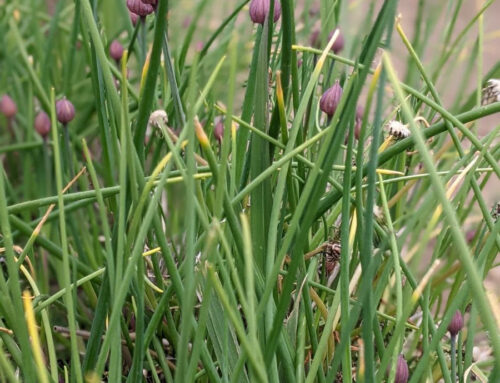
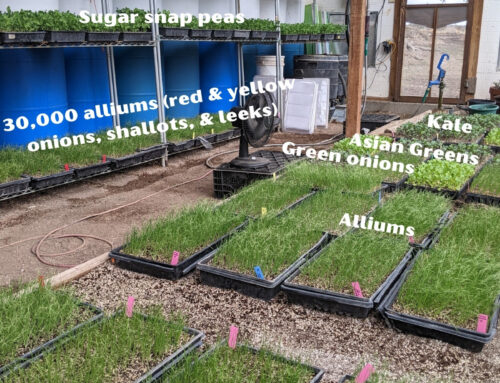
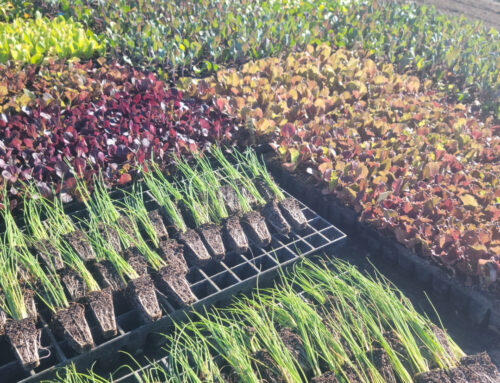
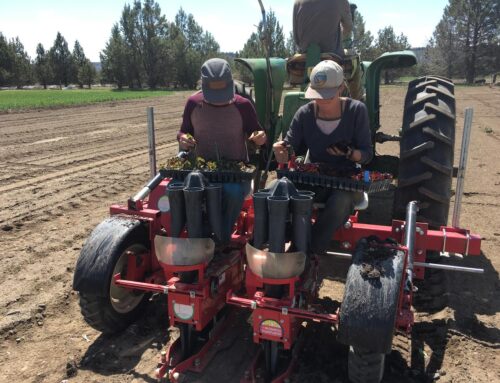
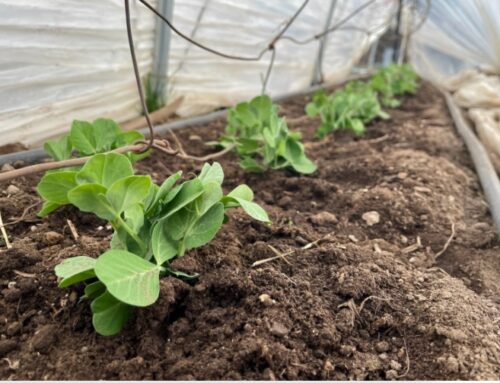
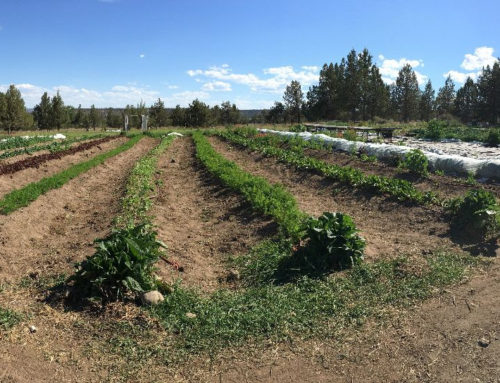
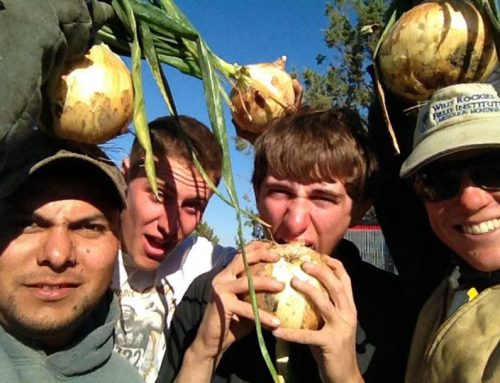
All those onions we talked about in the April CSA newsletter have perked up and out. We haven’t planted them yet, but they are growing strong.
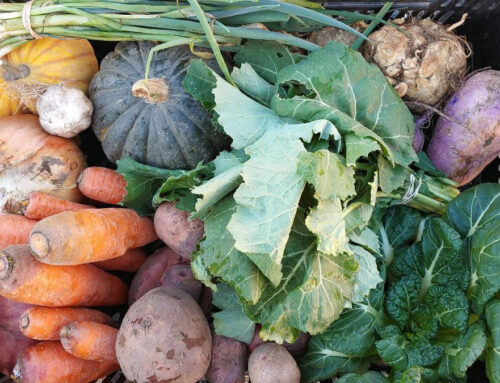
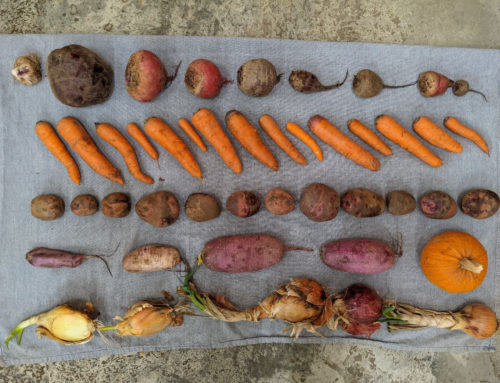
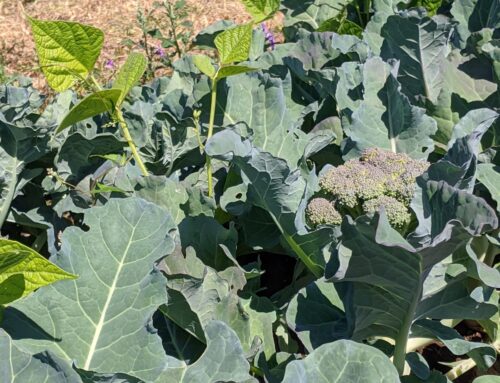
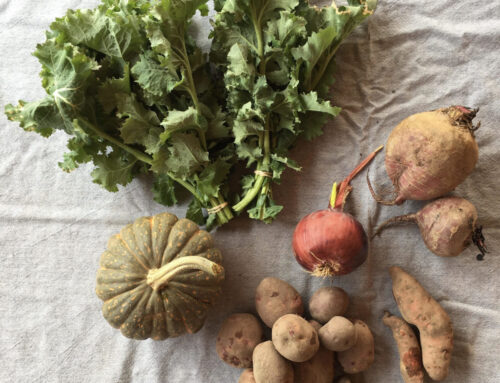
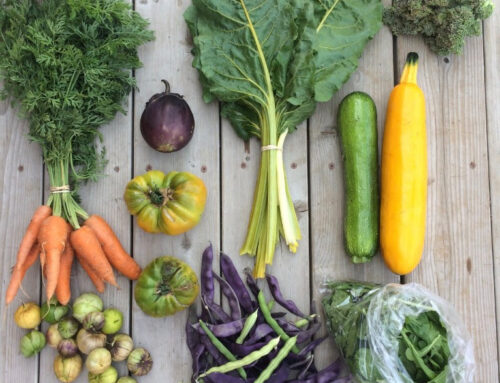
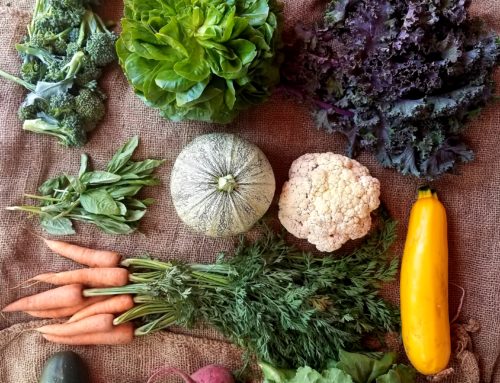
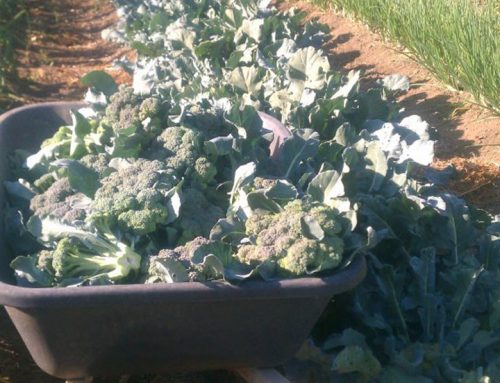
This Month’s Vegetable Share
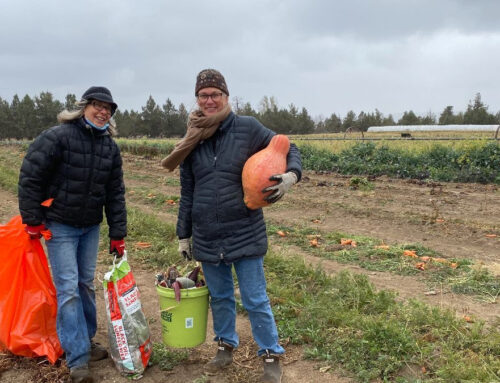
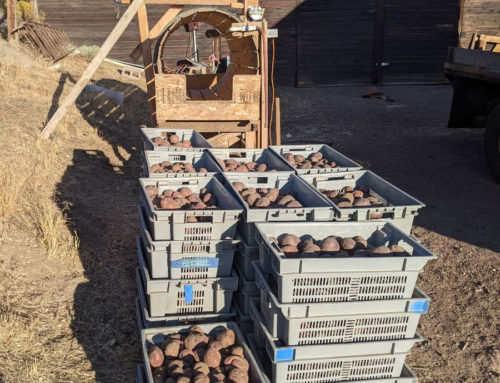
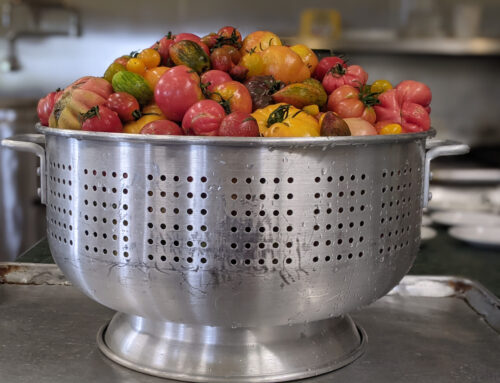
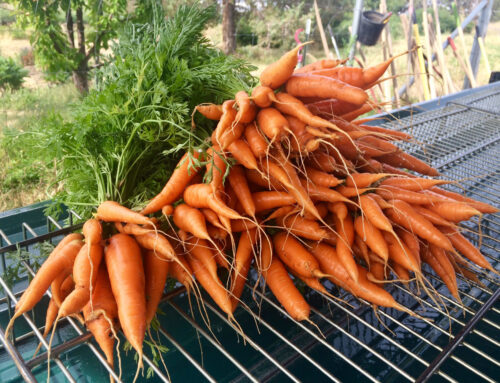
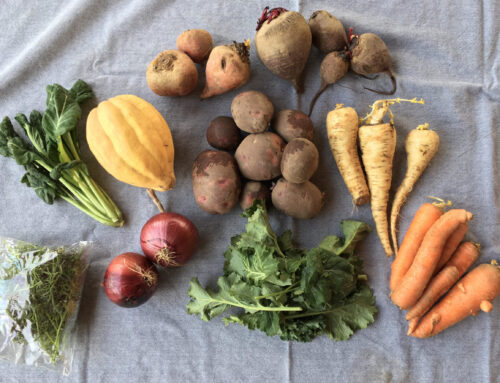
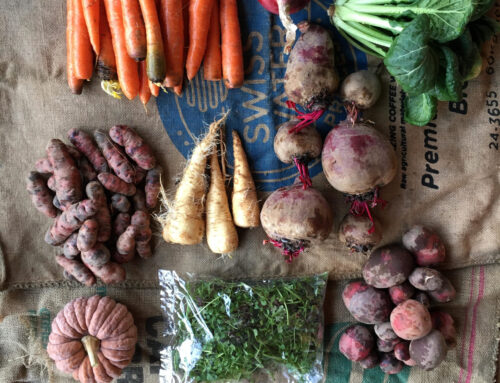
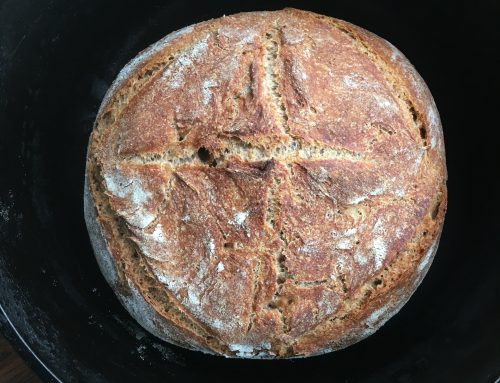
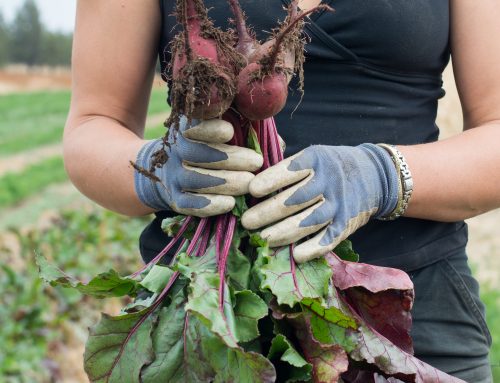
Our March CSA continues to have many roots and storage vegetables (picture above), but also includes big bunches of winter greens (not pictured). This month’s veggie share includes:
Here is the cost per day of each of our 18 week CSA shares (June 2-September 29, 120 days):
Small Veggie – $4.17/day
Large Veggie – $5.50/day
Small Meat – $3.25/day
Large Meat – $6.20/day
Small Veggie & Meat – $7.29/day
Large Veggie & Meat- $11.58/day
carrots
viking purple potatoes
garlic
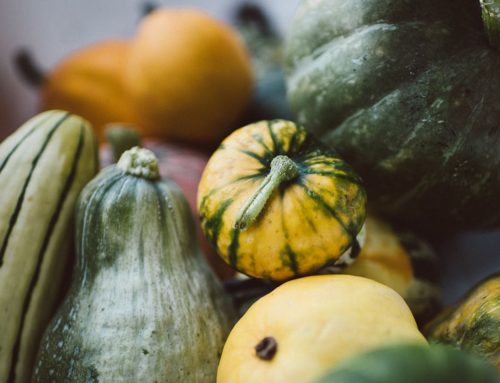
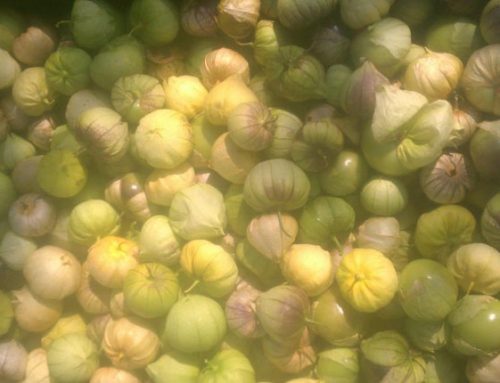
Rainshadow Organics special stripped hybrid pumpkin
onion
yukina savoy (This is an asian green that you can eat raw like spinach or substitute for bok choi)
Siberian kale (the mildest and sweetest of the kales)
In March you start to see some changes in the appearance of some of your veggies. All of our storage vegetables are feeling spring’s arrival in the air and getting themselves ready to be replanted. Instead of replanting these guys, however, we are going to harness their energy and turn them into tasty bites!
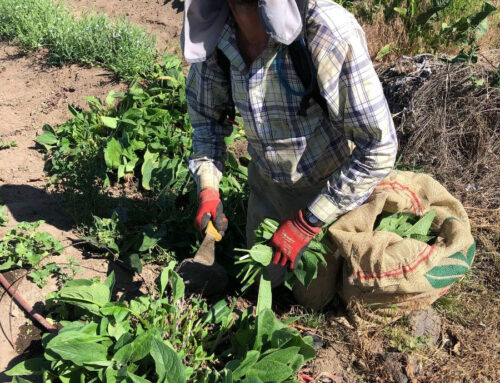
The garlic has started to sprout. so you are getting 8 heads! Once the garlic begins to sprout, it stops storing well. We recommend that you eat or preserve it soon. Garlic gets a little more bitter when it sprouts and is still just fine to cook with, but it won’t last as long on your shelf. In the recipe section below, we have a couple suggestions and resources about how to preserve all the garlic you are receiving.
The potatoes are getting softer and might have eyes on them. That is okay and to be expected. We store our potatoes in the potato barn at a reasonably controlled temperature. That keeps most sprouts at bay, but this time of year, even in the dark and cool potato barn, the potatoes start to sprout. Right around 80% of all conventional grown potatoes use chlorpropham (an herbicide) to slow this process. Clearly that won’t work for us! Because we are certified organic and 100% don’t believe in herbicides or other chemical assistance at times like these, we just have to eat the potatoes a little faster.
(Here is a great link to see what chemicals are found on conventionally grown potatoes. The dates they are referencing are from 2009, but you can be certain that you won’t find any of those chemicals in or on our potatoes in 2021.)
To prepare your Purple Vikings this month, make sure you store them in the fridge to keep them fresher longer, peel any green tinted skin, and remove all the eyes before you cook them.
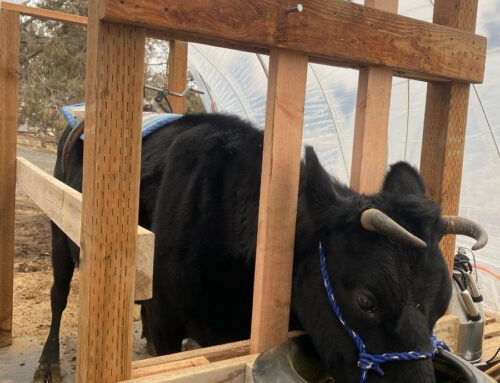
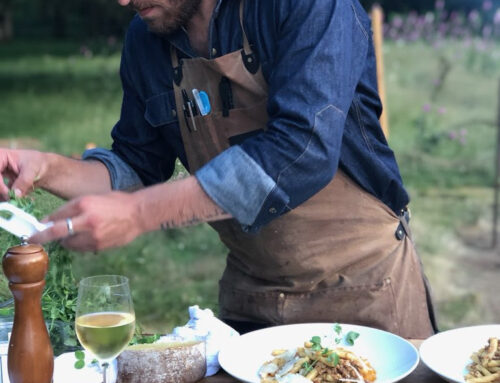
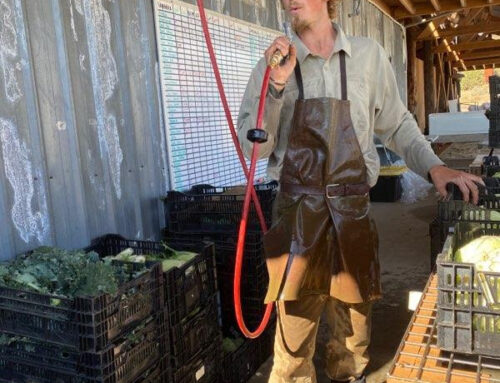
This Month’s Meat Share
I am referring to the meat share this month as the slow cooker special. It includes:
1 Slow Cooking special cut (Sirloin Tip Roast, Chuck Roast, or Brisket)
1 package beef soup bones
ground beef to round out the 10 lbs
Vegetable Recipes
Sweet & Slow Roasted Rainshadow Special Hybrid Winter Squash
This squash is unique to Rainshadow Organics. It has spaghetti squash like flesh and is slightly tart in its flavor. We highly recommend the recipe below.
Ingredients
canola oil or olive oil
Butter
Dark Brown Sugar or Honey
Cinnamon
Nutmeg
Salt
Instructions
Preheat oven to 450F.
Cut squash in half and remove seeds. (Make sure you use a sharp knife and BE CAREFUL. The skin of this squash is especially tough.) Rub oil onto flesh and put squash halves onto a roasting pan, skin side down. Roast for an hour and check squash.
If squash has started to soften, flip so skin side is down and put a pad of butter or two (depending upon size of squash) into each each half. Sprinkle with dark brown sugar or drizzle with honey, sprinkle with a bit of cinnamon, and a very small amount of salt and nutmeg. Cook for an hour more, or until squash is tender and soft and the sugars have crystallized.
Eat right out of the skin.
Garlic
Here are 2 recipes for preservation as well as a link for a great internet resource on preserving garlic. Definitely experiment and get some of your garlic preserved so you can use it all!
Follow this LINKto the Garlic Matters blog for a great resource on all things garlic preservation: safety discussions, tips & tricks, and, as a bonus, how to start garlic chives with your sprouting heads of garlic.
Keep in mind, that preserving raw garlic can create great environments for growing botulism, so follow those instructions and don’t cut any corners.
Peeling Garlic Fast
With all the garlic you are getting, I wanted to share a brief youtube video from Saveur. Clickhere and learn how to quickly peel a whole head of garlic with only 2 mixing bowls.
Preserving Garlic in Olive Oil (from the Garlic Matters blog”)
Raw or cooked, garlic should be stored in the refrigerator: raw for 4 days, cooked for 2 weeks, or frozen for 3–4 months
Ingredients
1 or more whole head of garlic, peeled
olive oil (this will vary depending on how much garlic you preserve)
ice cube trays
Instructions
Place peeled garlic cloves in a food processor and process them to a rice grain or slightly smaller size. (You can also chop garlic with a knife, it will just take longer.)
Using a teaspoon, place 1-2 teaspoons of the chopped garlic in each cube of the tray. (1 teaspoon equals 1 medium to large clove, chopped.)
Push the garlic onto the bottom of each cube as much as possible and pour olive oil over the garlic just enough to cover.
Place the tray in the freezer and freeze (about 2 hours) and pop out of the tray and into a ziplock bag.
Preserving Garlic in Vinegar (from the “Bare feet in the Kitchen” blog)
This is a great way to preserve garlic in the fridge for a long time. While it seems unlikely, it shouldn’t leave your garlic tasting vinegary providing you rinse the garlic off.
Ingredients
Peeled garlic cloves
distilled white vinegar
Instructions
Place peeled cloves in a large mixing bowl and fill with water. Scrub any dirt off the cloves with your fingers. When clean, transfer them to a large strainer and rinse well.
Using a small paring knife trim off brown bits and rinse again.
Bring the vinegar to a bowl in a large pot. Place the clean garlic cloves into small jars. Once the vinegar has boiled, pour it over the garlic and screw the lids on.
Let the jars come to room temperature on the counter and then store in the refrigerator. They should keep, unopened, for up to a year.
Meat Recipes
Below are some recipes for all the cuts you might get.
Classic Sunday Pot Roast (from the “Stay at Home Chef” blog)
serves 8
This is a great recipe that you can use a Chuck Roast, Sirloin Tip Roast, or Brisket in.
Ingredients
1 3-5 lb beef chuck, sirloin tip, or brisket
2 teaspoons salt
1 teaspoon black pepper
2 tablespoons oil
6 cloves minced garlic
1-2 cups red wine
2 cups beef broth
1/4 cup Worcestershire sauce
2 large onions cut into 2 inch chunks
1 lb carrots, cut into chunks
1 lb potatoes, cut into chunks
1 sprig fresh rosemary
Instructions: Oven
Preheat oven to 350F. Get a large oven safe dutch oven pot heating over high heat.
Season both sides of meat with salt and pepper. Add vegetable oil to pot and sear roast until browned, about 3–4 minutes/side.
Remove roast from pan and set aside briefly on a plate or cutting board. Add garlic to pot and sauté 60 seconds. Deglaze pan with red wine and beef broth. Add roast back to the pot.
Pour Worcestershire sauce over roast and place the onion chunks, carrots, and potatoes on top of and around the meat. Place rosemary sprig on top.
Place a lid on the pan and transfer it to the preheated 350F oven. Cook 3 hours, or until meat reaches an internal temperature of 202F and shreds easily with a fork. Season vegetables with additional salt and pepper to taste and serve hot.
Instructions: Slow Cooker
Season the roast with salt and pepper as directed in step 2 of the recipe. Searing in oil in a skillet is an optional, but recommended, step. Place the seared or un-seared met directly into a slow cooker. Add in all remaining ingredients and cook on low 8 hours.
Instructions: Instant pot pressure cooker
Follow the oven recipe as directed, but instead of searing and baking the roast in a large pot, you’ll do all that in your pressure cooker. Sear the roast as directed in step 2 using the sear setting on your electric pressure cooker. Cook the garlic, and deglaze the pan with the liquids, and add in vegetables. Cook on high pressure for 60 minutes, followed by a 15 minutes natural release. Then, switch the release valve to the venting position. Remove lid once steam has stopped coming out.
Sirloin Tip Roast (from the “Weekend at the Cottage” blog)
This recipe will use up some of that garlic too
Ingredients
1 sirloin tip roast, at room temperature
1 head garlic, peeled and thinly sliced
2 tablespoons each: fresh rosemary, thyme, and sage, finely chopped
1 tablespoon salt
1 tablespoon black pepper
2 tablespoons olive oil
Instructions:
Remove roast from fridge an hour and a half before beginning preparation.
Preheat oven to 450F with the rack in the middle position. Cut small holes into the outside of the roast and insert a slice of garlic in each. Place prepared herbs, salt, pepper, and oil into a small bowl and stire together to form a paste. Rub paste evenly over the outside of roast before placing it, fat side up, on a wire rack positioned in a roasting pan.
Place roast in oven for 15 minutes, then reduce temperature to 325F and cook to desired doneness using a meat thermometer.
Remove from oven and cover loosely with foil for 10 minutes.
Slice roast and serve immediately.
Slow Cooked Barbecued Beef Sandwiches (from the “Taste of Home” blog)
A taste of summer as we finish winter!
Onion-Braised Beef Brisket (from the “Once Upon a Chef” blog)
This recipe includes garlic, carrots, and onions as a CSA box bonus recipe.
Ingredients
1 5-6 lb beef brisket, trimmed so a thin layer of fat remains in some spots (don’t over trim!)
1 tablespoon salt
1 teaspoon ground black pepper
1 1/2 tablespoon flour 3 tablespoons vegetable oil
8 medium yellow onions, peeled and sliced 1/2-inch thick 3 tablespoons tomato paste 3 cloves garlic
6 carrots, peeled and halved
handful fresh chopped parsley for garnish (optional)
Instructions:
Set an oven rack in the middle position and preheat oven to 350F.
Season the brisket on both sides with salt and pepper. Lightly dust the brisket with flour, then shake and turn to coat evenly. Heat the oil over medium-high heat in a heavy flameproof roasting pan or ovenproof enameled cast-iron pot just large enough to hold the brisket and carrots snuggly. Add the brisket to the pan and sear on both sides until crusty brown areas appear on the surface, 5 to 7 minutes per side.
Transfer the brisket to a platter, then add the onions to the pot and stir constantly with a wooden spoon, scraping up any browned bits stuck to the bottom of the pot. Cook until the onions are softened and golden brown, about 15 minutes.
Turn off the heat and place the brisket, fatty side up, and any accumulated juices on top of the onions. Spread the tomato paste evenly over the brisket, then scatter the garlic and carrots around the edges of the pot. Cover the pot very tightly with aluminum foil or a lid, then transfer to the oven and cook for 1 1/2 hours.
Transfer the brisket to a cutting board and slice the meat across the grain into approximately 1/8-1/4 inch-thick slices. Return the slices to the pot, overlapping them at an angle so that you can see a bit of the top edge of each slice. Check the seasonings and correct if necessary. If the sauce appears dry, add 2 to 3 tablespoons of water to the pot. Cover the pot tightly and return to the oven.
Lower the heat to 325F and cook the brisket until it is fork-tender, 1 3/4 to 2 1/2 hours, or longer if necessary. Check once or twice during cooking to make sure that the liquid is not bubbling away. If it is, add a few more teaspoons of water, but not more. Each time you check, spoon more liquid over the slices.
1 pack beef soup bones (up to 7 lbs)
1 (6 oz) can tomato paste
1-2 cups chopped onions
1/2-1 cup chopped celery
1/2-1 cup chopped carrots
1-2 cups red wine
10-20 whole peppercorns
2-5 garlic cloves, peeled
5 bay leaves
1 teaspoon dried thyme 3/4-1 1/2 gallon water
Instructions:
Preheat oven to 400F. Place the bones in a roasting pan and roast for 1 hour.
Remove from the oven and brush with the tomato paste. Lay the vegetables over the bones. Return to the oven and roast for 30 minutes.
Place the pan on the stove and deglaze with the wine, scraping the bottom of the pan for browned particles. Put this mixture in a large stock pot. Add the peppercorns, garlic, and herbs. Season with salt.
Bring the liquid up to a boil and reduce to a simmer. Cook for 4 hours. Remove from the heat and skim off any fat that has risen to the surface. Strain the liquid and discard the bones.

")
")
")
")
")
")
")
")
")
")
")
")
")