This week on the Farm
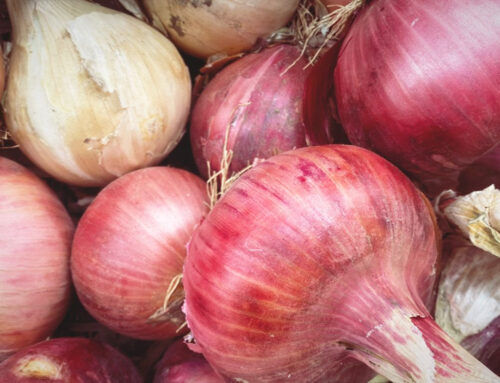
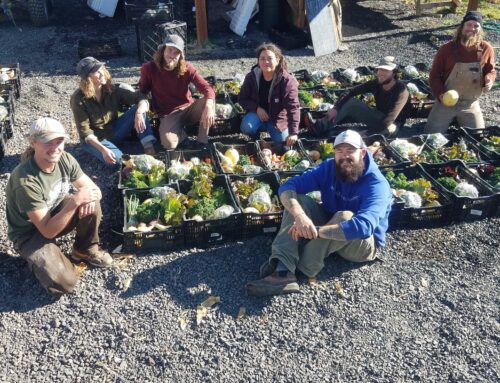
We we put in a solid effort on our winter storage harvest (finishing our potato harvest and getting another round of onions pulled, trimmed and crated), harvested for wholesale, market, and Summer and Full Diet CSA, went to market… We did all the things. And then we went on the river.
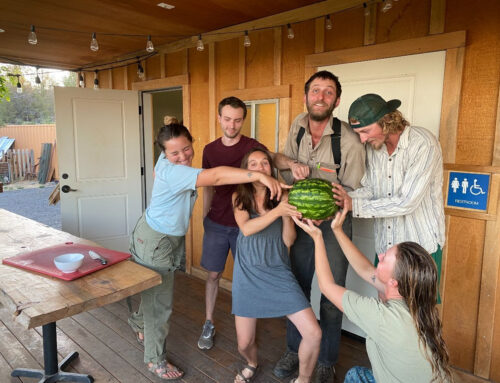
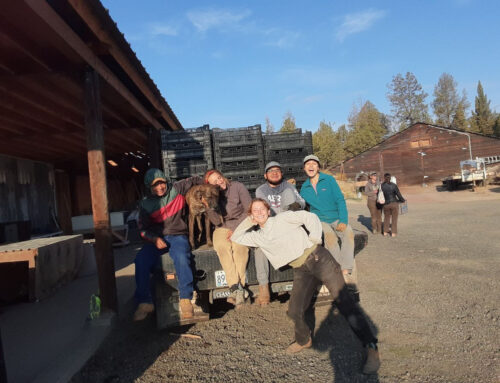
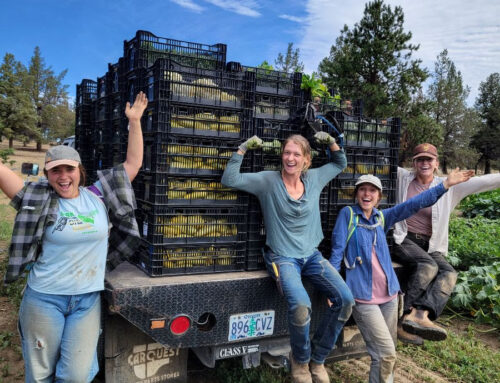
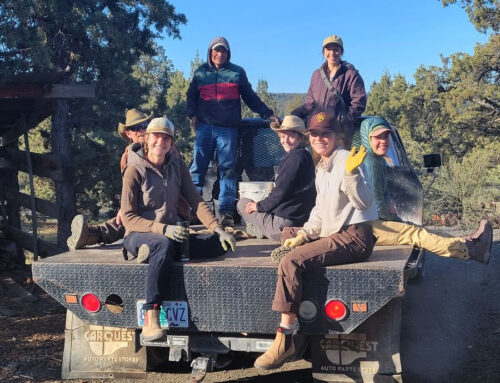
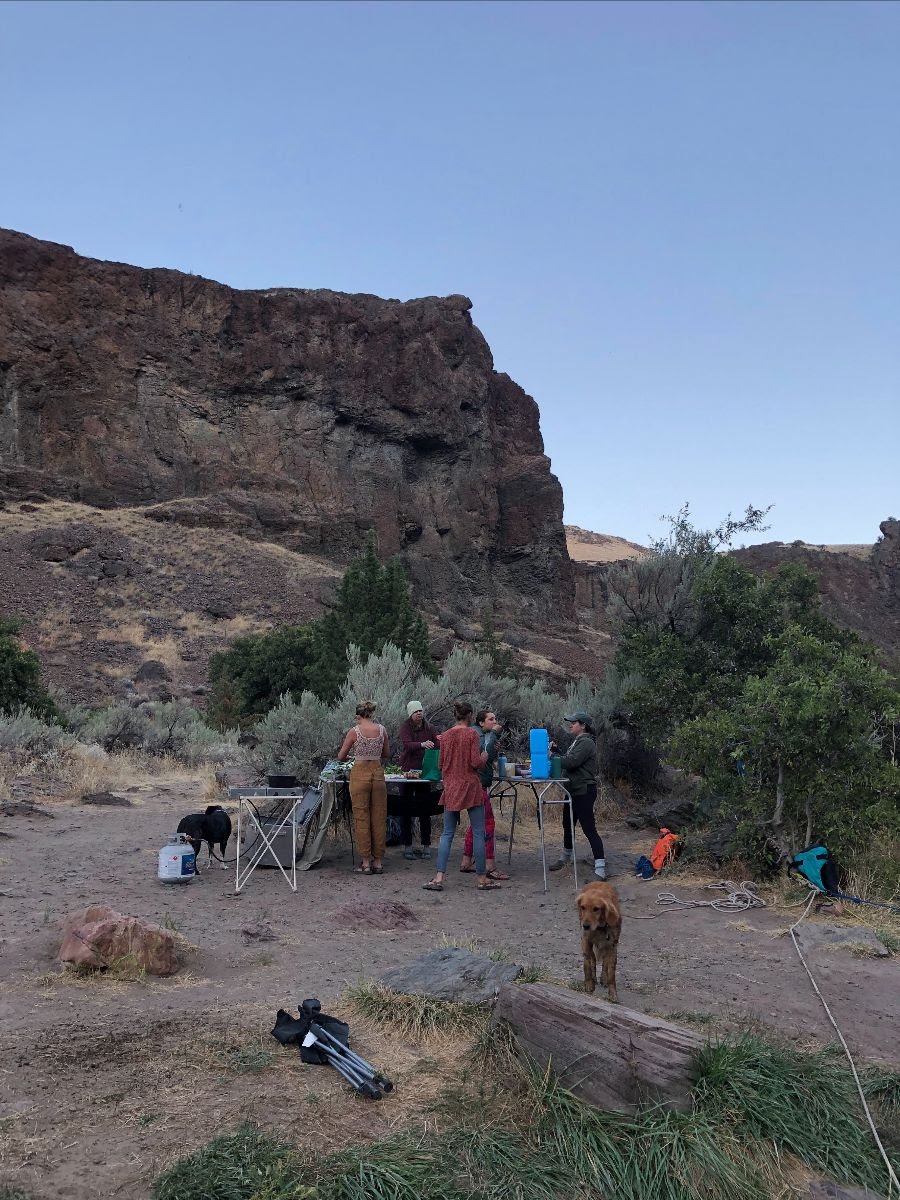
Almost the whole crew was able to motivate for the weekend (our Farmer weekend is Friday and Saturday) and launch on Thursday evening at Trout Creek for a 2-night Deschutes trip. To leave at this time of year takes something special (like Jeremy and Zoë’s birthdays, HURRAY!) and a whole lot of effort from a lot of people. Major shout out to Alfonso, Momo and Popo, Chef, Matthew, Caroline, and Melody for holding the fort down while ALL OF THE REST OF US went boating.
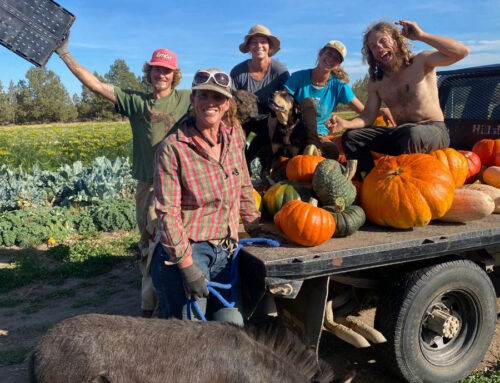
Fun was had, sun was absorbed, sights were seen. We had some ducky and SUP swimmers and all the rafts had great lines. And, we had a full day of not really bad smoke. This type of coming together as a crew off Farm is one of the most special parts of Rainshadow Organics. We truly cultivate a community between all of us: employees, CSA members, everyone. It is one of the strengths of Farm and it makes the vegetables better, the animals healthier, and the whole work load 100% worth it!
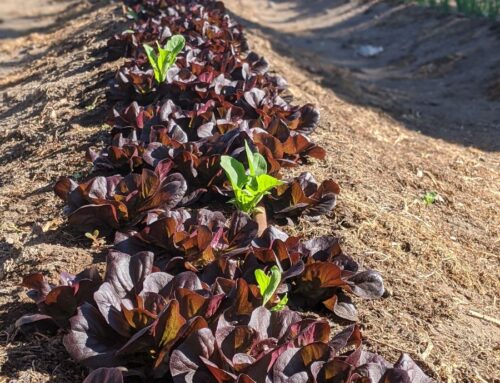
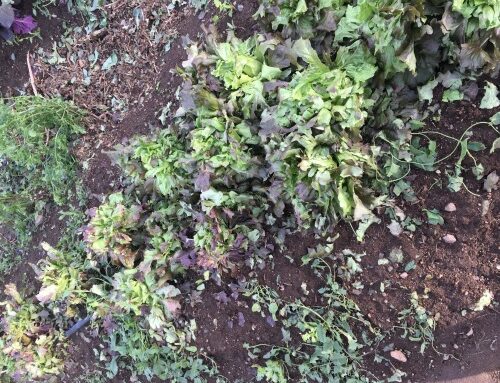
And you know, when you get a group of people together who are passionate about a place and a profession, a fresh viewscape and a different activity can, in the best of moments, provide opportunities for problem solving. Which is how we found ourselves floating down the Deschutes on Friday baking in the sun discussing salad mix germination and why we have struggled with salad mix for the last few weeks. While we were wishing for shade, we decided that the salad mix probably had been too. The sun and the heat made the soil temperature too high for the seeds to germinate. New location, new insight. Bang!
What and how this will play out next season is still a topic of conversation. Salad mix is a work in progress, and we continue to question our previous approach and work towards a better, more efficient, and more effective


|
photo credit: Zoë Griffith
|
Winter CSA Check-In
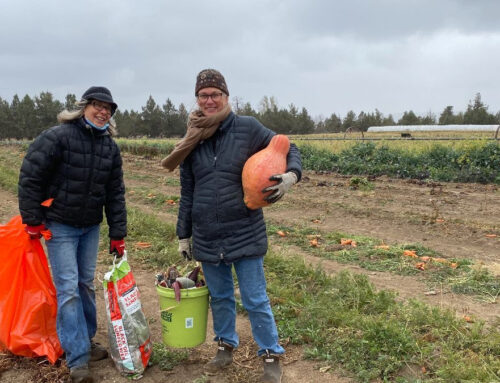
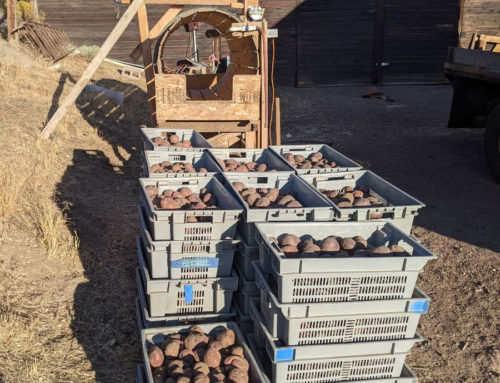
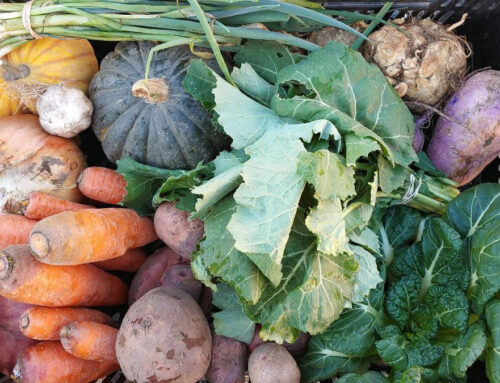
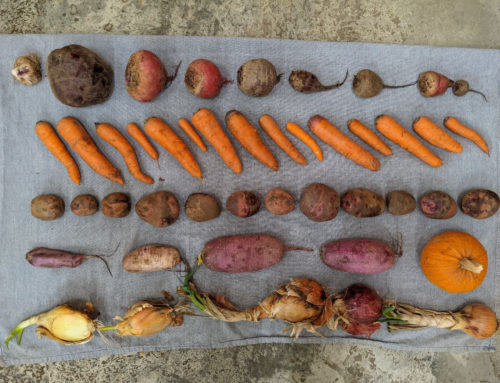
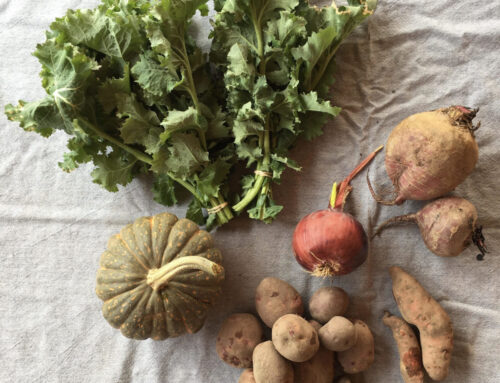
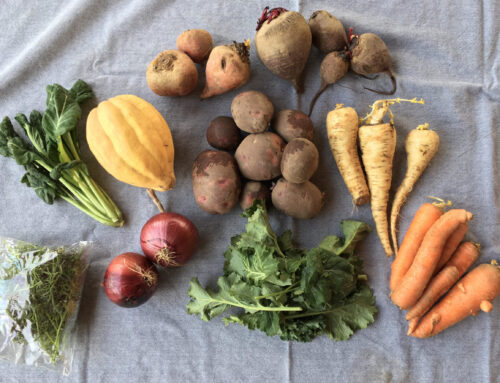
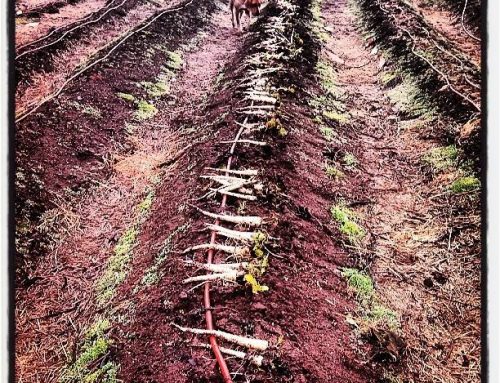
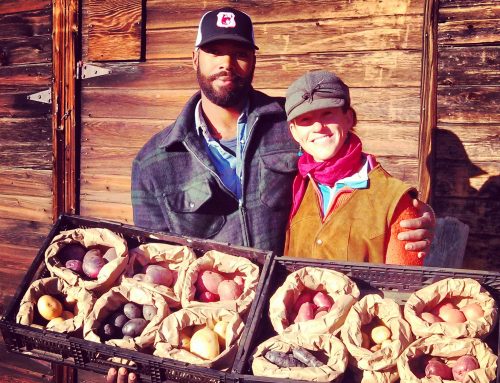
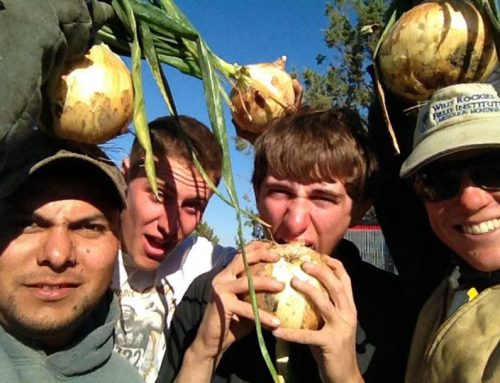
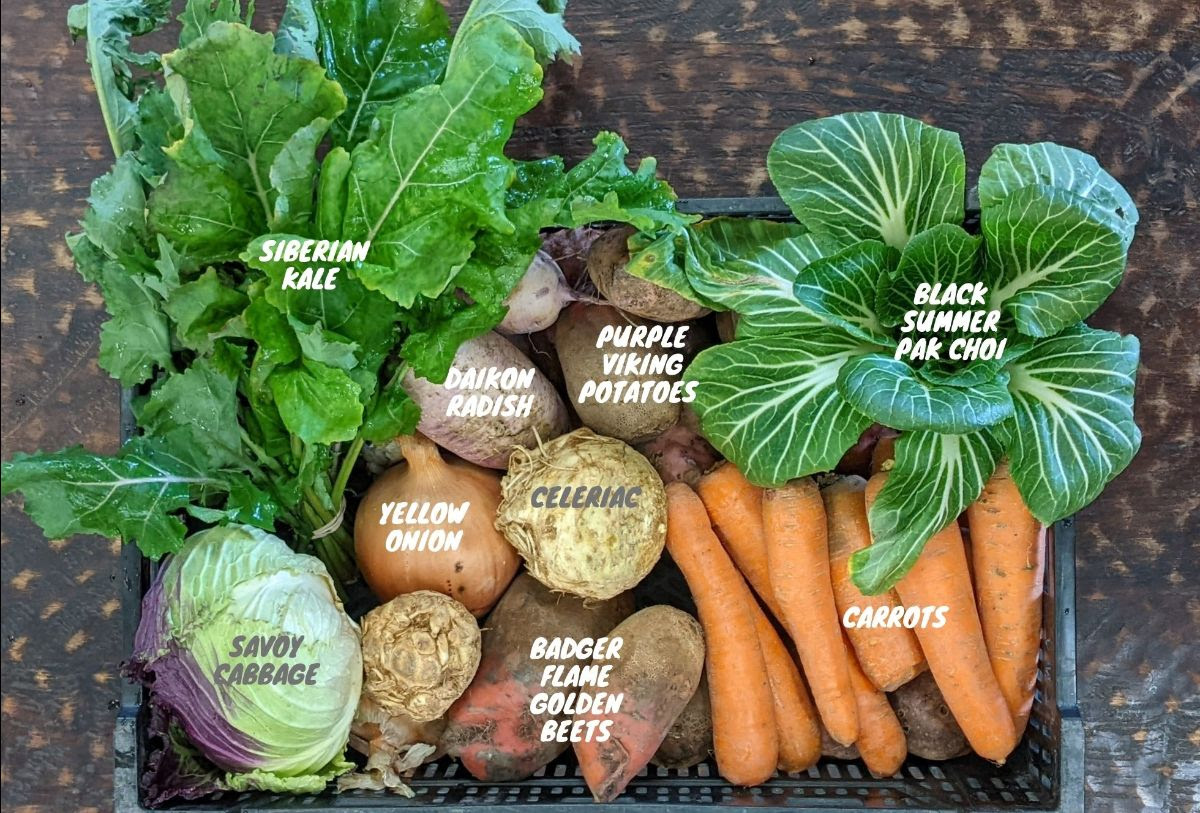
This past week we continued to make solid progress harvesting our Winter Storage crops. We got all our potatoes out of the ground and crated in the barn for storage. We harvested another round of onions and they are crated and curing.
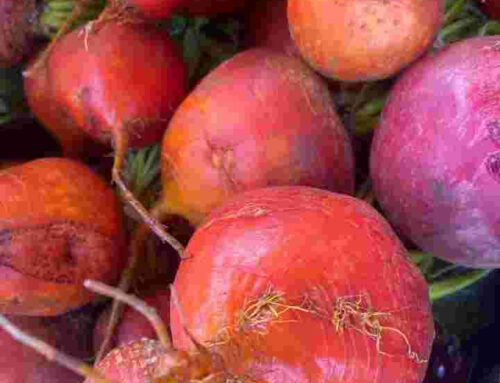
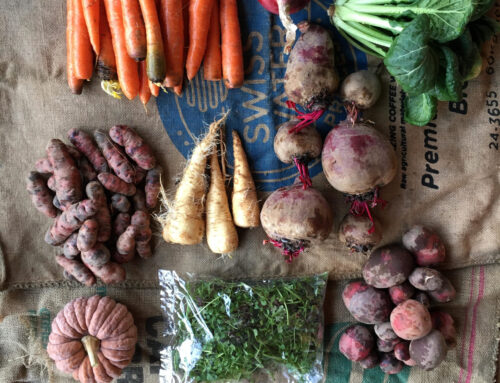
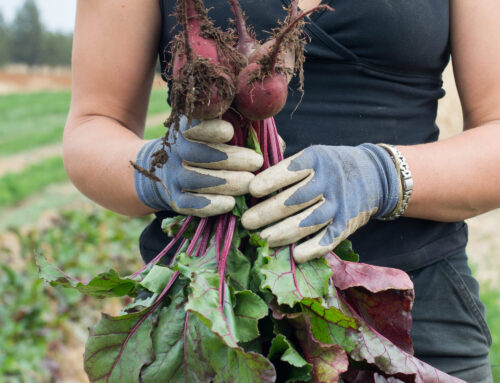
This week we are looking at the calendar and figuring out when the biodynamic windows and the gaps in our schedule line up so we can harvest the rest of our storage crops! This includes beets, celeriac, carrots, parsnips, and multiple varieties of winter squash. As well as cabbage, leeks, daikon radish, and, of course, the rest of the onions that continue to round out our Winter CSA.
We still have space left in our CSA!
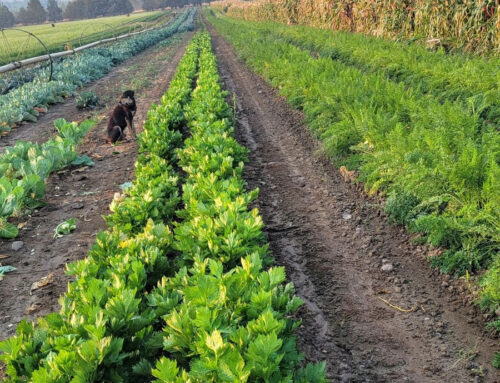
Vegetable ID: Celery |
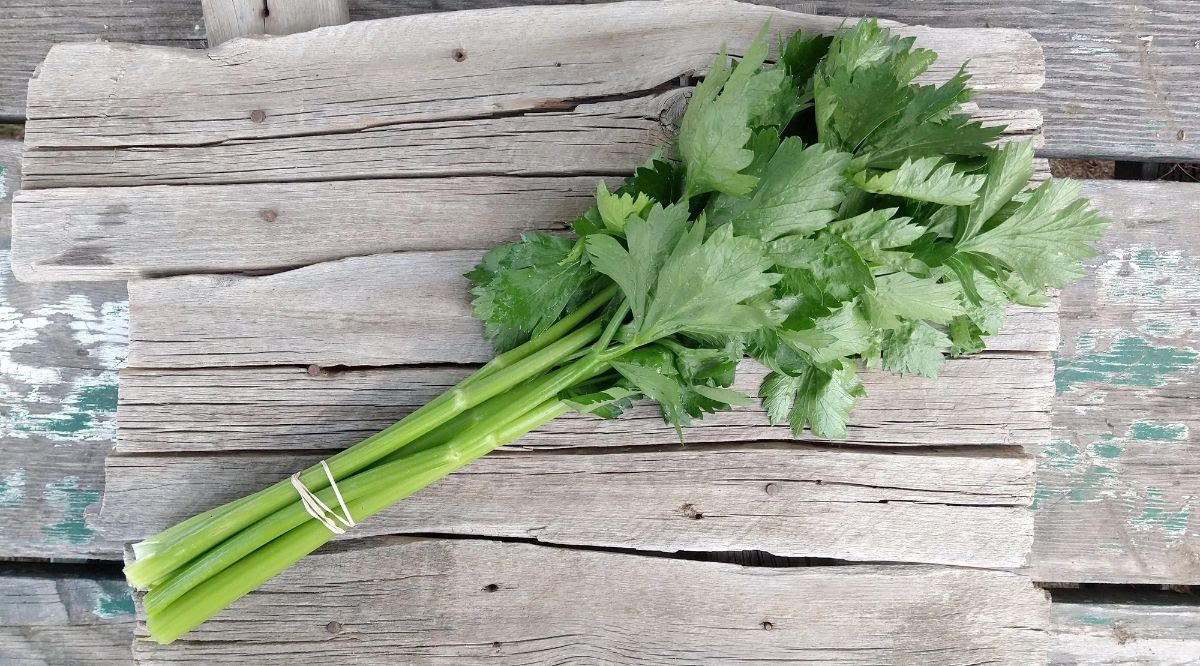
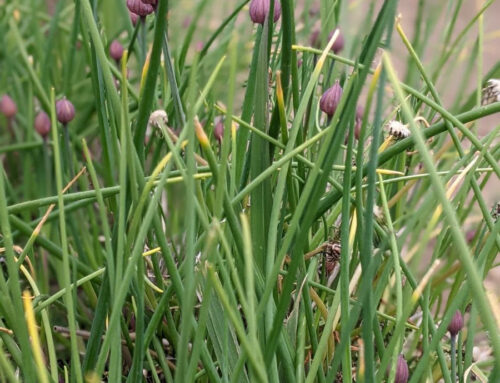
After trying to do celery for a couple years, we think we are finally hitting our stride! Farm-fresh celery often includes skinnier stalks than what you’d find at the grocery stores. Part of this is because we trim stalks from the outside of the plants in order to make a better celery head at the end. Farm Celery packs a flavor punch even if it is slightly smaller then it’s conventionally grown cousins.
To store: You can wrap your celery tightly in foil and place it in the fridge. This will keep it crisp for weeks. If you don’t want to use foil, try chopping the celery into smaller stalks and putting them in a bowl of water in the fridge.
To prep: Rinse well. Cut a half-inch off the base. Cut the tops off the celery. Save these for your freezer scrap bag and make broth later! You can also save the tops and use them for salads, for dried herbs, or DIY celery salt.
To freeze: I recommend only freezing celery for soup bases and to add to broth. Frozen celery looses its crisp crunch but retains all its flavor, so it is great for sautéing and adding to soups but not good for eating by the stick after it is frozen. Chop celery to desired size and freeze in ziplock or vacuum sealed bags.
Vegetable CSA Harvest List
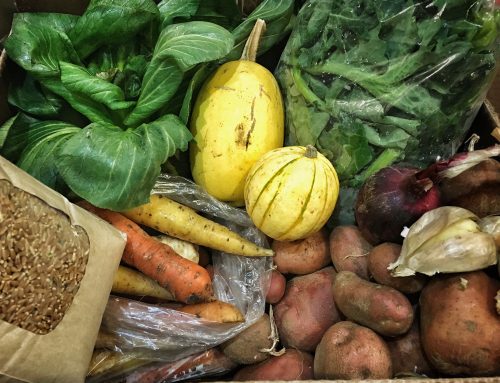
We think our foundation vegetables this week will include head lettuce. We will let you know on Wednesday how many other items you will get to select.
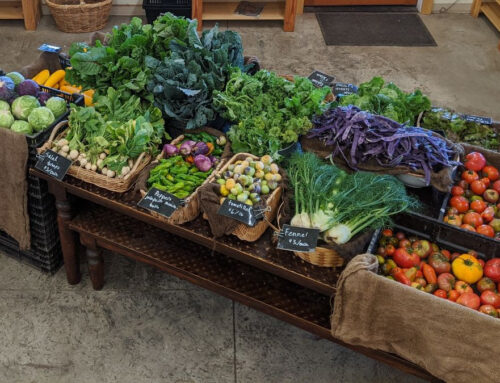
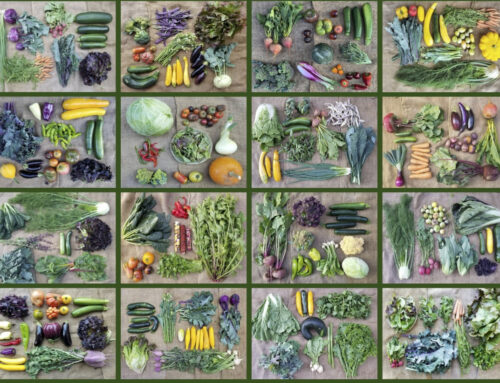
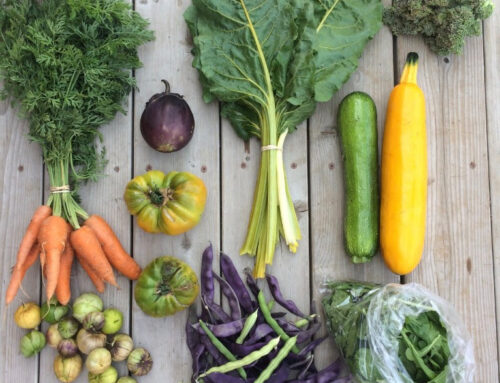
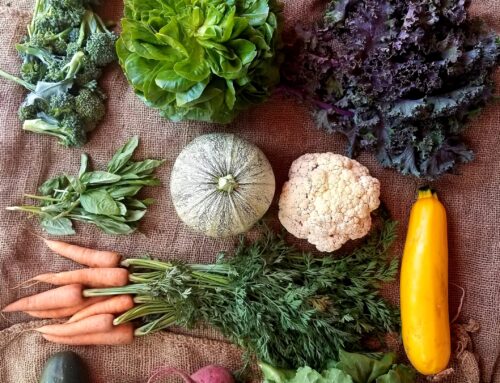
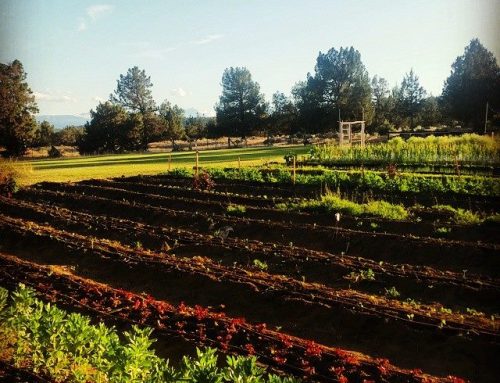
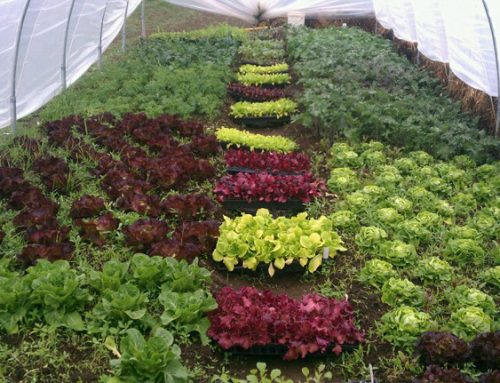
We have been keeping an eye on the hoops and 2-acre garden and have a pretty good idea of what is out there and ready to be harvested, but this is a Sunday estimation of what we will be harvesting on Tuesday. Also, because we have a market style CSA, this isn’t a guarantee of 1 of all these things for everyone. Instead, this will be the variety of what will hopefully (fingers crossed) have for you to choose from this week.)
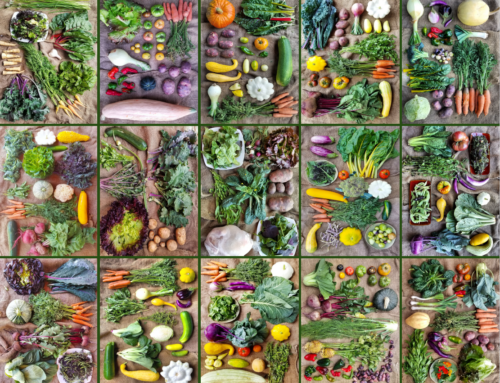
Other Vegetable Options will probably include:
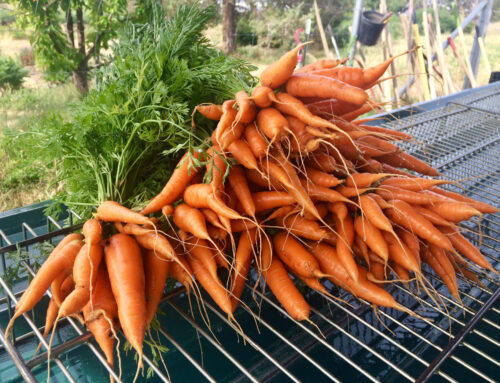
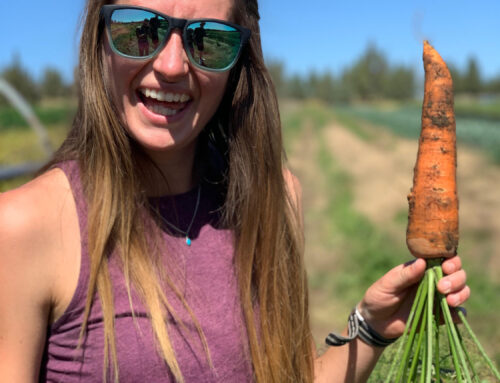
carrots
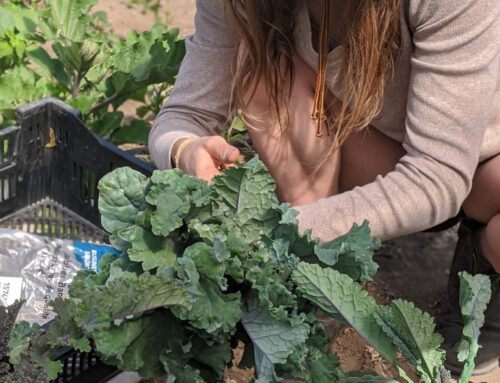
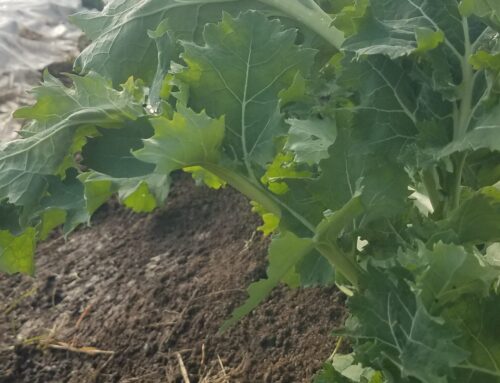
kale
green onions
chard
fresh onions/leeks
kohlrabi
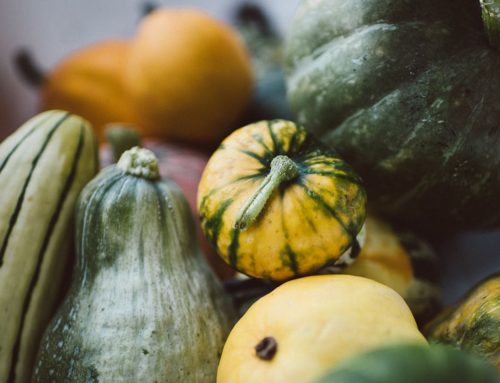
patty pan squash
yellow summer squash
hot peppers
sweet peppers
eggplant
red radish
salad turnips
basil
beets
zucchini
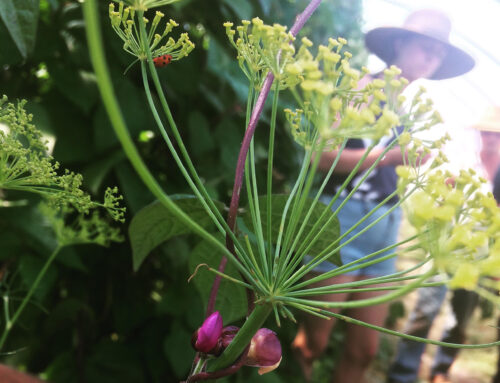
fennel
cucumbers
napa cabbage
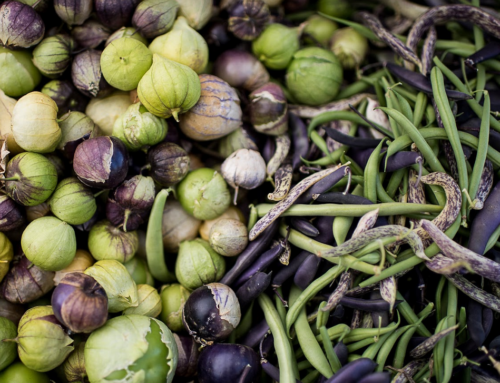
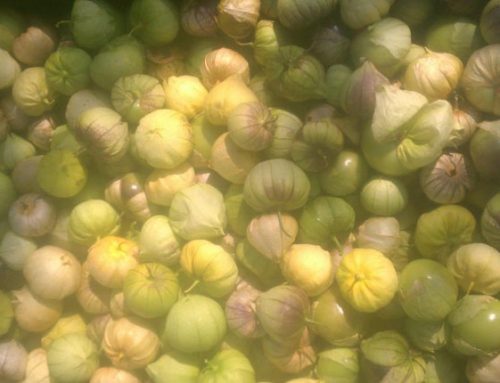
tomatillos
tomatoes
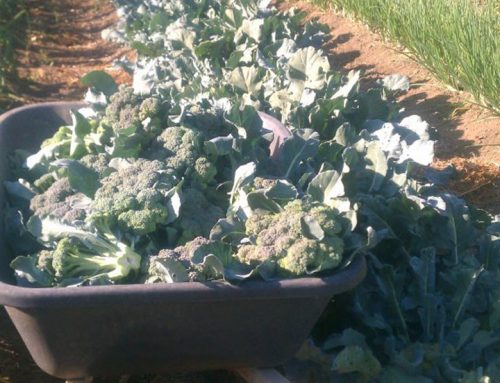
broccoli
cauliflower
cabbage
daikon radish
variety herbs
Keep an eye on our Instagram stories for a tour of what the options are on Wednesday around 11 am.
|
|
|
|
|
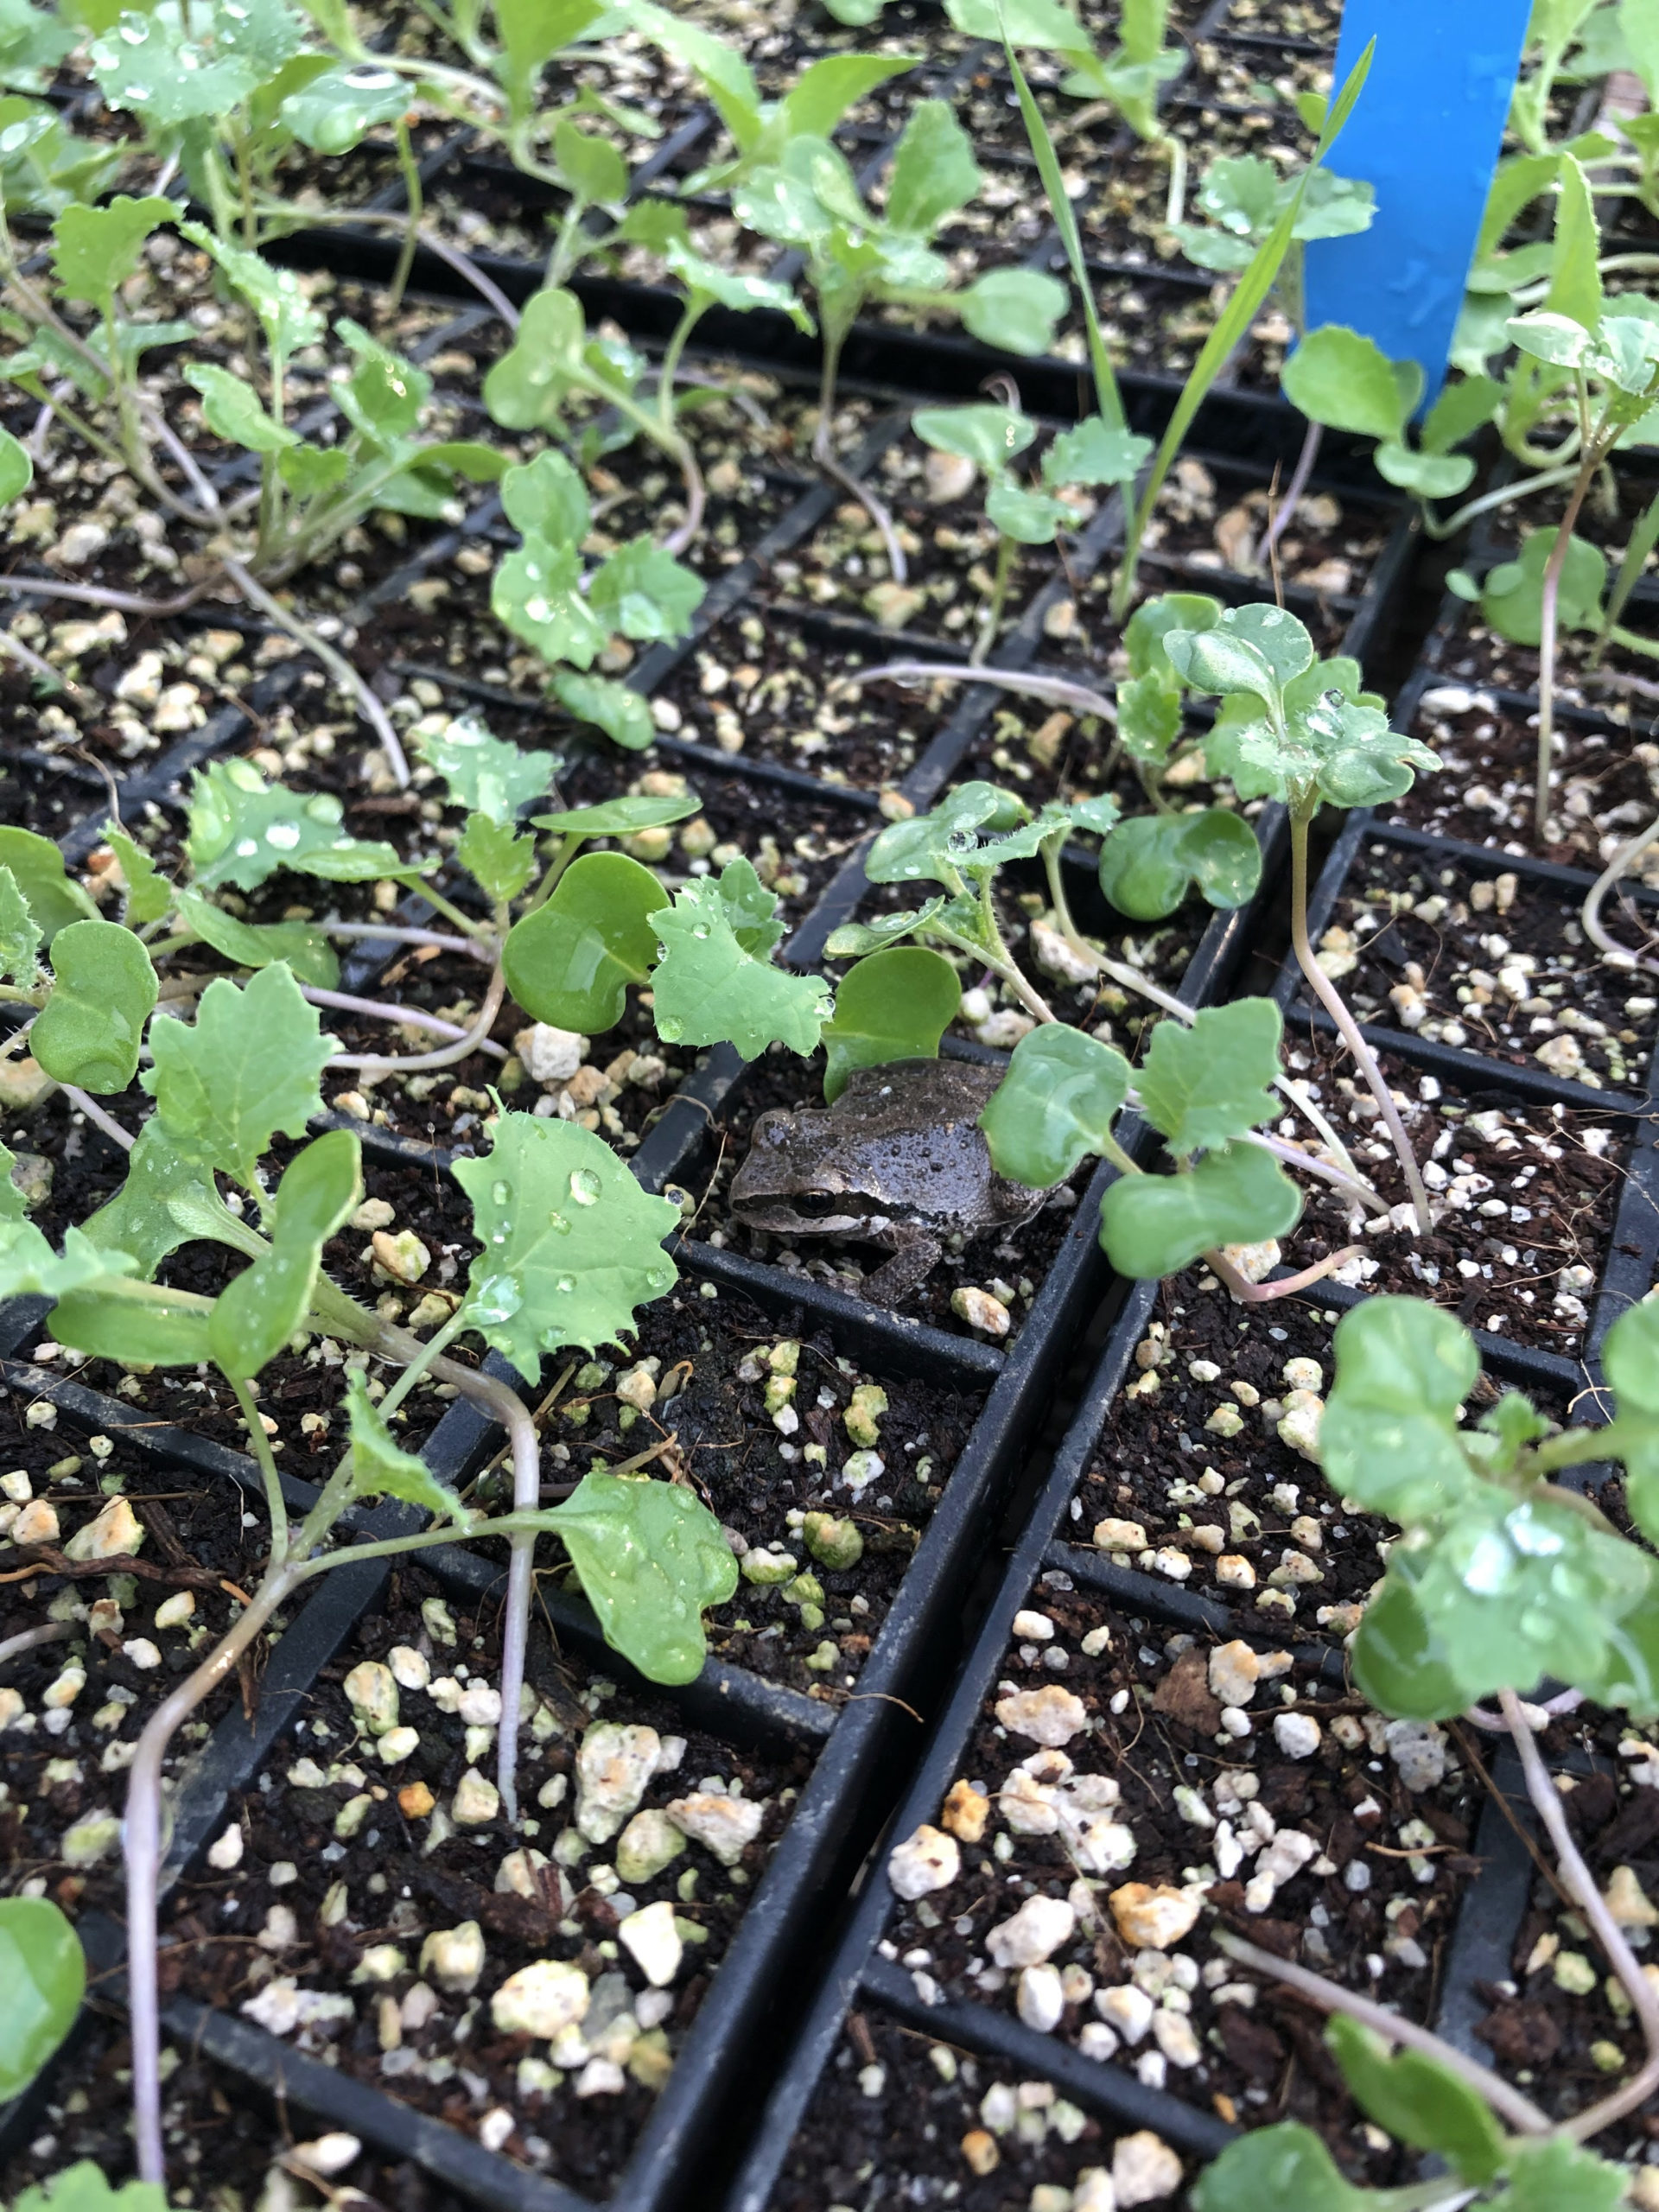
Photo Credit: Zoë Griffith
|
We can’t wait to see you on Wednesday!
The Farm Crew


