The Farming Season is Shifting
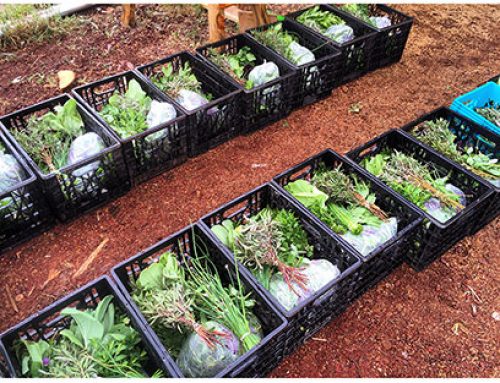
REMINDER: We are doing away with single use bags. We just couldn’t take it anymore. Make sure to bring your reusable salad and basil bags or containers with you when you pickup your CSA!
There are way more then 4 seasons in farming
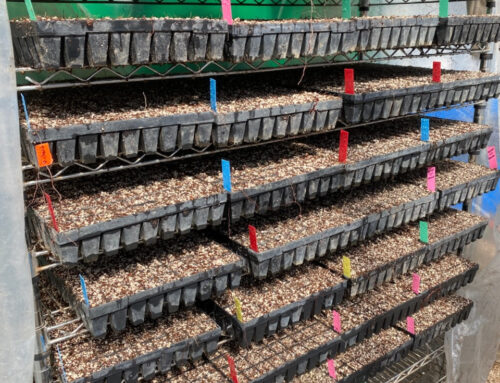
Forget the 4 seasons—winter, spring, summer, and fall. In farming we have seeding, planting, weeding, and harvesting. We have those “normal” seasons, but really, farm life is organized by these. In each of the typical seasons, we have the 4 farming seasons. That makes, what, 16 separate seasons all rotating in a cycle. And just like you get spring days in late winter, or summer days in early fall, our farming seasons bleed into each other.
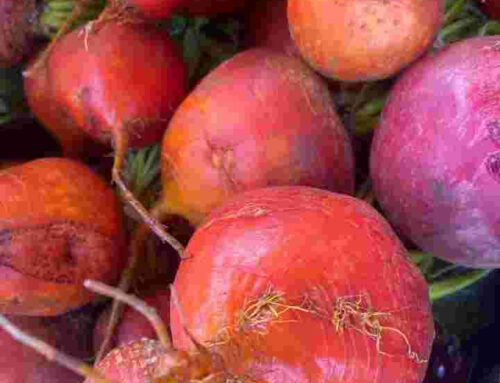
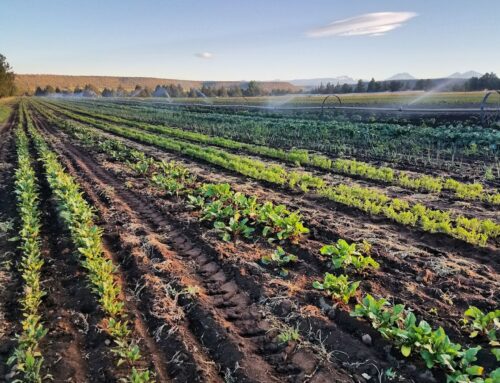
This time of year we are in the planting-weeding-harvesting season. (If I had an emoji of general excitement, exhaustion, and weary fingers I would put it here.) It really only happens once a year that this trifecta occurs, but we are in the thick of it right now. This last week we weeded most of the late season beet rows in the 25-acre, harvested for our 18-week summer CSA, Full Diet CSA, Farmers Market, and wholesale partners, and planted green onion and other successions for later in the CSA season.

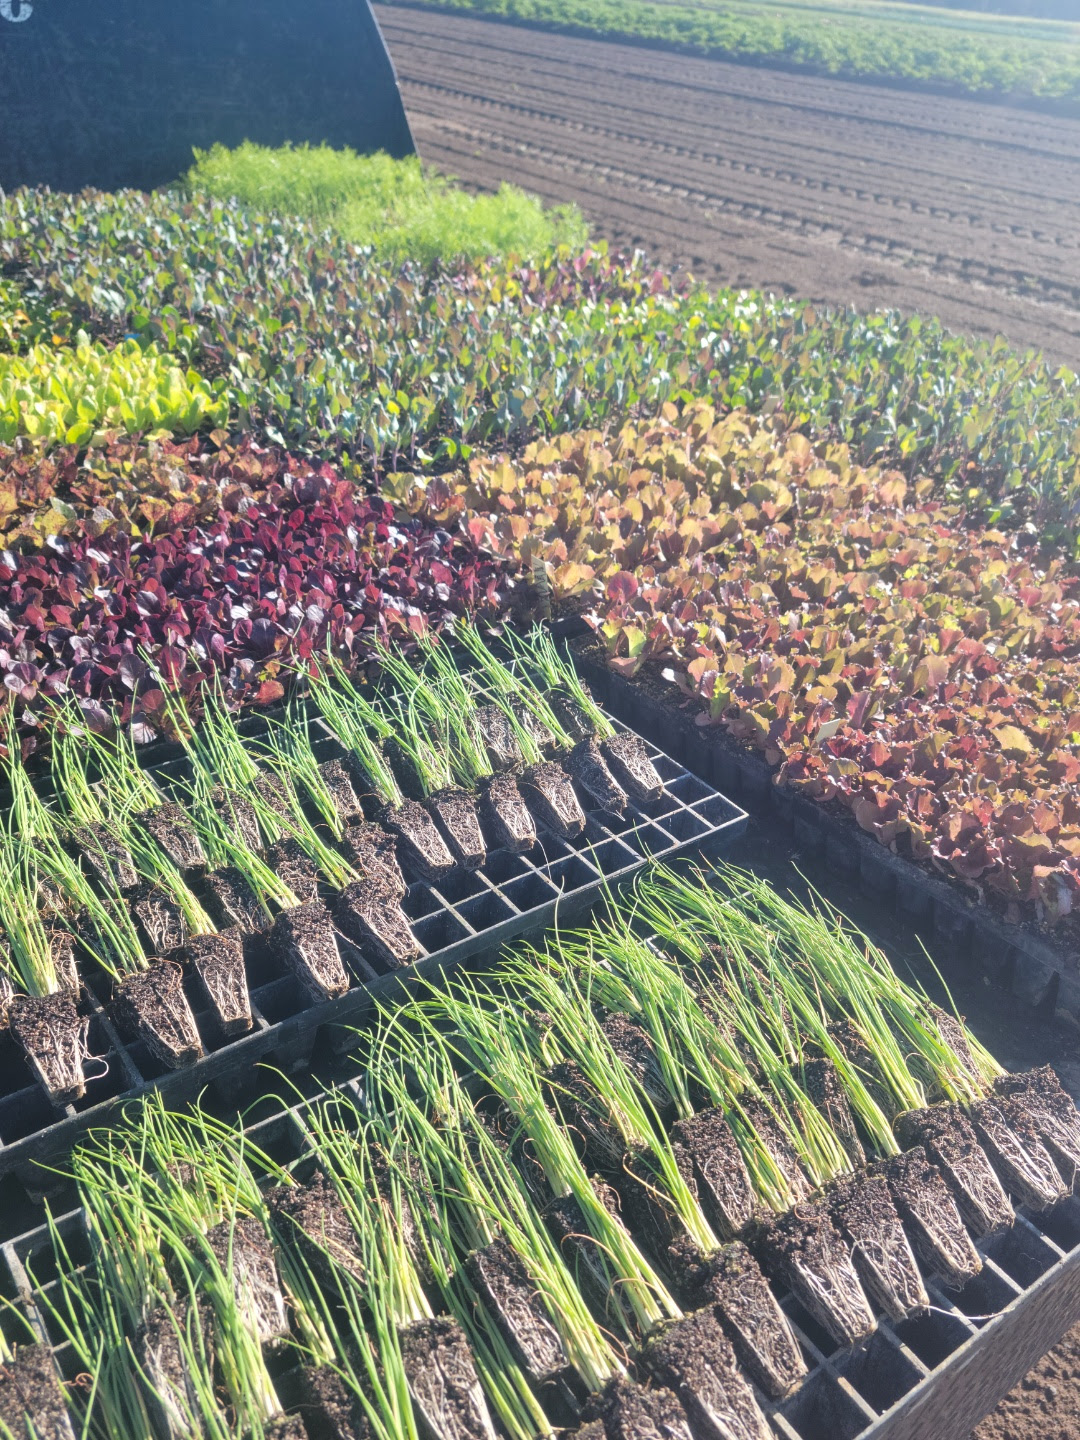

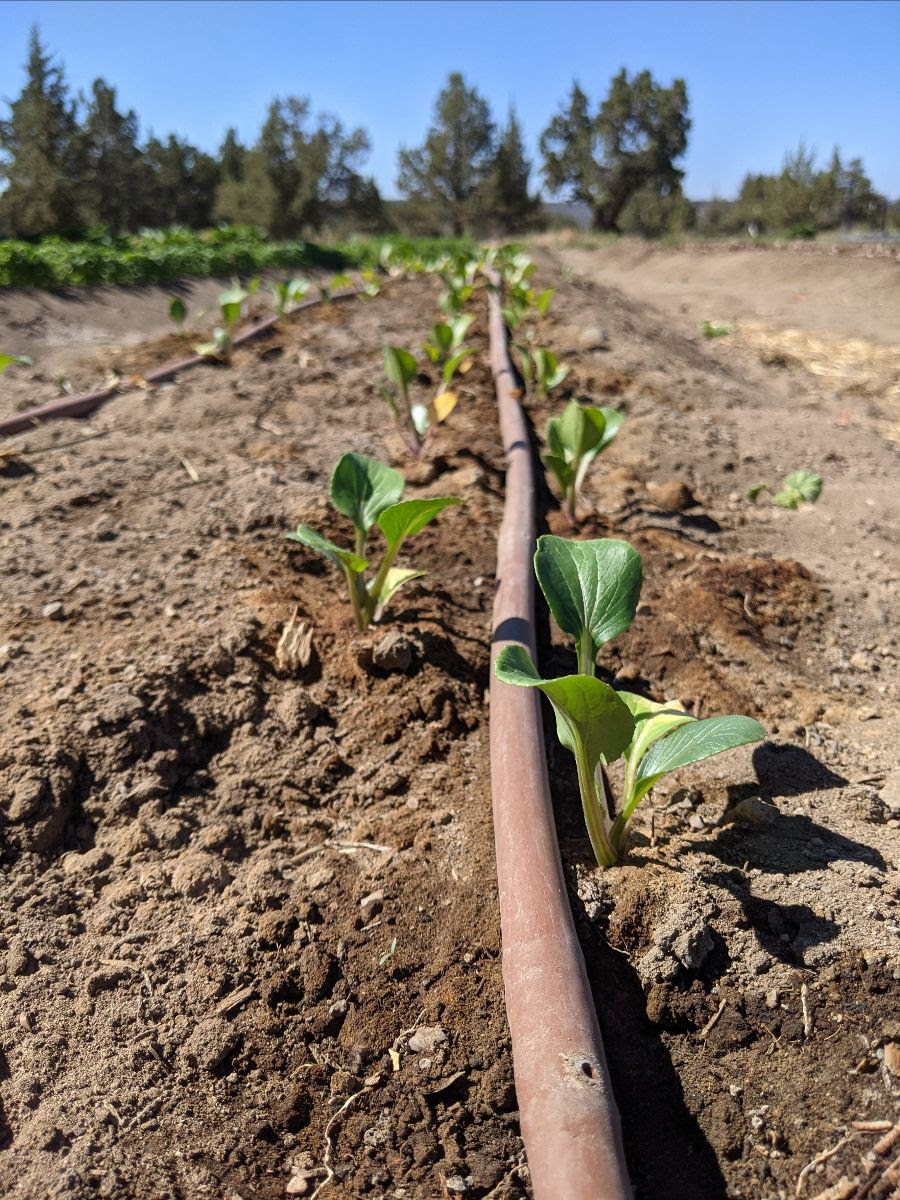
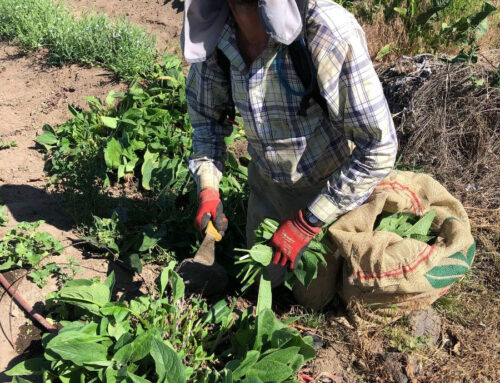
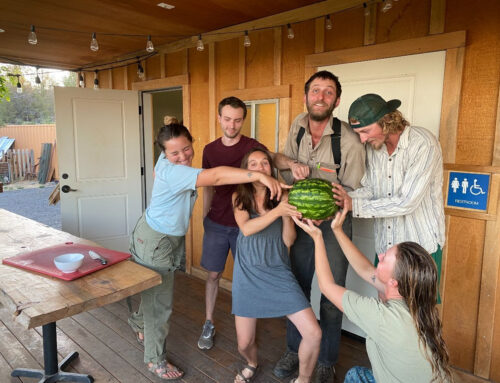
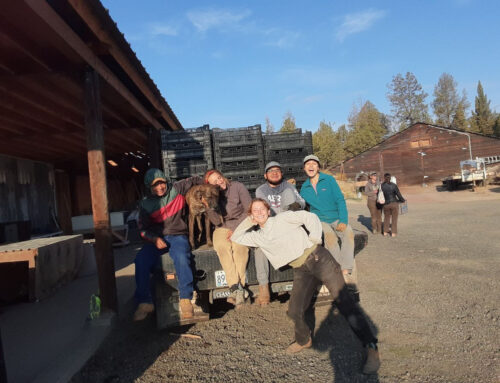
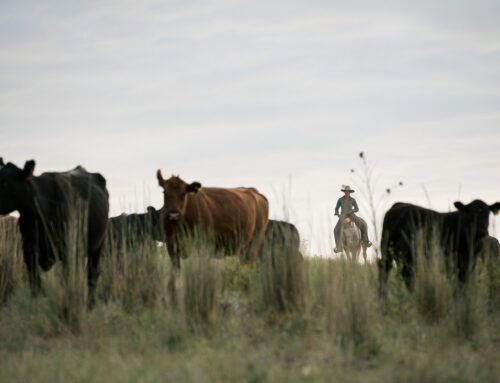
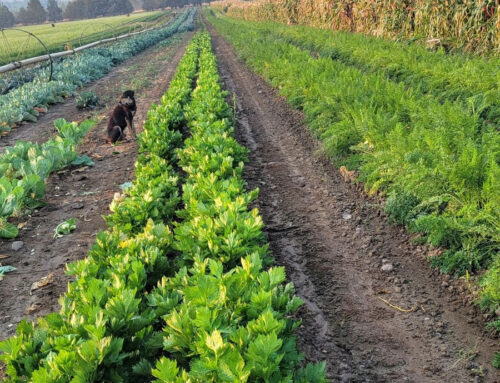
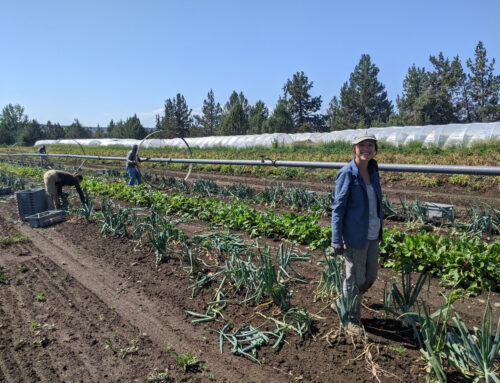
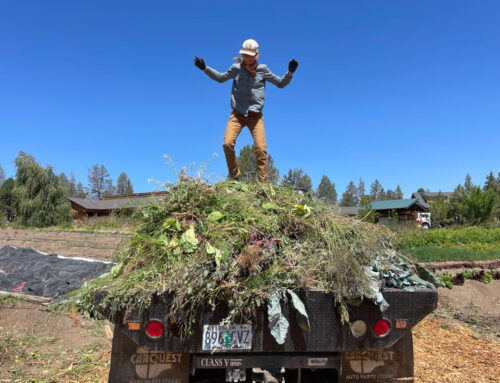
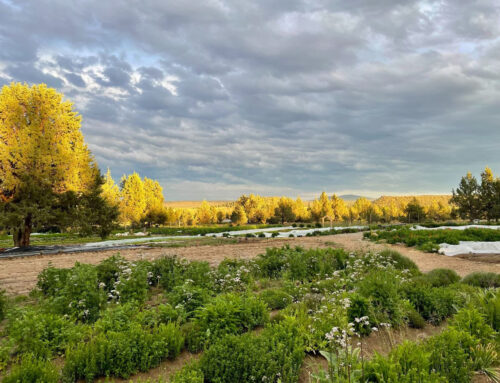
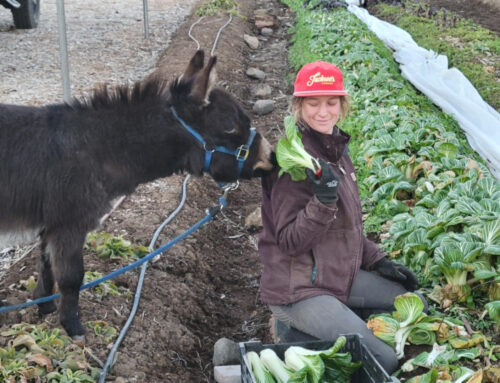
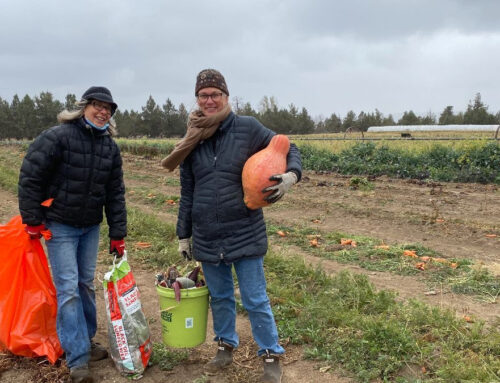
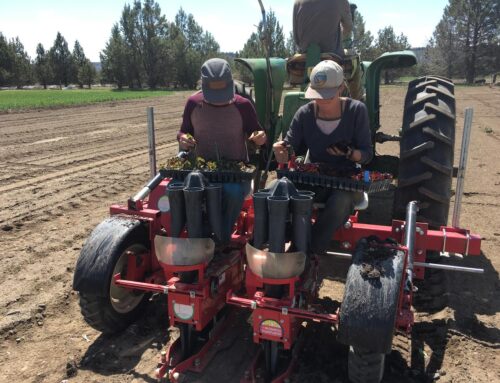
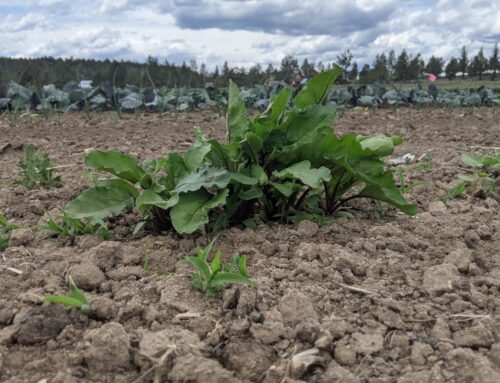
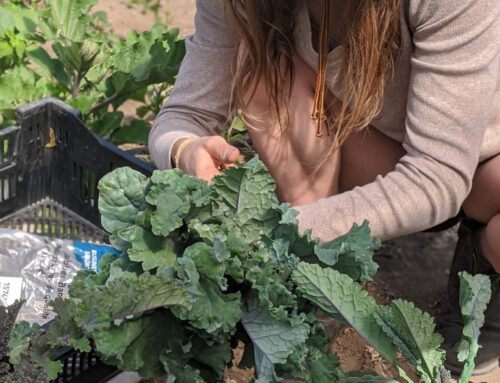
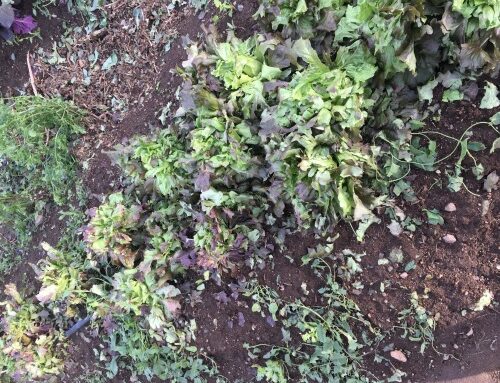
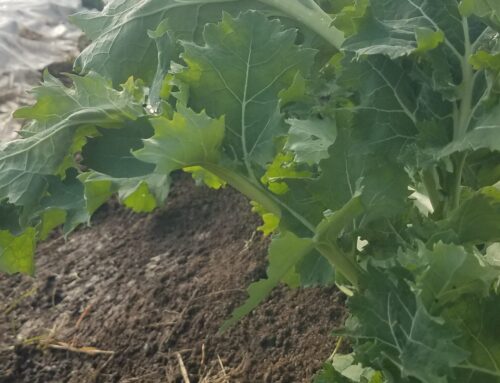
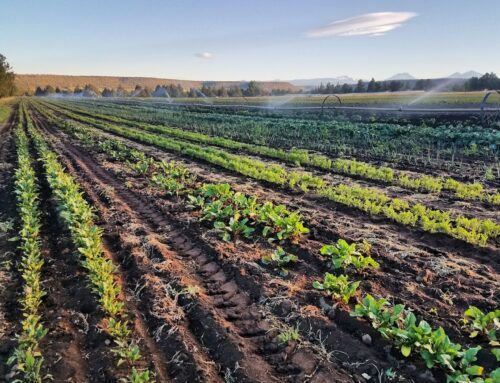
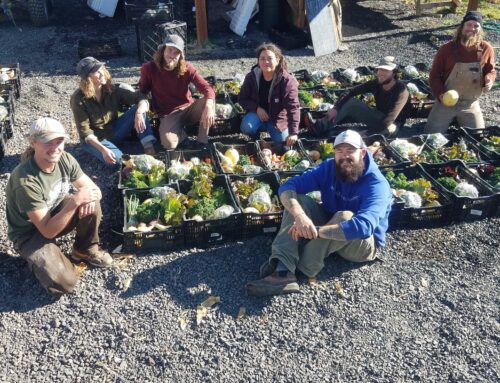
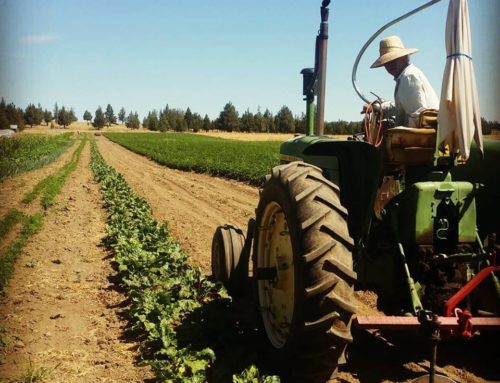
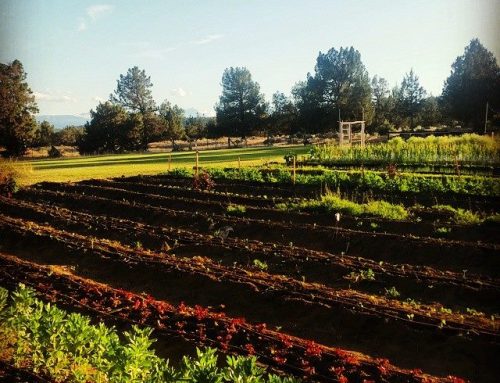
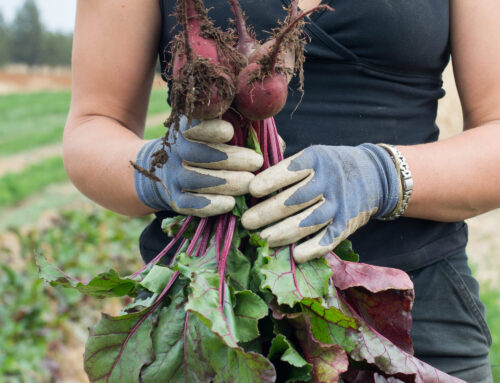
Sarahlee’s blood blistered fingers from weeding; Hands and knees weeding in the beets; Flats and flats of plants to go in the 25-acre; Newly planted Asian greens in the 2-acre. (Photo Credits: Sarahlee Lawrence, Natalie Leder, Alison Holland)
At different times of the year we use tractors and such for weeding, but right now it is a 100% hands and knees adventure. Sarahlee gave herself blood blisters under her thumb and forefinger from pinching weeds to remove them as she worked her way down the rows of storage beets. For everyone, backs are aching, pincher fingers are tired, but the satisfaction of knowing that little weeds are no longer getting in the way of our future beets is sky high!
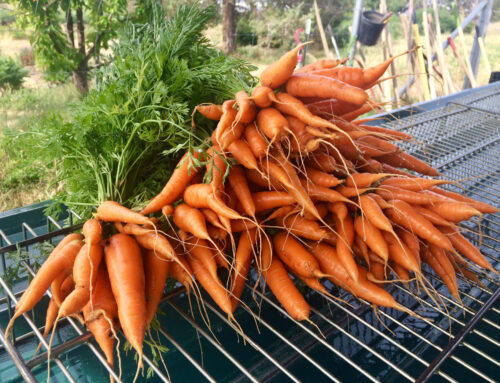
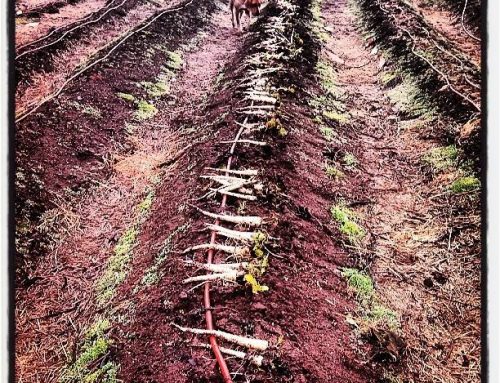
In the 25-acre we also reseeded a row of later season carrots. We had direct seeded them right before the heat hit, and it was so hot they didn’t germinate. Imagine looking at a row of what you thought should be thousands of little carrot tops and not seeing a thing. No hints of green. No little feathery fronds starting to poke out of the ground. Nothing. It was just too hot for the carrots seeds to germinate. So as a nice little surprise addition to this past week we busted out the tractor and planted a new row of carrots. (Future you is very grateful to past us for this ;).
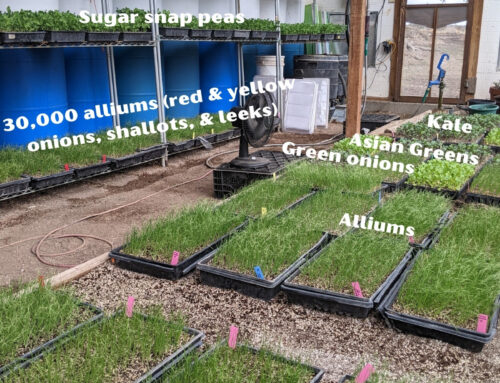
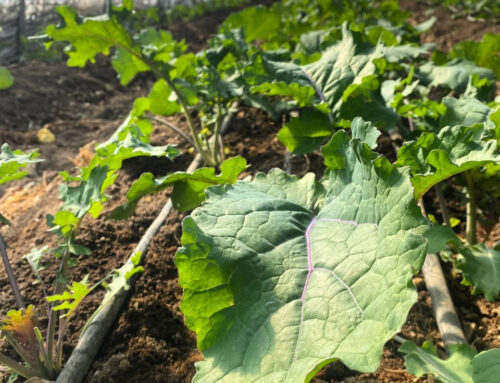
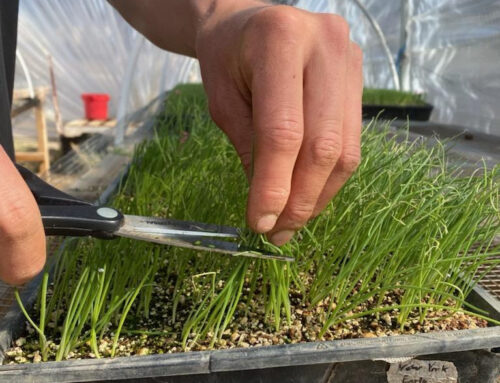
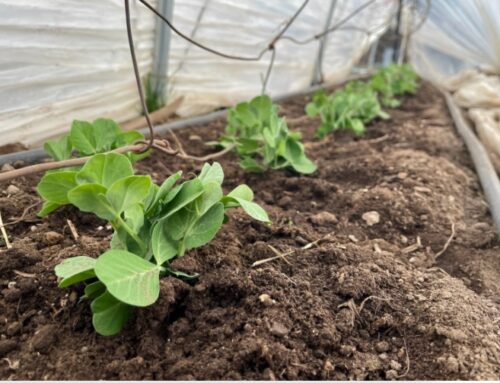
This week Kiely, Christine, and Nat filled in a couple empty beds in the 2-acre with successions of green onions, Asian greens, and kale. Some types of plants (like tomatoes or eggplant) we plant once and harvest from all season long. Other’s we plant repeatedly in order to ensure that we have these crops continuously (known as successions).
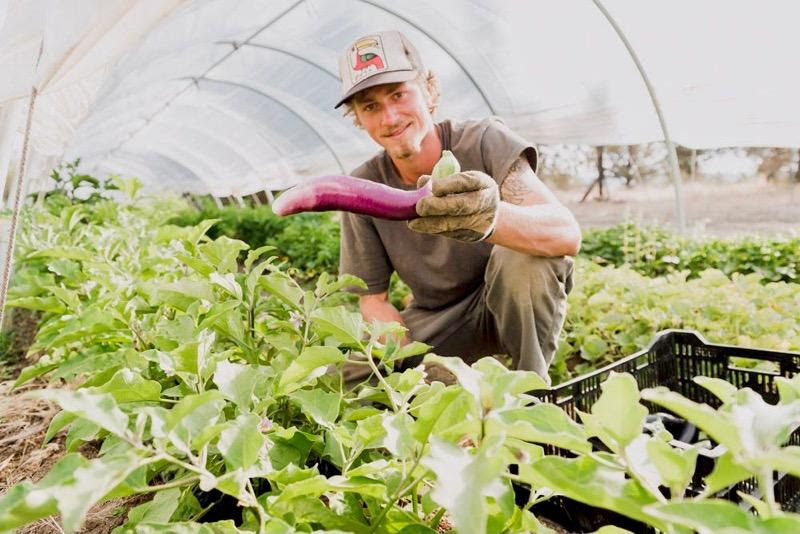

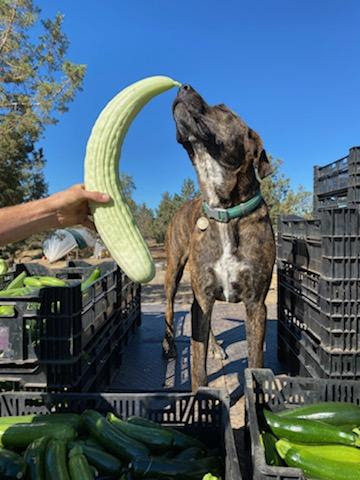
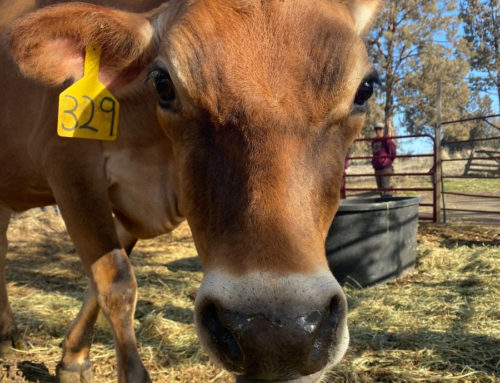
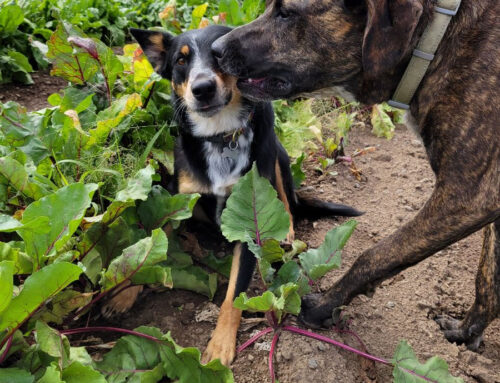
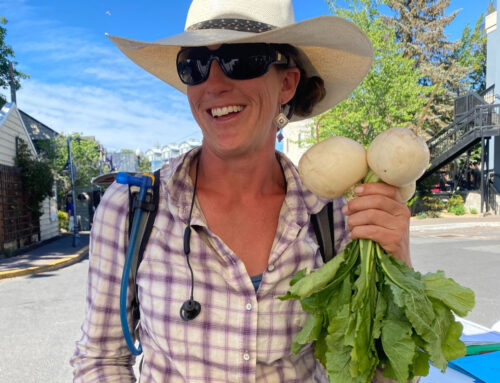
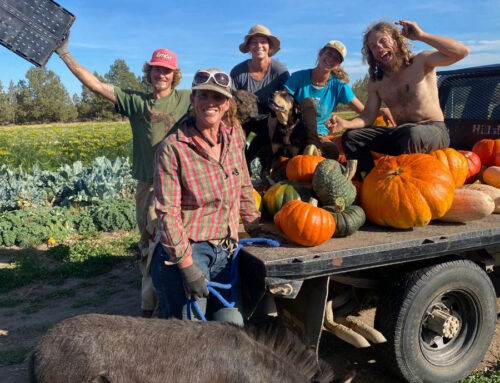
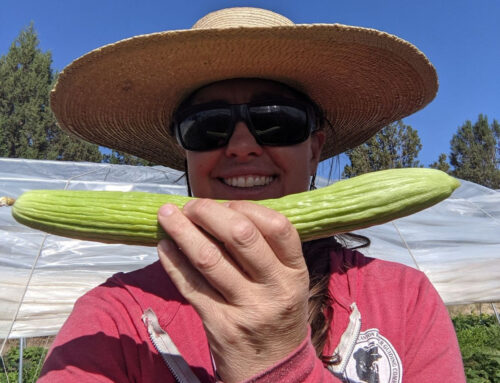
Farmer Noah harvesting the seasons first eggplants; Farmer Natalie holding a kohlrabi literally as big as her head; Farm dog Olive checking out an Armenian cucumber. Photo Credits Natalie Leder
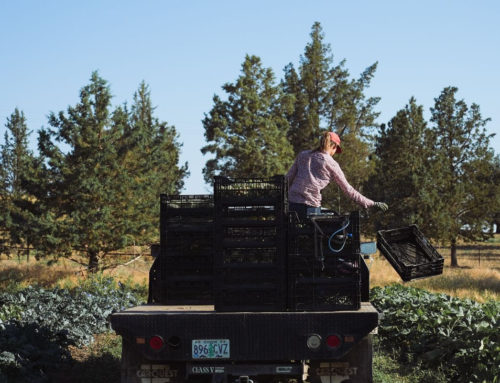
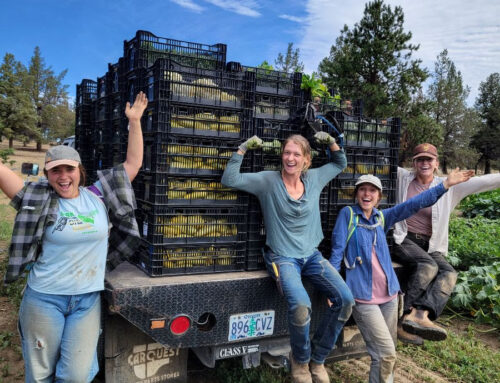
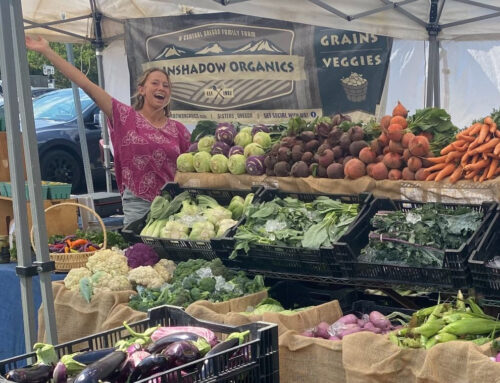
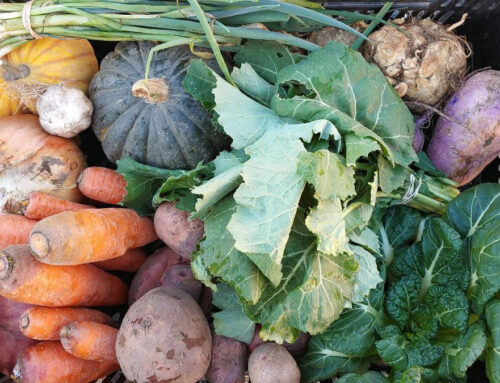
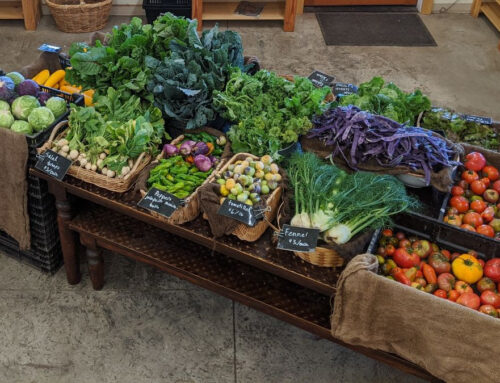
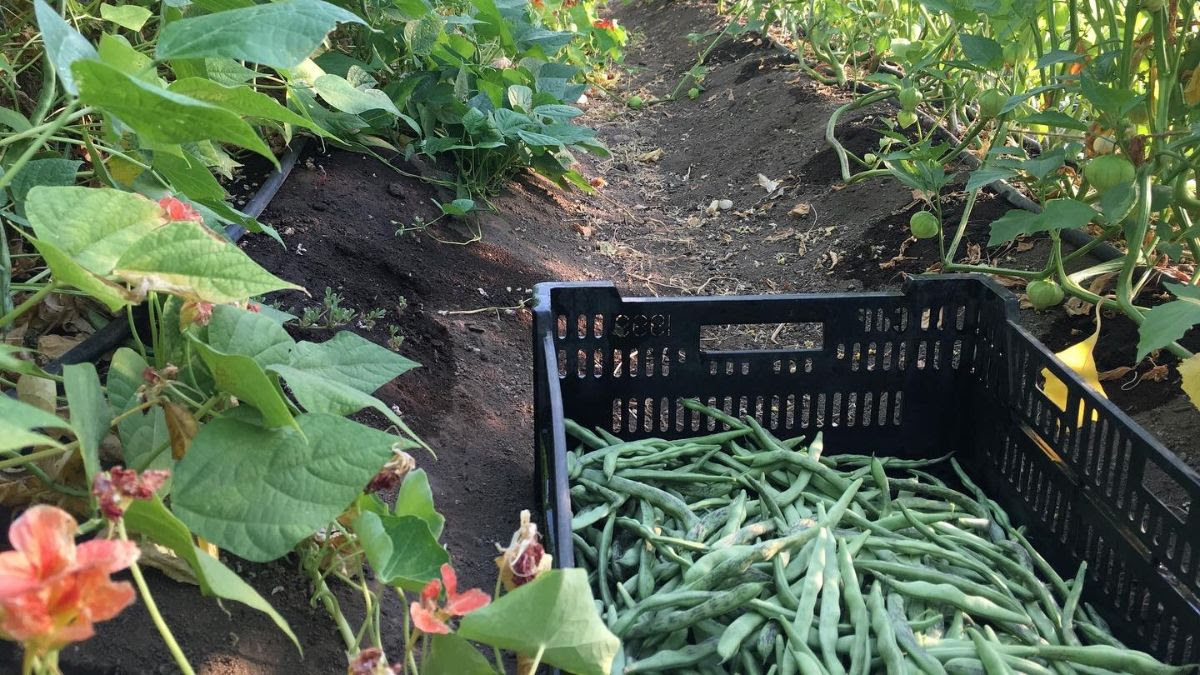
And, because it is July and it was so hot, the harvesting season has kicked into full gear also. When the vegetables start coming in, like the tide in the ocean, you can kind of see it coming. Then, boom, it arrives suddenly. You just hoped you had timed it right. This week you could feel the tone change on the farm as the beans, cucumbers, summer squash, and basil blew up!
Truthfully, we were expecting this next week or the week after, but that heat wave kicked it all into gear and this past week we welcomed our new Full Diet CSA members, and began to deliver to both Whole Foods and Food4Less in Bend. If you miss us at the Farmers Market or our Farm Store, you can still pick up our vegetables at these two partner’s in Bend!)
The increase in amounts of vegetables harvested in combination with weeding and planting definitely makes our efficiency and attitudes all that much more important as we take advantage of the cooler parts of the day during these long summer days.
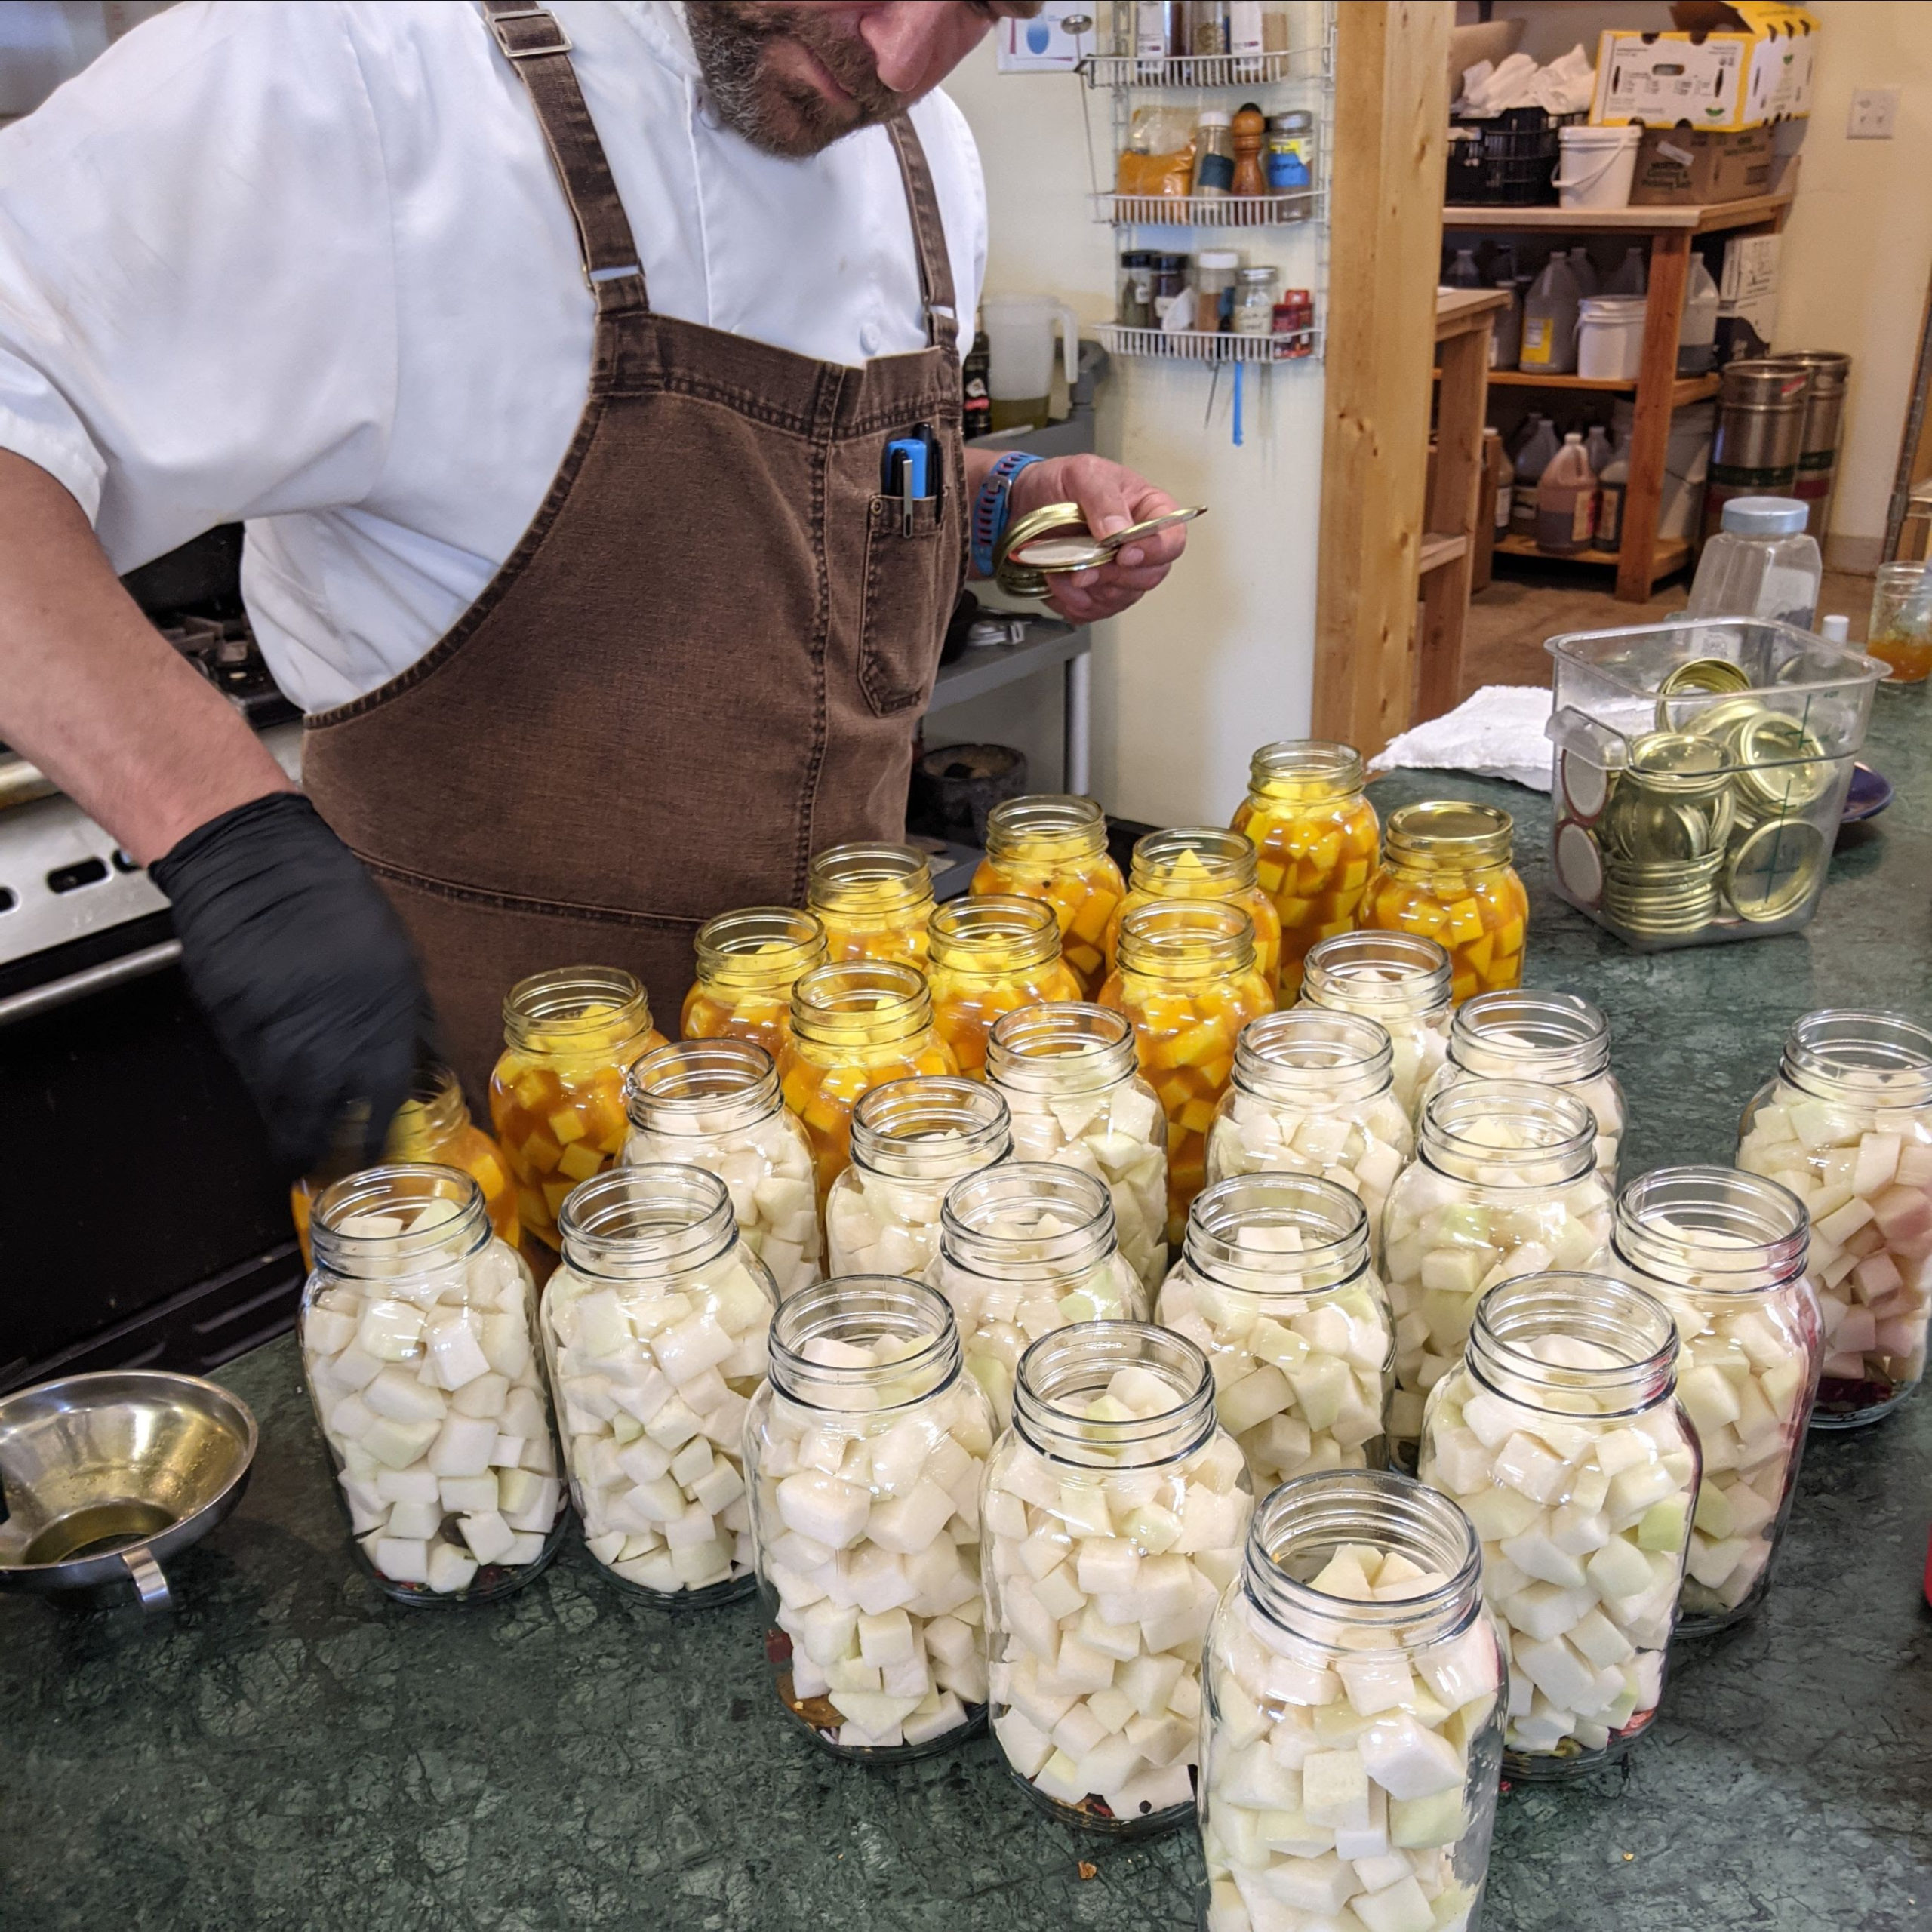
Harvesting also means that the pickling season has begun and Chef and the interns have been busy in the kitchen putting up fermenting carrots, zucchini relish, and cucumber pickles.
Salmon
Joe Martinez is out fishing right now and salmon is coming on Thursday this week!
We are expecting Steelhead, Chinook, and maybe some Sockeye. This fish is delivered unfrozen from the banks of the Columbia River below the confluence with the Deschutes River and filleted in the kitchen.

Let us know if you would like to pre-order any fish. It will be fresh and unfrozen on Friday and Saturday available at the Farm Store for pickup and frozen starting Saturday evening for delivery with your CSA the next week.
Price:
- Whole Fish: $16.50/lb
- Filleted Fish: variable price depending on size of fish. I will know more on Thursday after we fillet. A filleted fish at Rainshadow is 2 full fillets from1 fish. At this time we aren’t selling a single fillet or the classic salmon steak style fillets you are used to at the grocery store.
Want to order fish?
- Reply to this email with your preference: Steelhead, Chinook, or Sockeye, and about what size you are looking for. I will try to work within those parameters.
- Sockeye are usually 3-7#
- Steelhead are usually 5-10#
- Chinook are usually 10-25#
- Fish will be sold on a first in inbox, first served basis. (If you wanted fish last time and didn’t get it, you are at the top of this week’s list.)
- I will reach out to you on Thursday afternoon/evening with what we have and confirm your order.
- Come to the Farm Store Friday & Saturday to pick up your fresh fish or we will freeze and you can pickup later at the Bend Farmers Market or the Farm Store.
- I will send out more information on Thursday when I know what I have.
Harvest List
While temps are lower now, it is still super warm. Don’t forget to help your vegetables stay fresh for as long as possible by following these easy steps: Get your vegetables into a fridge ASAP and consider bringing a cooler with an ice pack in it to pickup.
As soon as you are home, fill your sink up with cold water and soak all your vegetables. You might even want to toss ice in the water to really refresh them. Take the tops off your carrots, radishes, and beets right away and soak them separately. Store your greens and herbs (but not basil, it wilts and turns brown when it gets wet) right out of the sink by wrapping them in a damp towel and placing them in the crisper. (I will often wash my greens and herbs and then wrap them in a damp, but not dripping towel, and put them in the crisper or anywhere in the fridge.)Salad spin your salad after it has soaked and store it in a Tupperware with a damp towel.
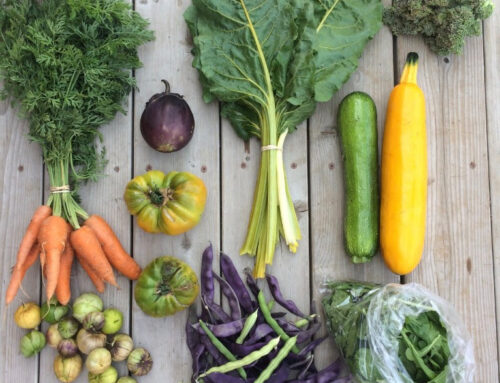
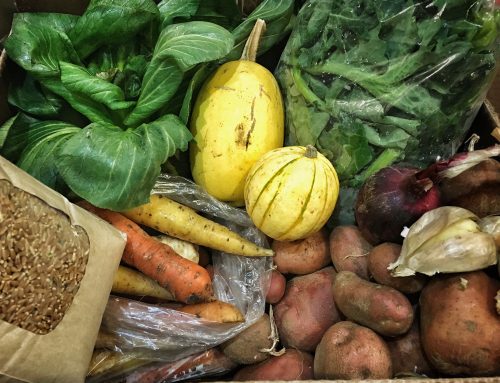
We think our veggies will be:
salad mix (don’t forget your containers!)
Fennel
Radishes
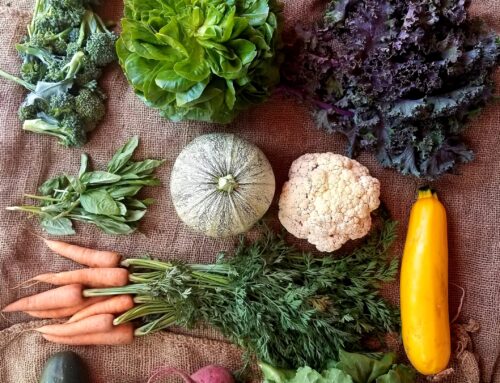
Other Vegetable Options could include:
Kohlrabi
Kale
Hakurai Turnips
ZucchiniTulsi Basil
Purple Basil
Thai Basil
Italian Basil
String beans
eggplant
broccoli
Green Onions
Yod Fah
CucumberCarrots
Arugula
Meat CSA
Thank you all for gracefully doing the pivot with us last week CSA. It turned out the best move for the farm was to give the small CSA chickens and ground beef, and the large CSA the random assortment of beef.
This week, we will catch the large CSAs up on the chickens, as well as a random selection of pork and beef and the small CSAs will get pork and beef.
Recipes
I really got deep into my cookbooks over this past week and had a lot of fun finding recipes that feature what we are harvesting and featuring in our CSAs right now. In the winter, when we don’t have all these options, the exciting challenge is finding fresh and new ways to cook root vegetables and kale. In the summer, the challenge for me is trying to find recipes that use as many different vegetables as possible. Here are some that I made last week and some that I am hoping to try this upcoming week.
String Beans, Pickled Beans, Tomatoes, Cucumbers, and Olives
Serves 4, adapted from a 6 Seasons by Joshua McFadden
We don’t quite have tomatoes yet, and I just used whatever vinaigrette I had in the fridge, omitted the croutons because of a gluten sensitivity in the house, and at the last minute added some feta. I also have some pickled green beans leftover from last summer, so this was a great way to use up those stores as the new green beans arrive. (P.S. we still have a few jars of pickled green beans left on the shelves!)
INGREDIENTS
1 medium cucumber
Kosher salt and freshly
ground black pepper
½ pound string beans, trimmed
½ pound cherry tomatoes (a mix of colors if possible), halved
½ medium red onion, thinly sliced
½ cup pitted mixed olives (a mix of colors if possible)
vinaigrette
1/4 teaspoon dried chile flakes
Extra-virgin olive oil
8 ounces pickled string beans
1 big handful arugula
1 small handful basil leaves
2 cups torn croutons (page 29; optional)
INSTRUCTIONS
- Cut the cucumber in half, scoop out the seeds and cut into 1/4 inch thick slices.
- Toss the cucumber with 1 teaspoon salt and put in a colander so the salt can draw out excess moisture.
- Let it sit for 15 to 20 minutes then blot with a napkin or paper towels to remove the moisture and excess salt. Put in a bowl.
- Bring a small amount of water to a boil in a skillet, salt and add the beans. Blanch until tender but not over cooked, 5 to 6 minutes, and drain and soak in cold water to stop the cooling.
- Add the tomatoes, onion, and olives to the cucumber. Add the vinaigrette and chile flakes and season well with salt and black pepper and toss.
- Taste and adjust with more of the seasonings. Drop the arugula and basil over the surface and top with the croutons (if using). Give the whole platter a nice drizzle of vinaigrette and serve right away.
Blistered Peas with Garlic Aioli
adapted from “Blistered Sugar Snap Peas and Garlic Aioli” in 6 Seasons by Joshua McFaddenOur big pea season seams to have passed, so I am going to try this recipe with beans this week. Don’t forget our beans are string beans, so you will want to de-string them before cooking. (I learned that the hard way.)
INSTRUCTIONS
FOR THE ROASTED GARLIC AIOLI
1 head of garlic
1 tablespoon olive oil or melted butter
2 egg yolks
1½ tablespoons red wine vinegar
1 teaspoon Dijon mustard
Salt
cup light olive oil
FOR THE SUGAR SNAP PEAS
2 tablespoons lard
1½ pound peas (or green beans)
Flaky sea salt
INSTRUCTIONS
Make the aioli:
- Preheat the oven to 425°F. Slice about ¼ inch off the top of the garlic head, exposing the tips of the individual cloves. Use your fingers to remove most of the papery outer layers of garlic skin.
- Drizzle the top of the garlic head with olive oil or melted butter and wrap it in aluminum foil.
- Place the garlic on a baking sheet and roast until it is golden brown and tender, 45 minutes to 1 hour.
- Remove the garlic from the oven and when it is cool enough to handle, squeeze out the individual cloves and mash them into a paste. Set aside.
- In a food processor, pulse the egg yolks, vinegar, mustard, roasted garlic paste, and a hefty pinch of salt until combined. With the machine running, slowly drizzle in the olive oil a little bit at a time until the mixture is emulsified. Taste for seasonings and adjust as needed.
- Transfer the aioli to a bowl and set it aside. (Extra sauce can be refrigerated in an airtight container for up to 3 days.)
Make the peas:
- Heat the cooking fat in a large cast-iron skillet over medium-high.
- Once it is hot, add the peas. Cook, stirring occasionally until they are lightly charred and blistered on all sides, 3 to 5 minutes total (it might be a bit more if using beans).
- Remove the peas from the heat and place them on a platter or bowl for serving. Sprinkle them with flaky sea salt and serve the roasted garlic aioli on the side.
- The zucchini tsunami is showing signs of growth, so here are a few zucchini recipes for inspiration.
Grilled Summer Squash With Lots of Herbs and Parmesan
adapted from 2 recipes in Ruffage by Abra Berens
INGREDIENTS
2-4 summer squash sliced long-wise about 1/4 inch thick
1 cup assorted herb leaves, chopped (I used basil, oregano, and tarragon)
Parmesan, grated, (as much as you can stand!)
coarse salt
freshly ground black pepper
drizzle olive oil
drizzle balsamic vinegar or balsamic vinegar reduction
INSTRUCTIONS
- Heat your grill to high. Liberally salt and pepper your summer squash slices.
- When the grill is warm, reduce heat to medium and lay the summer squash across the grill so that they won’t fall down. Grill for a few minutes on each side until cooked, but not slimy and over cooked. You want good grill marks, but not dried out and burn squash.
- Remove from the heat and toss warm zucchini with the herbs, olive oil, and balsamic vinegar. Spread out on a platter or shallow bowl and cover with grated parmesan.
- Serve while warm! (I used the leftovers in eggs a couple mornings after and it remained delicious!)
Summer Zucchini and Chickpea Soup
adapted from a recipe in Vegetarian Cooking for Everyone, by Deborah Madison and Local Dirt by Andrea Bemis
This is a very simple, light soup. I served it with fresh biscuits that I baked in the Dutch Oven outside so I didn’t have to heat my house up with the oven. Great for a warm, summer evening.
INGREDIENTS
2 tablespoons butter
1 cup chopped ham
1 medium yellow onion, finely chopped
3 cloves of garlic, minced
1/2 cup chopped parsley
5 small green zucchini, quartered about ½ inch thick (or about 2 cups chopped zucchini)
2 cups cooked chickpeas
½ cup dry white wine
4-5 cups vegetable, chicken, or beef stock (great place to use your bone broth from earlier!)
liberal amounts Salt and freshly ground black pepper
1/4 cup lemon juice
freshly chopped herbs (your choice)
INSTRUCTIONS
- Melt butter and sauté the ham until warmed through and the fat starts to add its flavor into the butter.
- Add the onions and garlic and cook until starting to soften.
- Add the parsley, zucchini, chickpeas, and 2 large pinches of salt and several grinds of pepper. Stir and sauté until the zucchini starts to change texture, 5-10 minutes.
- Add the broth and white wine and bring to a boil. When the zucchini is done, but not gloopy, taste for seasonings and add more salt and pepper to taste.
- When done, turn off heat, stir in lemon juice, taste again, and serve with sprinkled freshly chopped herbs.
My plan is to serve this grilled steak recipe with pickled bean salad this weekend!
Grilled Steak with Herb Butter
SERVES 4
INGREDIENTS
4 rib-eye steaks, 1 1/2 inches thick (or any steak will do but bone in steaks are better on the grill!)
Salt and freshly ground black pepper
½ cup herb butter (page 34)
INSTRUCTIONS
- Preheat a grill to high heat.
- Place the rib-eye steaks on a large platter and season them with salt and pepper.
- Transfer the steaks to the hot grill and cook for 4 to 6 minutes on each side for medium-rare, longer if desired.
- Let the steaks rest for 5 to 10 minutes before serving.
- Plate the steaks and add 1 tablespoon of herb butter to each.
Kohlrabi with Citrus, Arugula, Poppy Seeds, and Crème Fraîche
adapted from 6 Season by Joshua McFadden
This is a super refreshing and flavorful salad. I paired it with grilled chicken recipe below and it was a great summer evening dinner!
INGREDIENTS
1 pound kohlrabi, peeled and any gnarly bits cut away
3 TBS crème fraîche (you could use sour cream for this too, but the flavor would be a bit stronger)
2 tablespoons poppy seeds
Kosher salt and freshly ground black pepper
4 large handfuls arugula
3 oranges, tangerines, or other sweet citrus, peeled and cut into chunks
2 to 3 tablespoons Citrus Vinaigrette (page 39)
INSTRUCTIONS
- Cut the kohlrabi into little wedges about the same size as the blood orange segments.
- Toss with 3 tablespoons of the crème fraîche and the poppy seeds. Season generously with salt and pepper.
- Quickly toss the arugula with the blood orange segments and juices and the citrus vinaigrette.
- Arrange the arugula and oranges on each plate and top with the kohlrabi.
Beet Slaw with Pistachios and Raisins
adapted from 6 Seasons by Joshua McFadden
I am planning on making this recipe tonight for dinner.
INGREDIENTS
Beet Slaw:
2 garlic cloves, smashed and peeled
1/2 cup golden raisins
2 tablespoons white wine vinegar
1 1/4 pounds beets, peeled; use a mix of colors if you can
2 tablespoons fresh lemon juice
1/2 cup lightly packed flat-leaf parsley leaves
1/4 cup lightly packed mint leaves
1/2 teaspoon dried chile flakes
Kosher salt and freshly ground black pepper
Extra-virgin olive oil
Pistachio Butter:
1 cup (about 5 ounces) pistachios, lightly toasted
1/3 cup water
1 tablespoon red wine vinegar
1 teaspoon kosher salt
3 tablespoons extra virgin olive oil
INSTRUCTIONS
Beet Slaw:
- Combine the garlic, raisins, and vinegar in a large bowl and let sit for 1 hour.
- Grate the beets on the large holes of a box grate or cut into fine julienne. Yes, your hands will get stained, but the color fades quickly.
- Remove the garlic from the raisins and discard. Add the beets, lemon juice, most of the parsley and mint (save the rest for finishing), and chile flakes.
- Season with 1/2 teaspoons salt and lots of black pepper and toss. Let it sit for about 5 minutes and then taste-the slaw should be tart, spicy, peppery, and sweet.
- Adjust the seasoning, if necessary, then add 1/4 cup olive oil. Toss and taste again.
- To serve, spread a layer of pistachio butter onto each plate and top with the slaw. Finish with the reserved fresh herbs and a drizzle of olive oil.
Pistachio Butter:
- Process the pistachios in a food processor to get them as fine as possible.
- With the motor running, pour in the water, vinegar, and salt and process until smooth, scraping down the sides as needed.
- Again with the motor running, drizzle in the olive oil. Taste and adjust with more salt or vinegar. Store in the fridge for up to 10 days.
I personally didn’t really want to fire up the oven and cook a whole chicken these days, so I took my whole chicken from last week and split it into parts and grilled it. Here is a great video for how to split a whole chicken into parts. You can freeze the back bone and use it to make stock later! (I actually take all the bones from my chickens after I eat them and freeze them and turn them into stock.)
Balsamic Marinate Grilled Chicken
adapted from the Diethood blog
I would recommend keeping a spray bottle of water to spray flame ups on the grill!
INGREDIENTS
1 whole chicken, split into parts
1/3 cup extra virgin olive oil
1/3 cup balsamic vinegar
6 cloves garlic, minced
1/2 cup chopped fresh herbs
1 tablespoon salt
multiple grinds of pepper
INSTRUCTIONS
- Place chicken breasts in a large resealable plastic bag or in a shallow dish; set aside.
- In a mixing bowl, whisk together oil, vinegar, garlic, herbs, salt and pepper. Pour marinade over chicken and cover in the refrigerator. Let sit for at least 1 hour, or up to 12 hours.
- Flip the bag or the chicken a few times while marinating to evenly distribute the marinade. About an hour before you want to grill, pull the chicken out to warm up a bit.
- Heat your grill to high, and turn down to medium when you are ready to start grilling. Place the chicken on the grill and brush with marinade.
- Keep your spray bottle handy to put out flare-ups and grill for about 10 minutes then flip. Brush with more marinade and cook for another 10-ish minutes. Depending on the size of your bird, this will take more or less time.
- Use a thermometer to check your chicken internal temp. When the darkest parts reach 165F, pull the chicken off the grill and let stand for 5-10 minutes before serving.
Veggie IDs
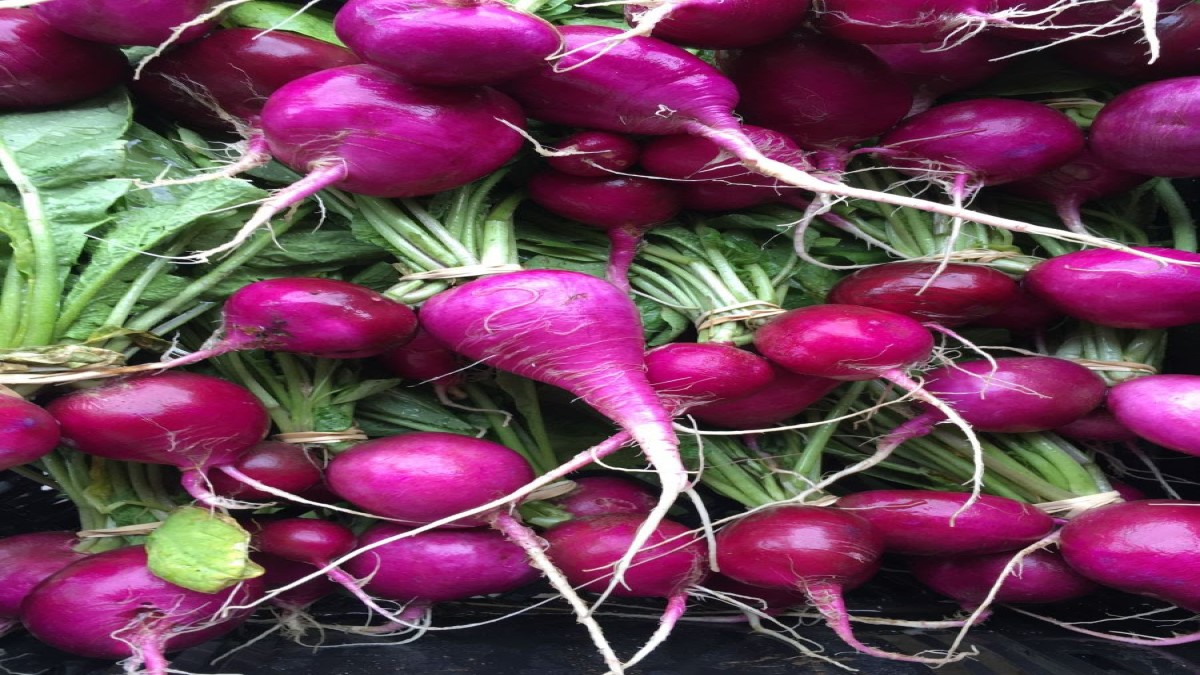
Radishes are those beautiful bulbs of spicy goodness that jazz of any salad. Remove the stems and store unwashed greens in a loosely wrapped plastic bag in the crisper and store radish roots unwashed in a plastic bag in the refrigerator for 1 week. You can eat radishes raw with a sprinkle of salt or slice or grate them into slaws and salads. Blanch whole radishes in boiling, salt water for 5-10 minutes, or steam them until just tender, 8-12 minutes. Top with butter, salt, and pepper or with a vinaigrette. They’re also great grilled and pickled. Radish greens are good sautéd or, when tender, added to scrambled eggs.

Fennel is one of the funkier looking plants we grow. Both the fronds and the bulb are edible and have a distinct licorice taste. When you get fennel home, remove the stalks from the bulb. Store the fronds in water to lengthen their life, store the bulbs in the crisper for a week or more. Try fennel raw: brush raw slices with olive oil and lemon juice, sprinkle with salt and pepper and serve as an appetizer. Use the fernlike tops as a licorice-flavored herb or garnish. Use the stems in soup stocks in place of celery. (You can add the fronds to the same bag as your chicken bones above for broth.) Grill, braise, or roast fennel.
Add-Ons
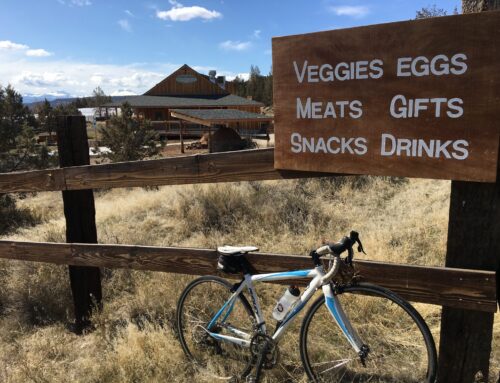
Email us if you would like us to pack you anything extra from the store for pickup with your CSA. You can pay when you pick up at the Farm Store or our Farm Stand at the Bend Farmers Market.
Pickles/Fermented Veggies:
Pickled Roma Dilly Beans: $16/quartNew options coming soon: Chef is busy pickling cucumbers and beans, making pesto, fermenting carrots and beets, and making zucchini relish.
Flours and Wheat Berries:
2 lb bags hard red, hard white, soft white flour: $5/bag2 lb bag buckwheat flour: $7/bag2 lb bag corn flour: $12/bag2 lb bag rolled Tibetan black barley: $5/bag3 lb bag hard red wheat berries $5/bag
Meat:
$5/lb: beef liver$8/lb: ground beef$10/lb: chuck roast, brisket, and short ribs$11/lb: cubed round steak$12: Top Sirloin Steaks$14/lb: Rib Steak, t-bone, ribeye$15/lb: boneless New York Strip
See you on Wednesday!
Please email us let us know if you can’t make Wednesday or if someone else is picking up for you. We can’t wait to see you on Wednesday!


